Planning Molding Placement
One Room Challenge, Week 4
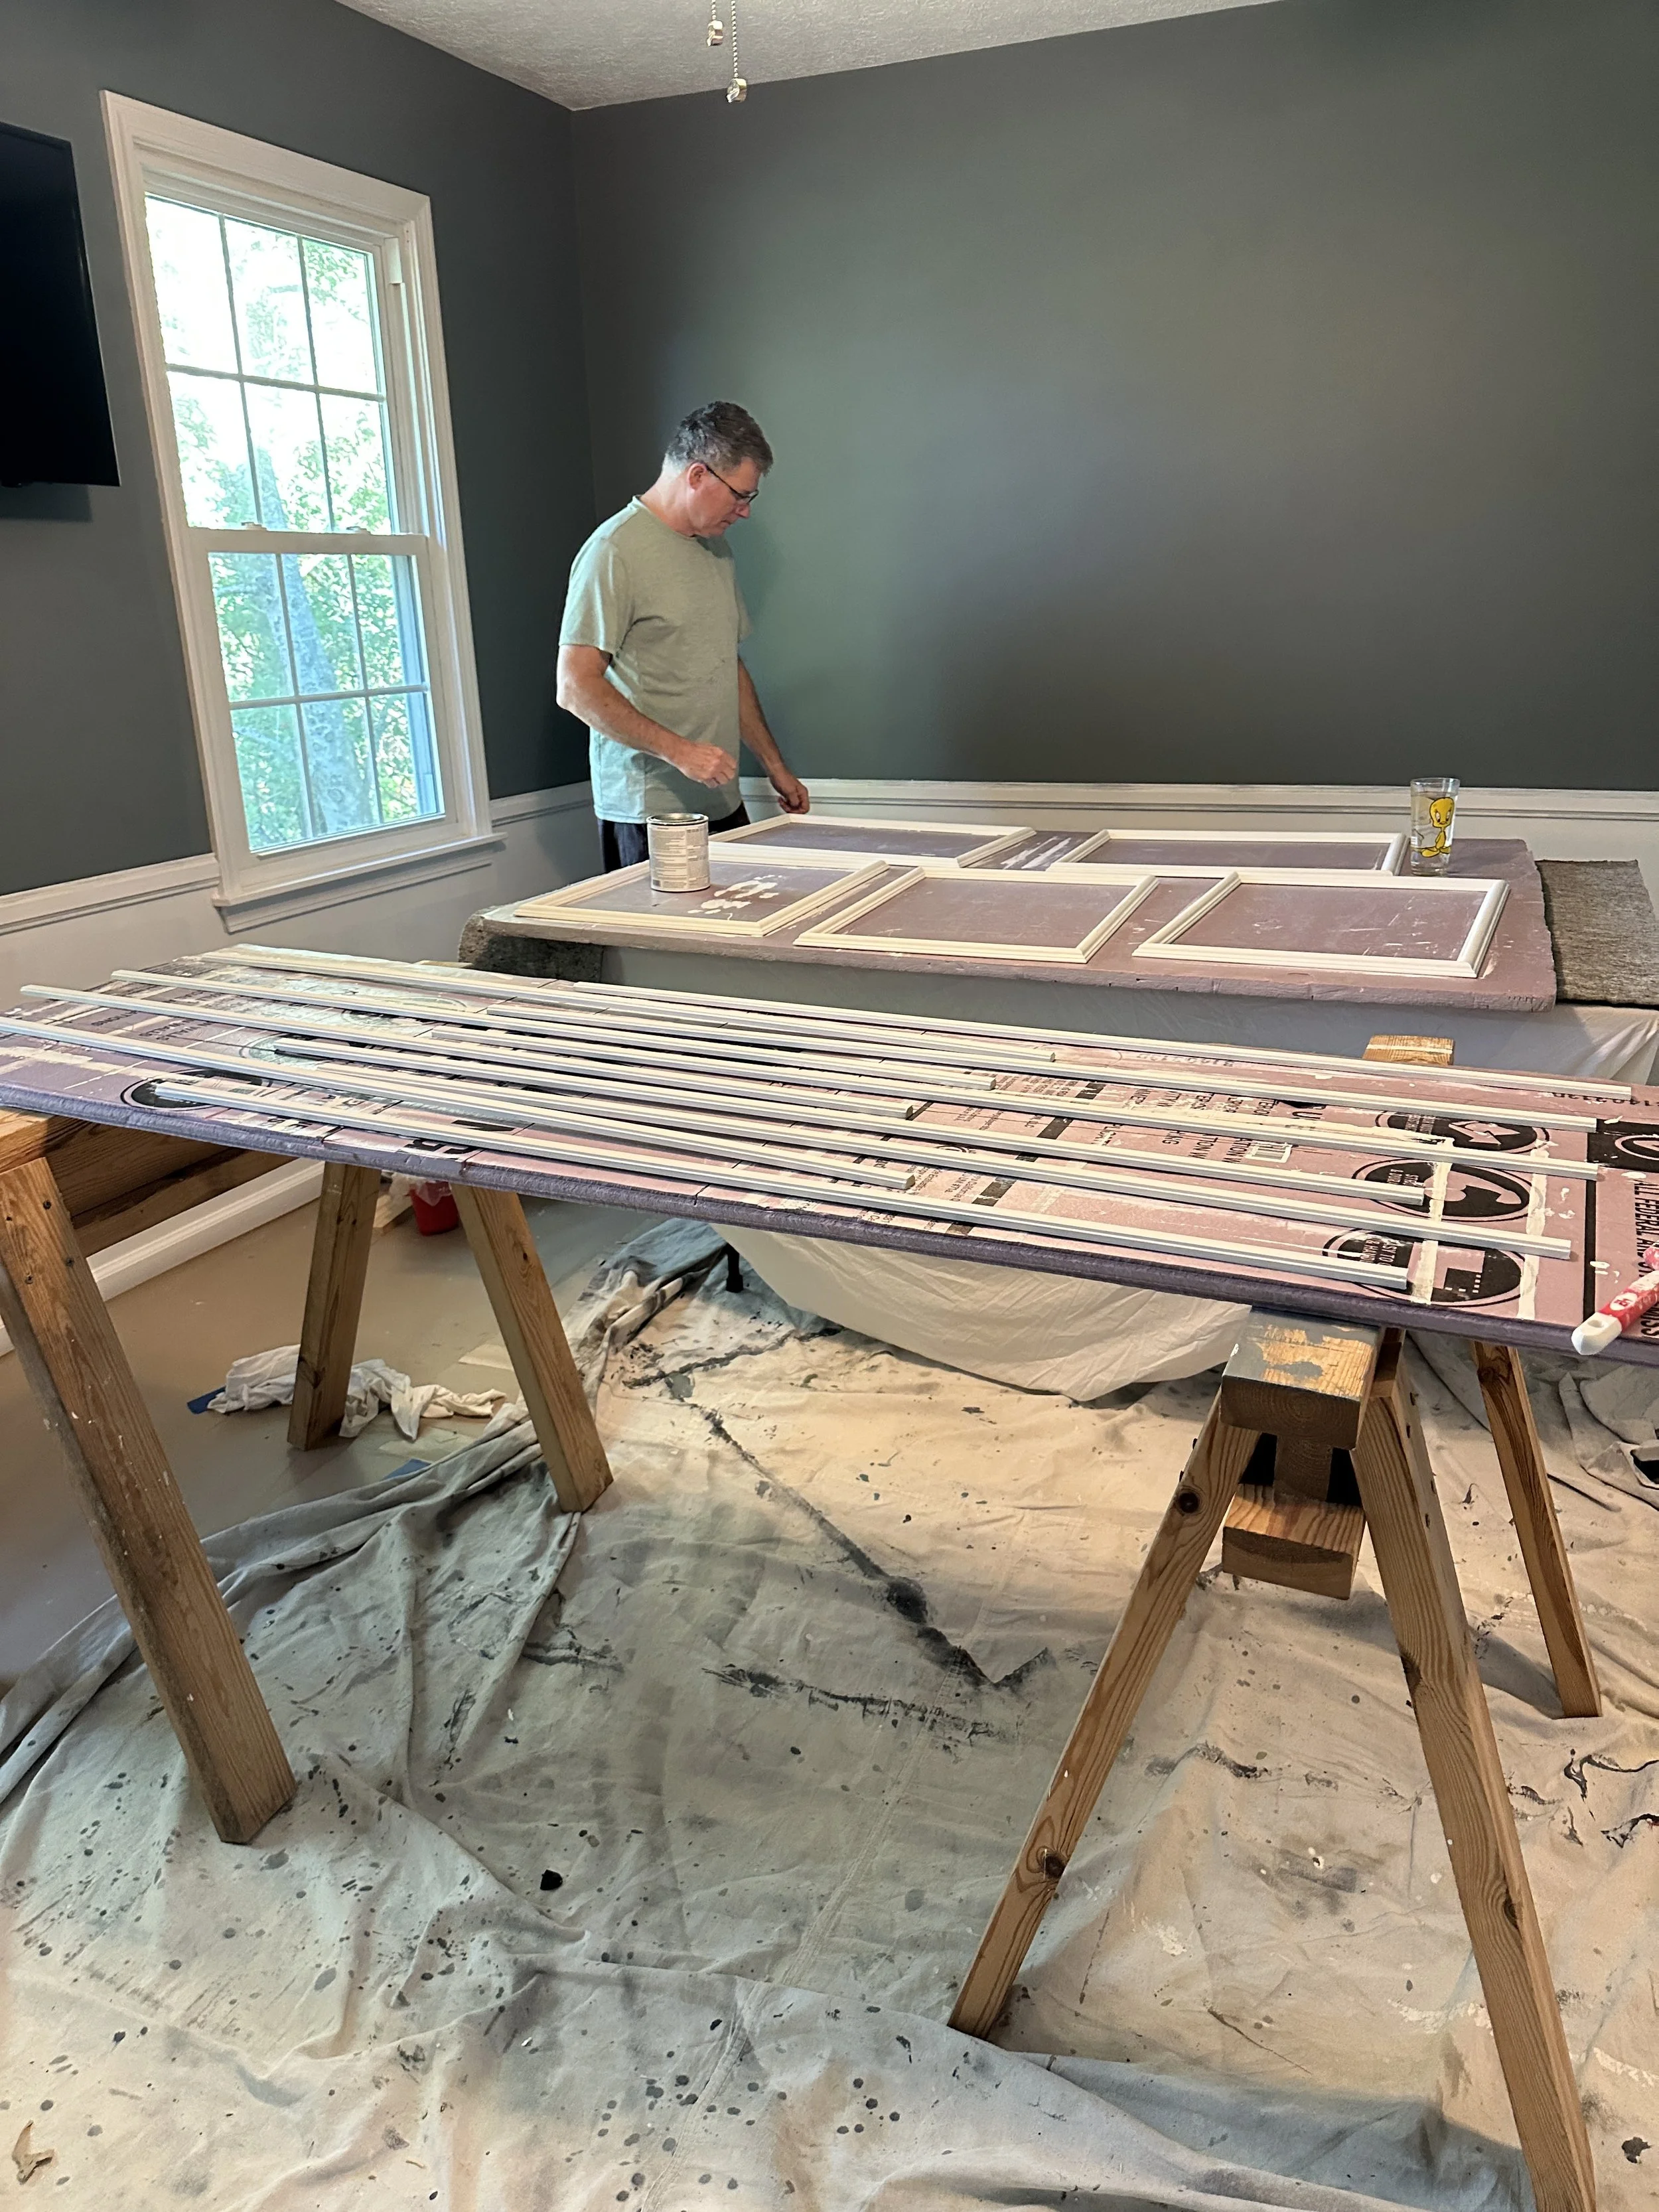
Week 4 is upon us and we spent most of our work time continuing to prep the picture frame molding. It needed to be primed and then two coats of paint applied. I also had to prime and paint the extra trim pieces going above the chair rail and finish the 3rd coat of paint on the walls. I should have primed, but I think in the end it still would have taken 1 coat of primer and 2 coats of paint so that still equals 3 in my book!
Doug helped me significantly this week with the painting! We were able to work out an assembly line and knock it out in just a few hours. He also added to his genius drying rack set up so we could have a mega drying rack for all of the picture frames so they could dry at the same time. I calculated 26 for this room. We will need to cut a few of them down.

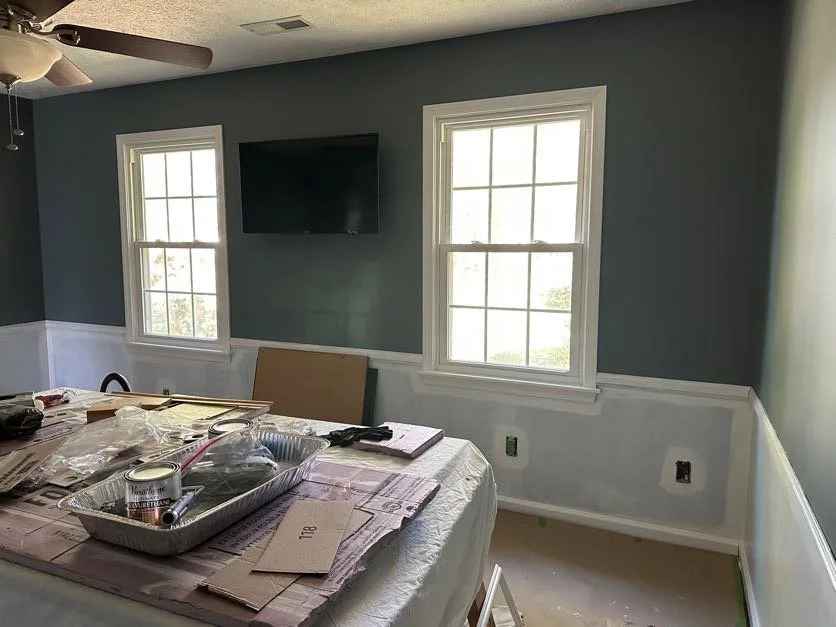
I worked on spacing and calculated that the picture frame moldings needs to be 4” apart all the way around. Doug made me a jig so that I could space them out perfectly. I taped them to the wall with painter’s tape and I think the spacing looks nice.
There are a few walls where we will have to cut the picture frame molding down a little bit to accommodate the space. After getting them all taped up, I believe I’ll need another frame or two. Before ordering more frames, I’d like to see if Lowe’s has them in the correct size so there is less cutting to do.

I love the way it’s looking! An added bonus is that getting all of these frames on the wall really helped to clean up the room! Now we need to install them. There are a few places where we’ll either have to change the size of our outlet covers or trim out around the outlet cover to make it look more finished. We could adjust the spacing but I think it looks nice as is and so we’ll adjust the outlet cover instead. I wish I would have known this when the electricians were here adding outlets and installing the new lights because I probably would have moved the outlets a bit.
This isn’t a very exciting week in terms of the room looking super different, but every step is a step closer to being finished, right?
Stay tuned for next week which will be the halfway point! Wow – it's really flying by!


Decor & DIY Tools We’re Loving for this Project

Preassembled Picture Frame Moulding

PB Comfort Modern Square Arm Sleeper Sofa in Chambray

Chris Loves Julia Terracotta Rug
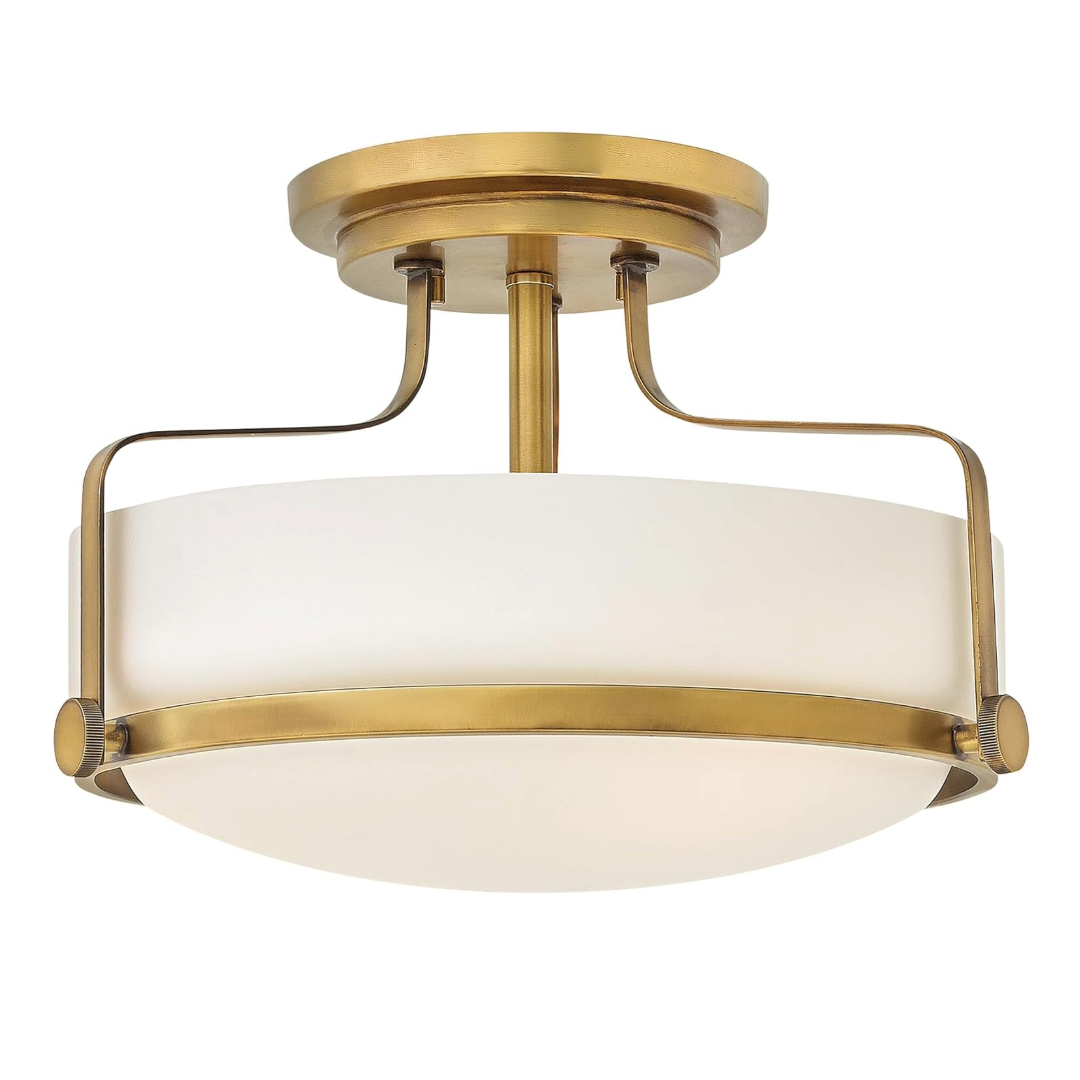
Hinkley Harper Ceiling Light

The Active Painter's Dream Package: Handy Paint Pail & Liner Combo + Free Paintbrush

Paint Spray Gun

Wooster Brush

Bose Quiet Comfort Ultra Earbuds

White Vinegar

Sanding Sponge

Mister Rui Foam Paint Roller

Brown Paper Roll

Frog Tape

Brown Kraft Paper

Canvas Drop Cloth

Disposable Aluminum Pans

DryDex Heavyweight Spackling


Kilz Interior Primer

Plastic Painter's Drop Cloth

Paint Samples

Benjamin Moore Paint

Press N Seal