

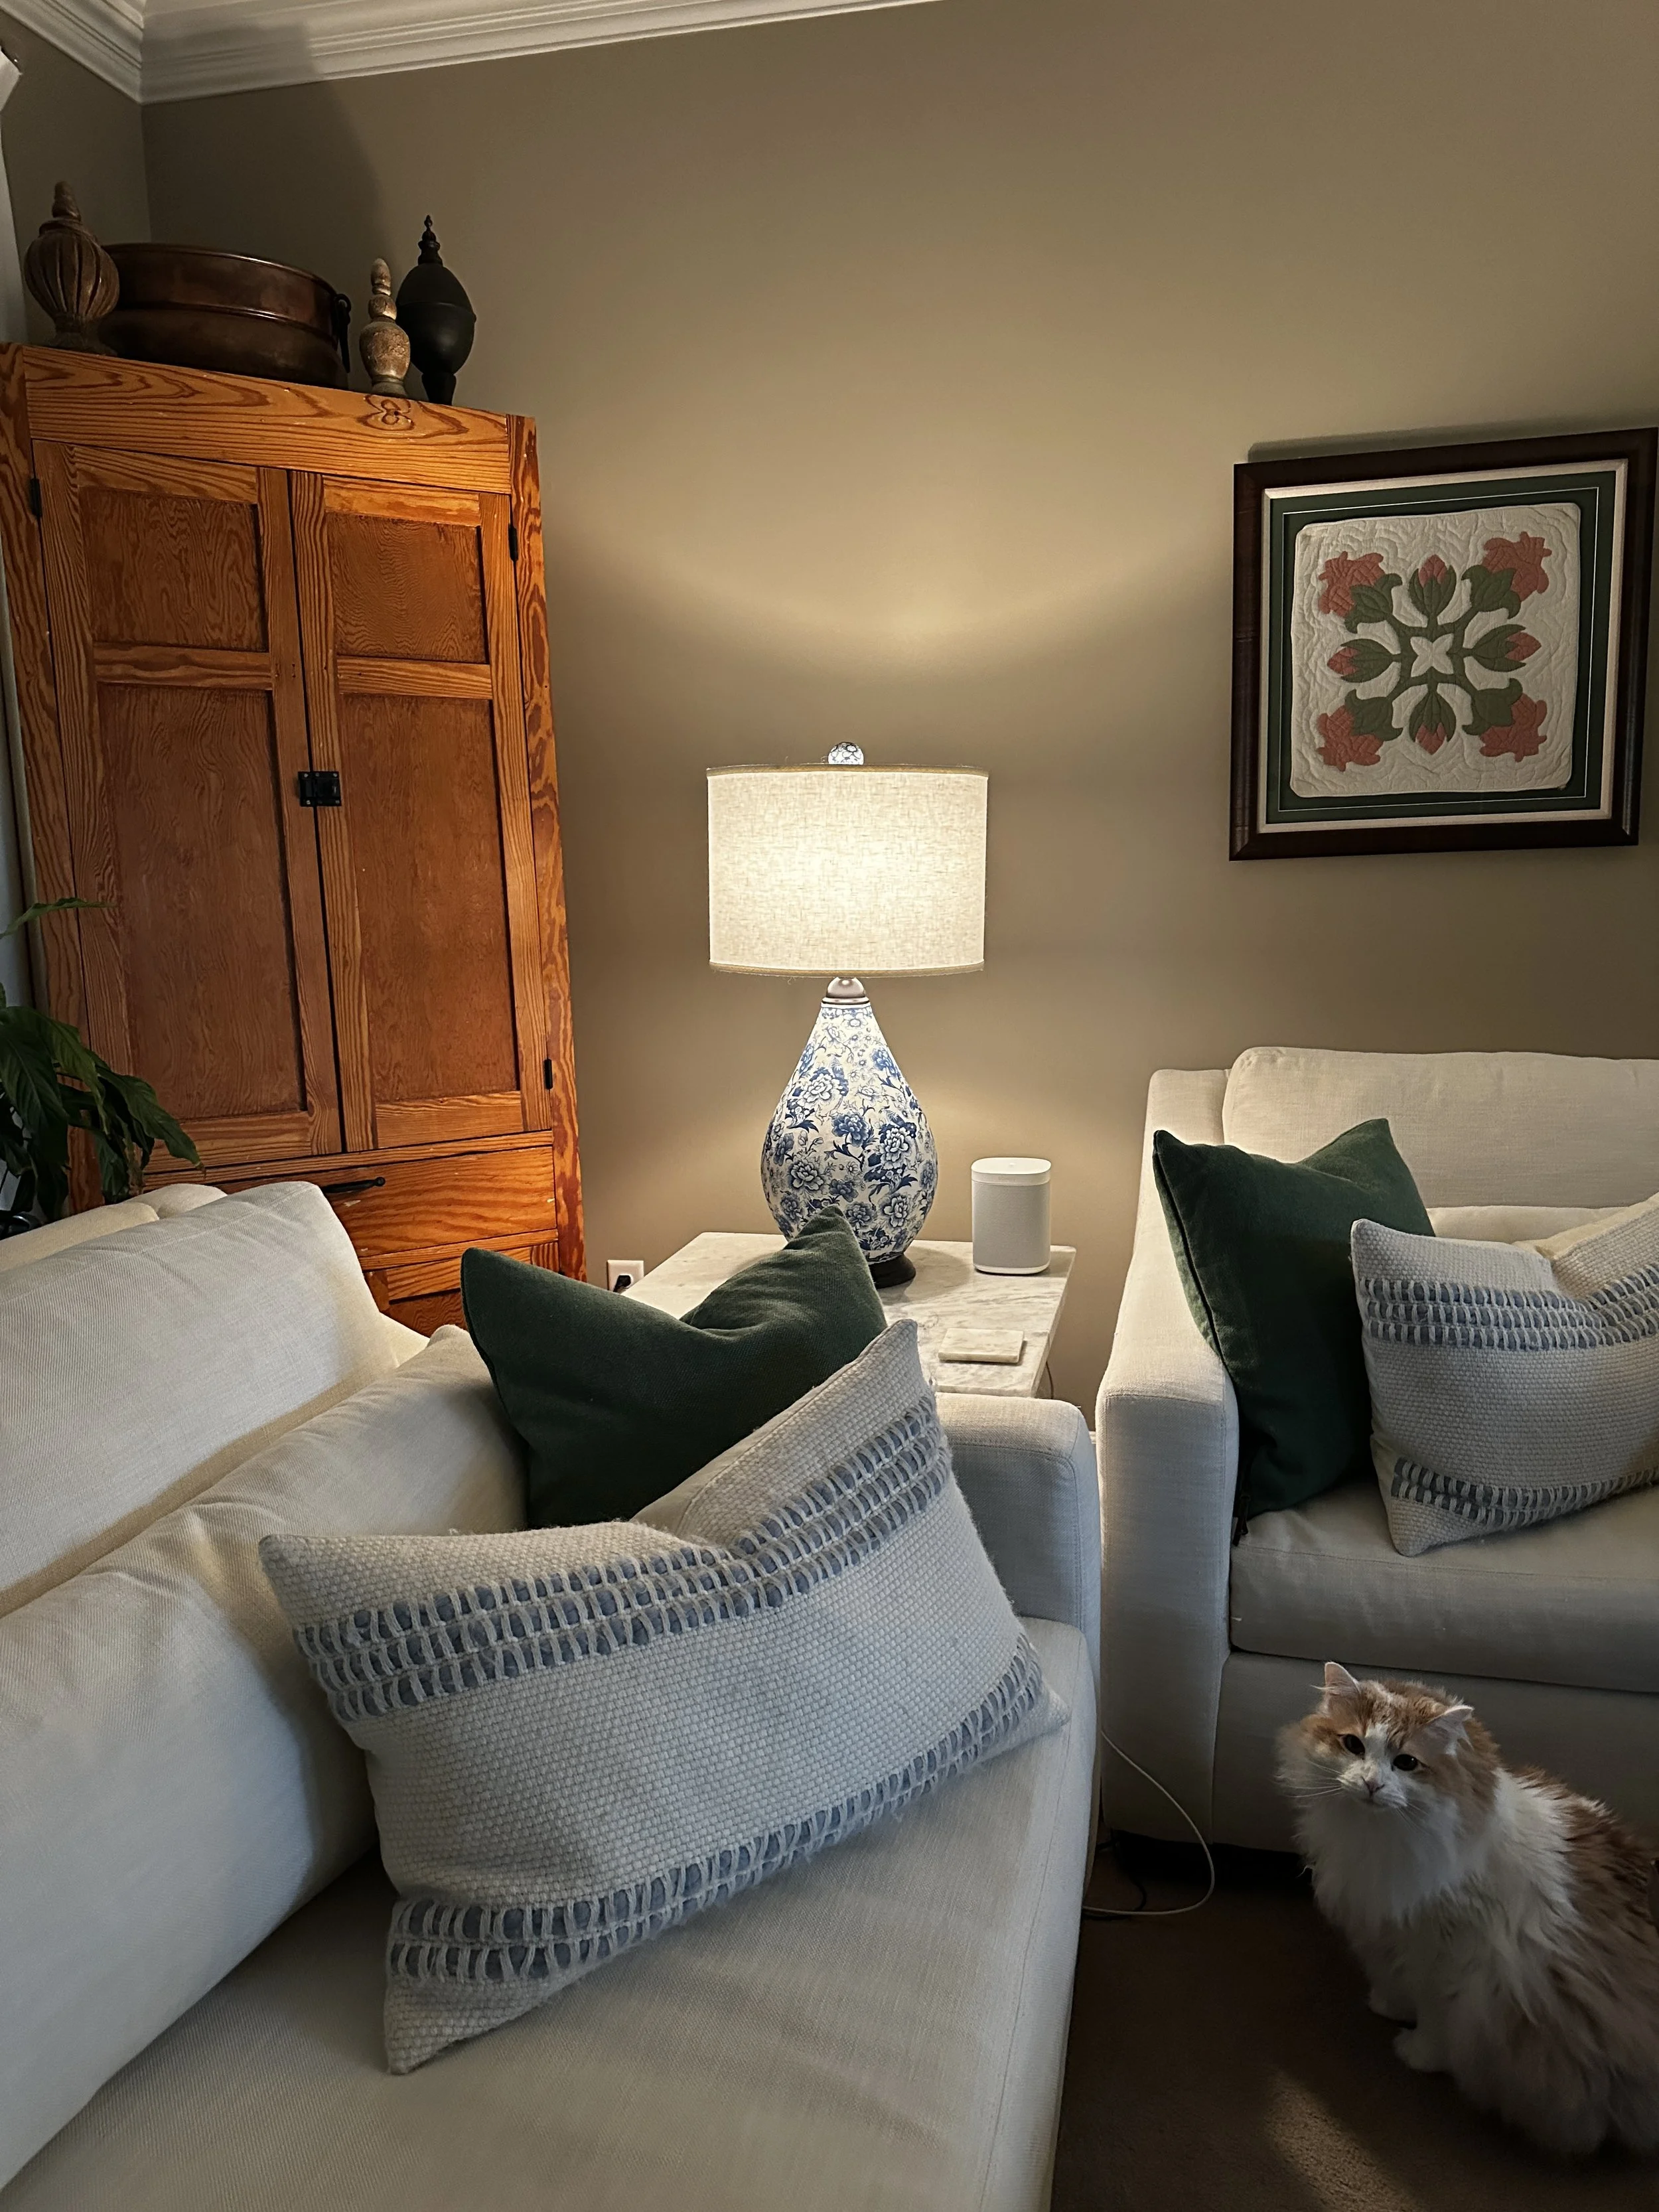
How to Update a Lamp – an Upcycle Story
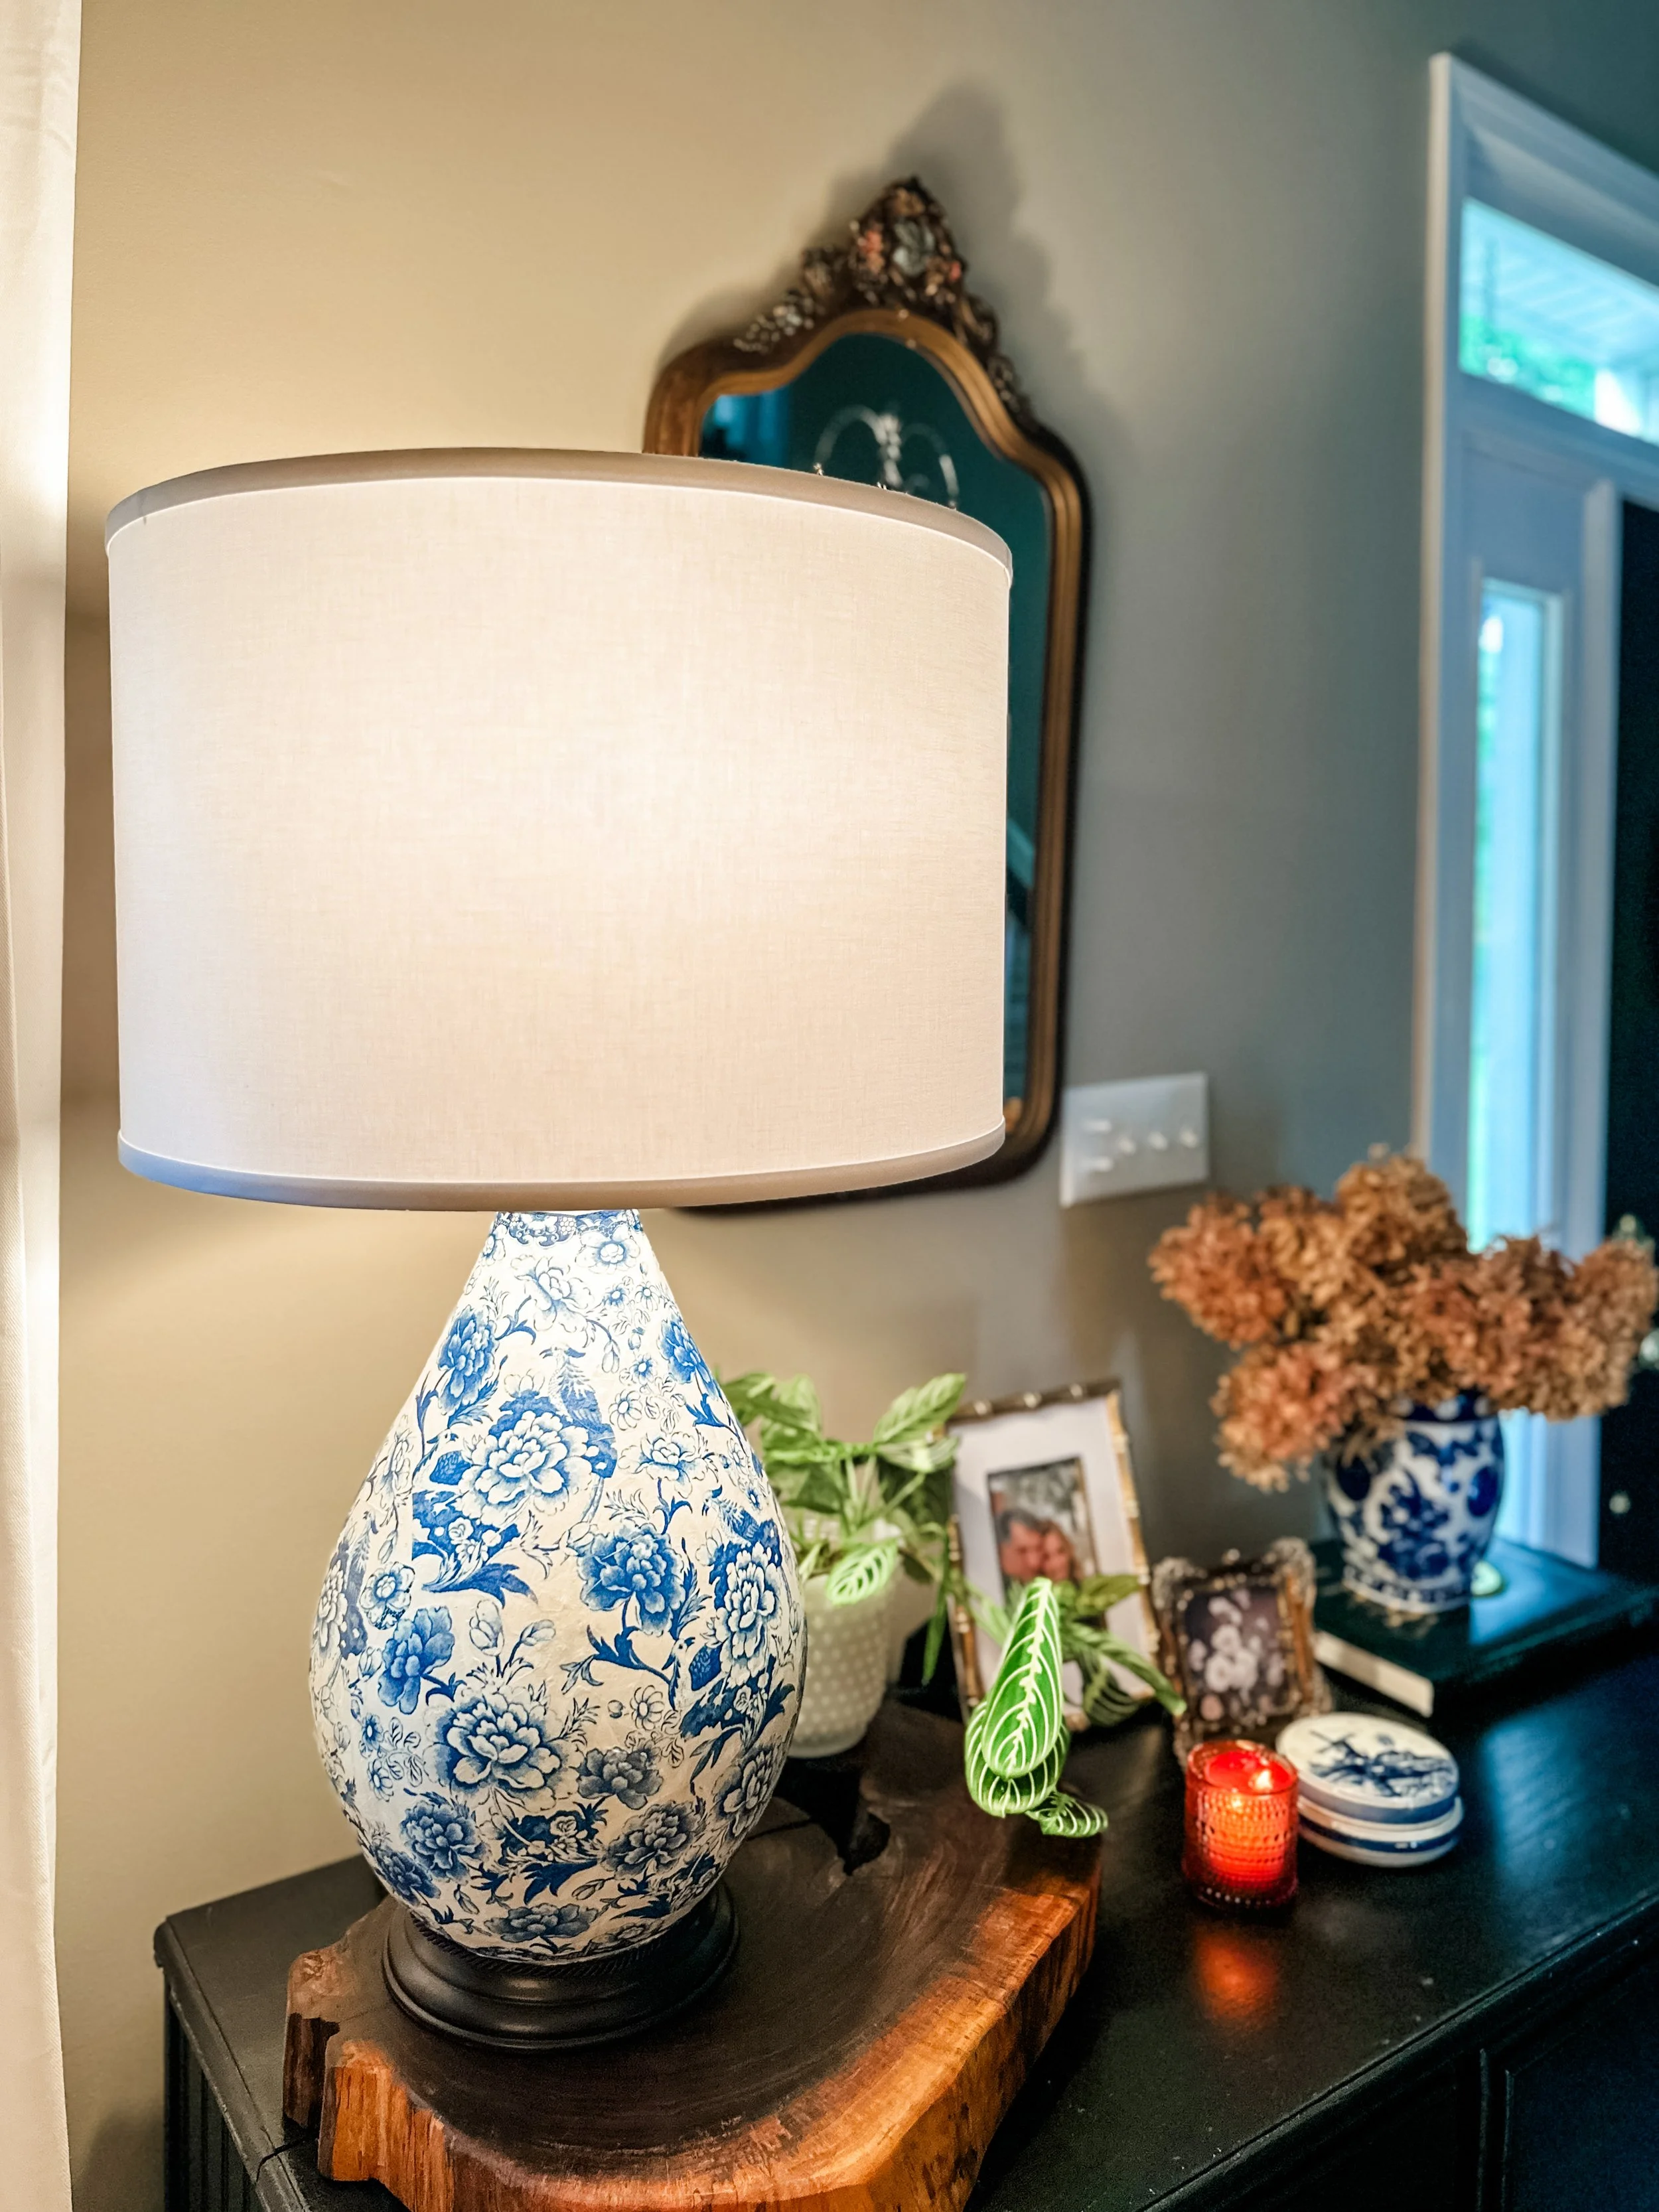
In 2010, my sister came to visit me for a week. I took off work and she and I spent a week laughing, talking, rearranging furniture, pulling all of my decor out of my closets. What resulted was an updated living room and it was glorious! One of the last things we did was take a trip out to some of the local stores to look for accessories to finish up the space. At that time, Pier One was still in business.
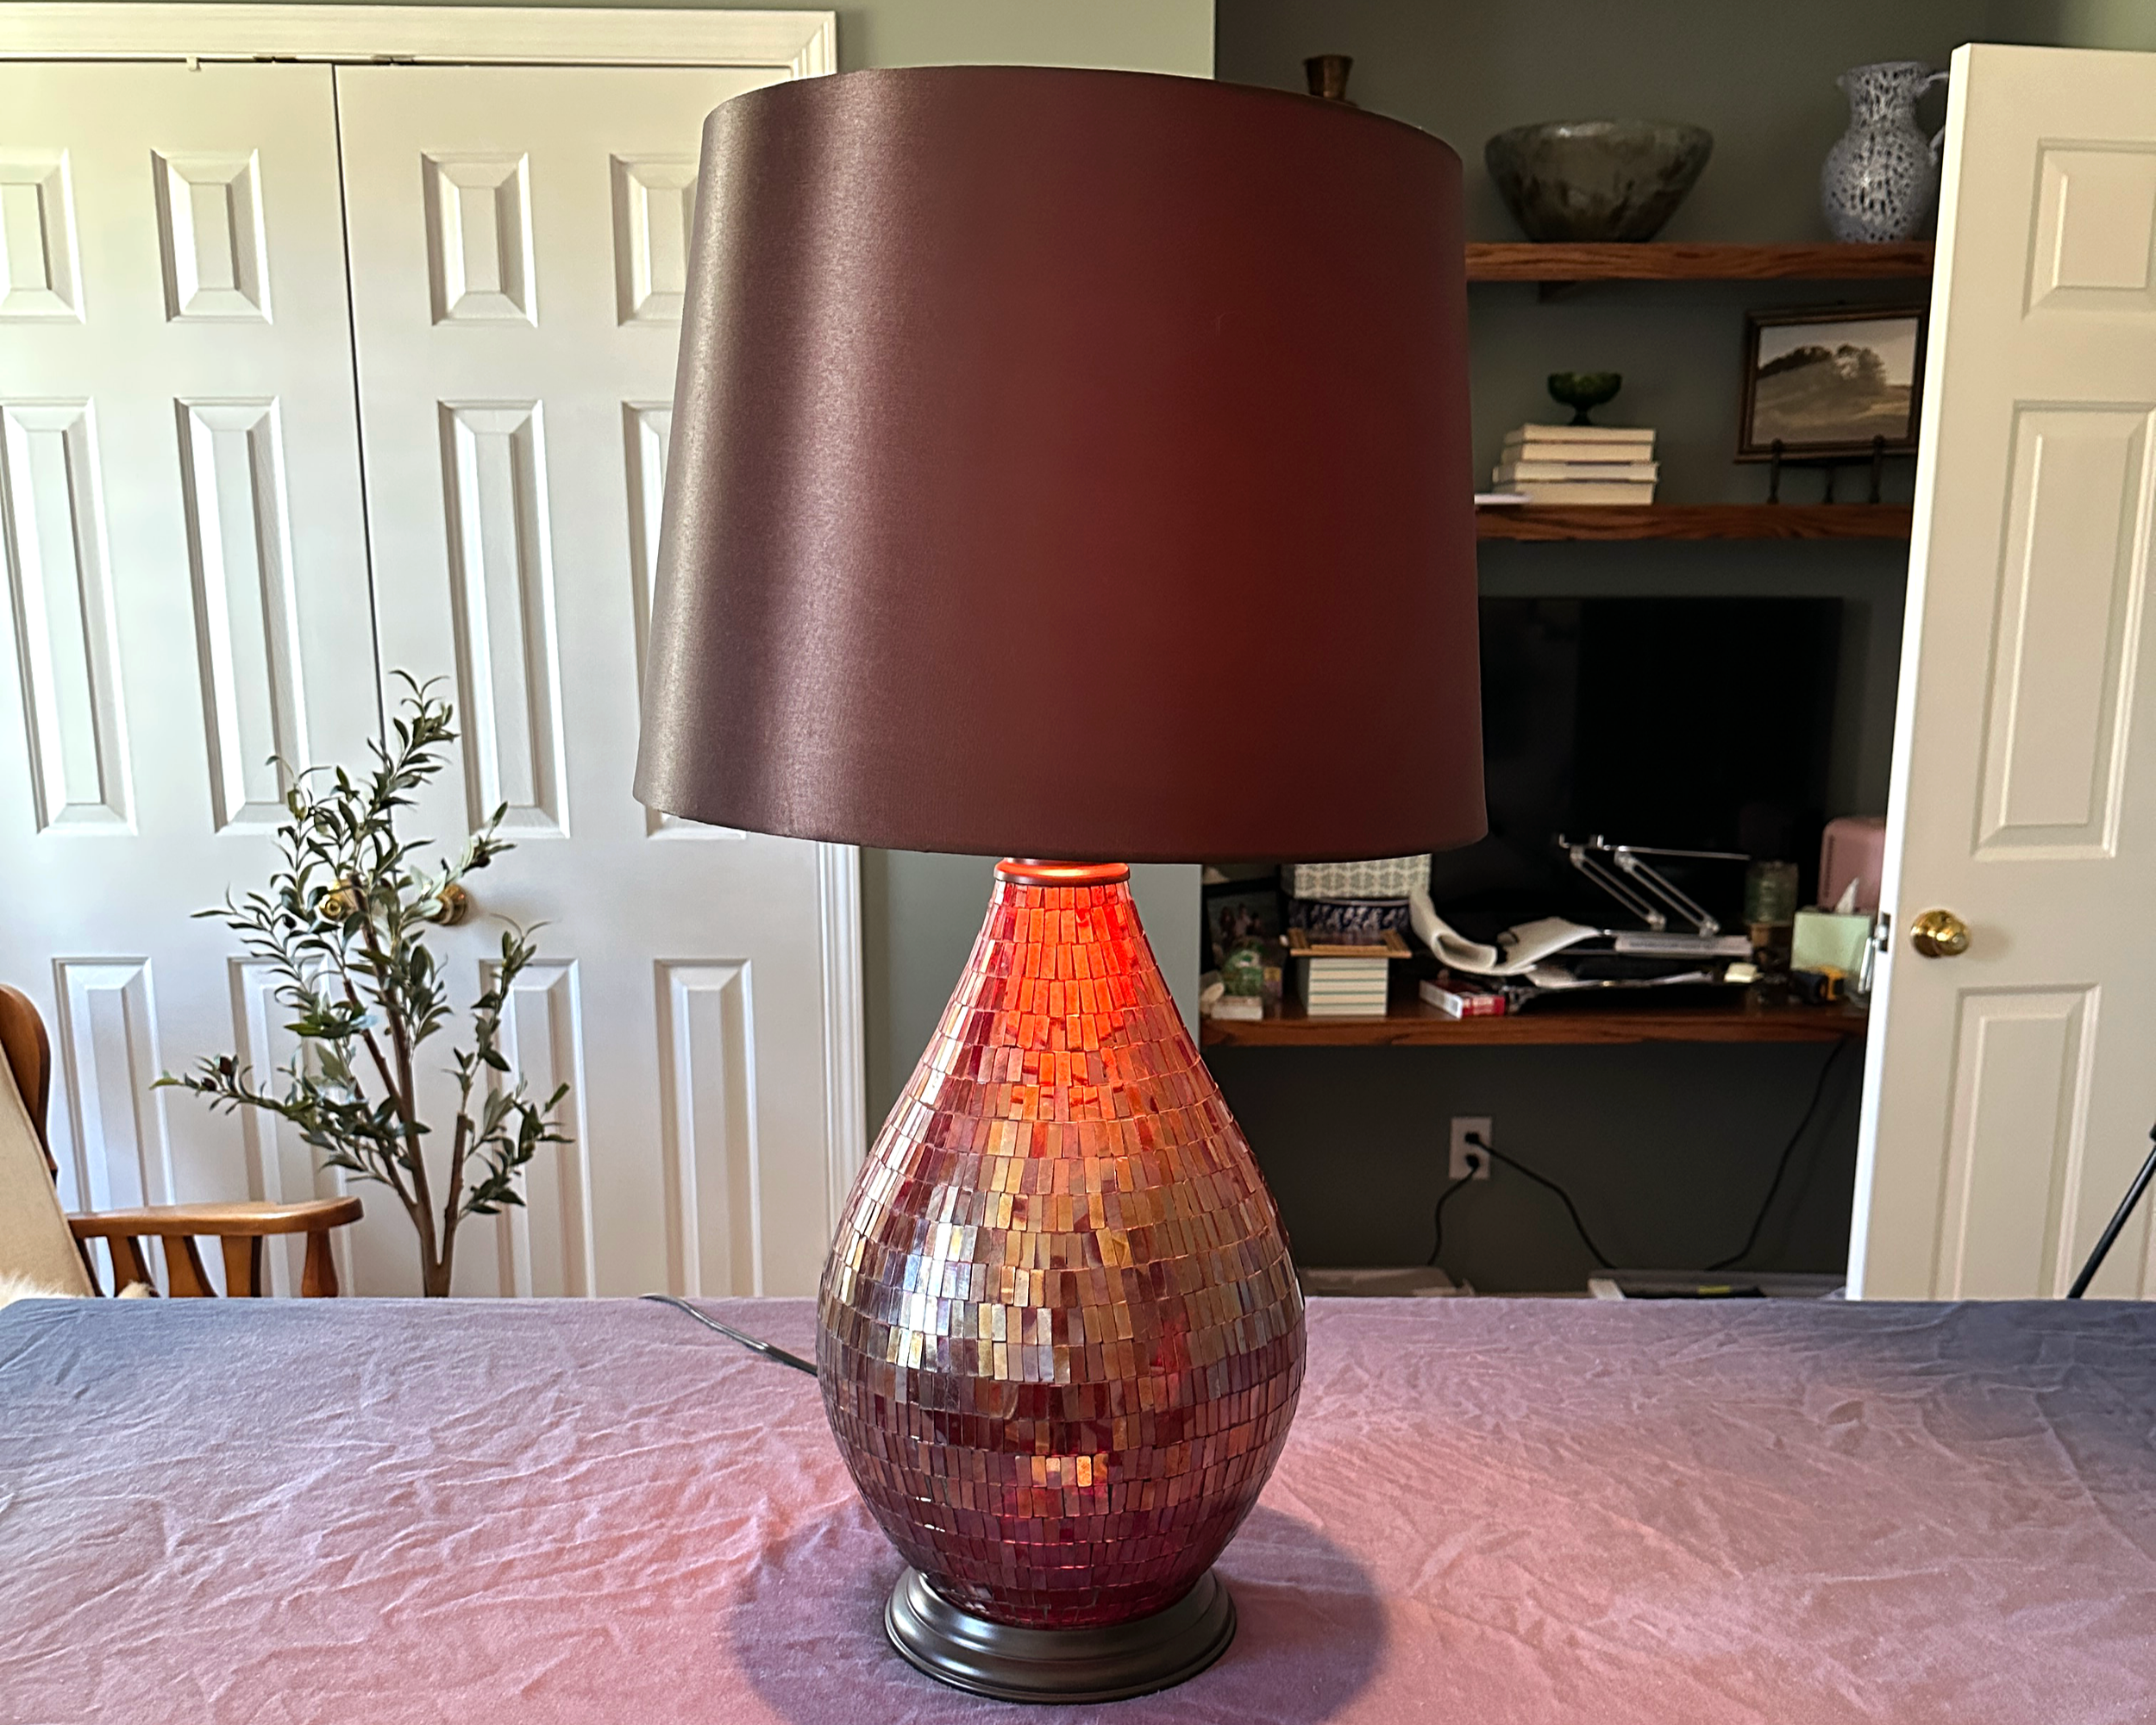
We got a few things, but the star of the show was this lamp. I had red accents in my living room and my professional interior designer sister thought it would tie everything together and give it a modern look. She was right, it was special! It had a big red mosaic tile base and the lampshade was black with a red silk lining. It was fancy! And, it also had a fancy price tag in my opinion. I paid $150 for that lamp and it was by far the most I have ever paid for a lamp in my life!

When I grew tired of the red and gold color scheme in my living room, the lamp had to be relocated. It’s been in several bedrooms and in several closets. I couldn’t bear to part with it because of its size and shape. I felt like I could update it in some way but I had to think on it for a while.
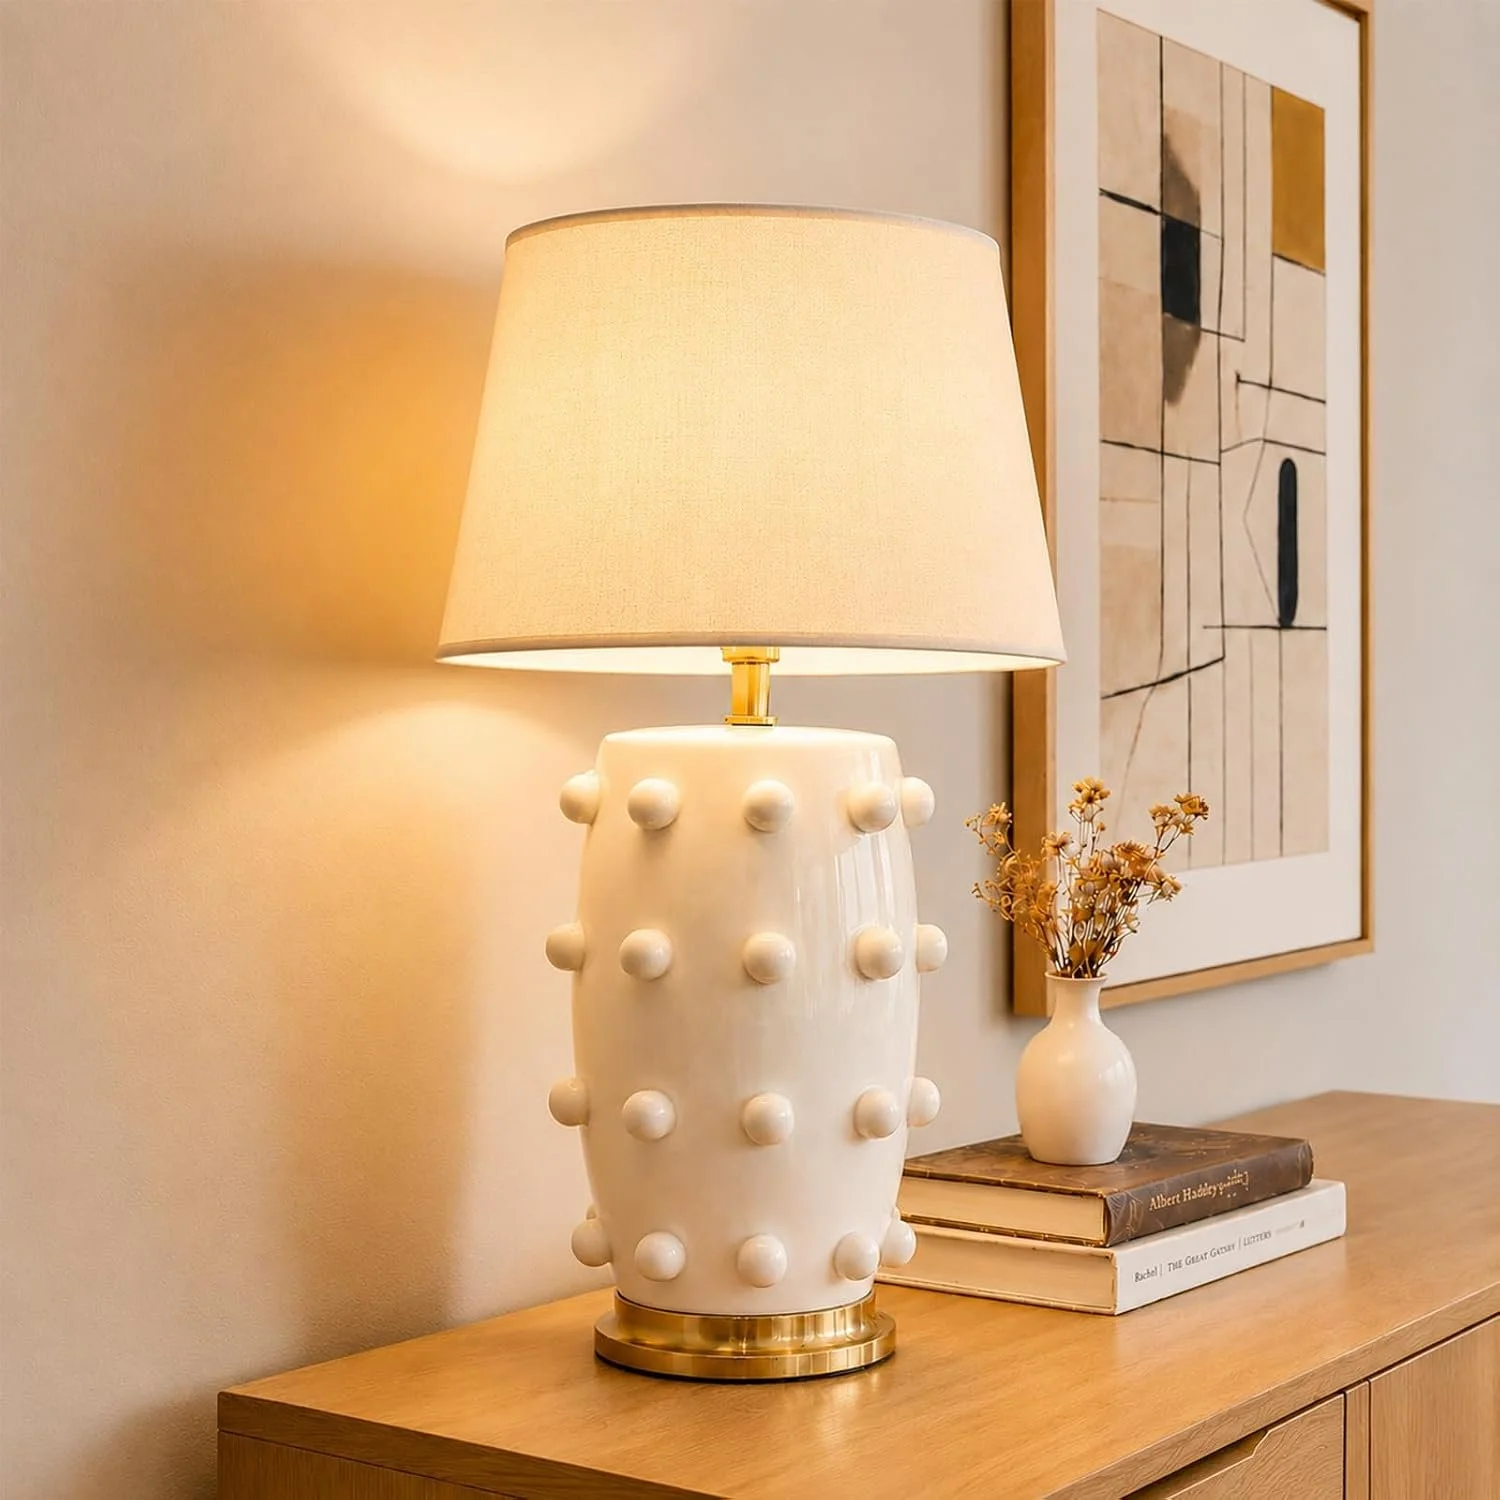
I had two ideas and I just wasn’t sure which one of them was going to work out. I either wanted to paint it white and attach wood half balls like this →
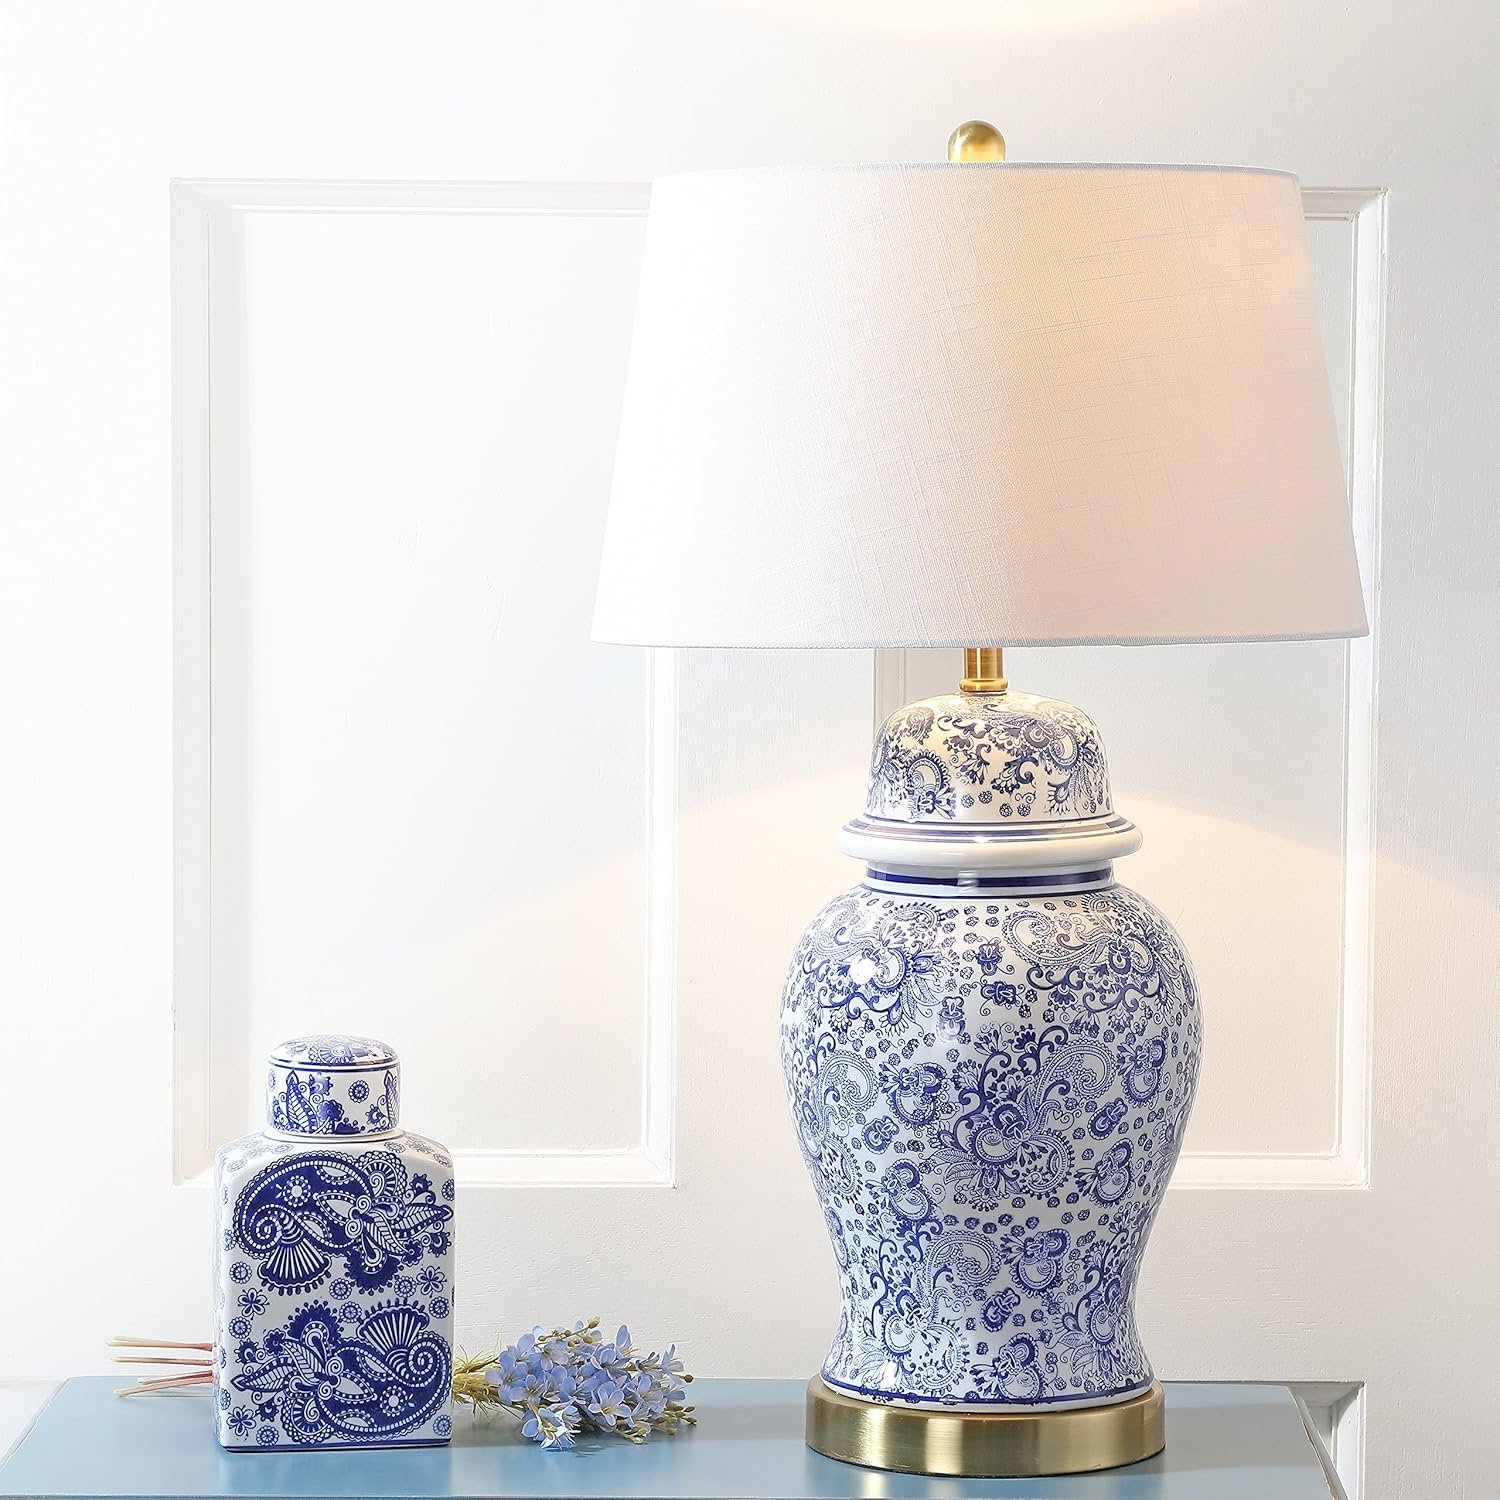
← I wanted to decoupage it to look like a fine blue and white chinoiserie lamp!
I’ve never decoupaged before so I was a little nervous that it would turn out like a high school craft project. My thought process was that if it didn’t turn out, I could sand the decoupage off and go with the other idea. Either way, this lamp was going to get a glow up! ✨
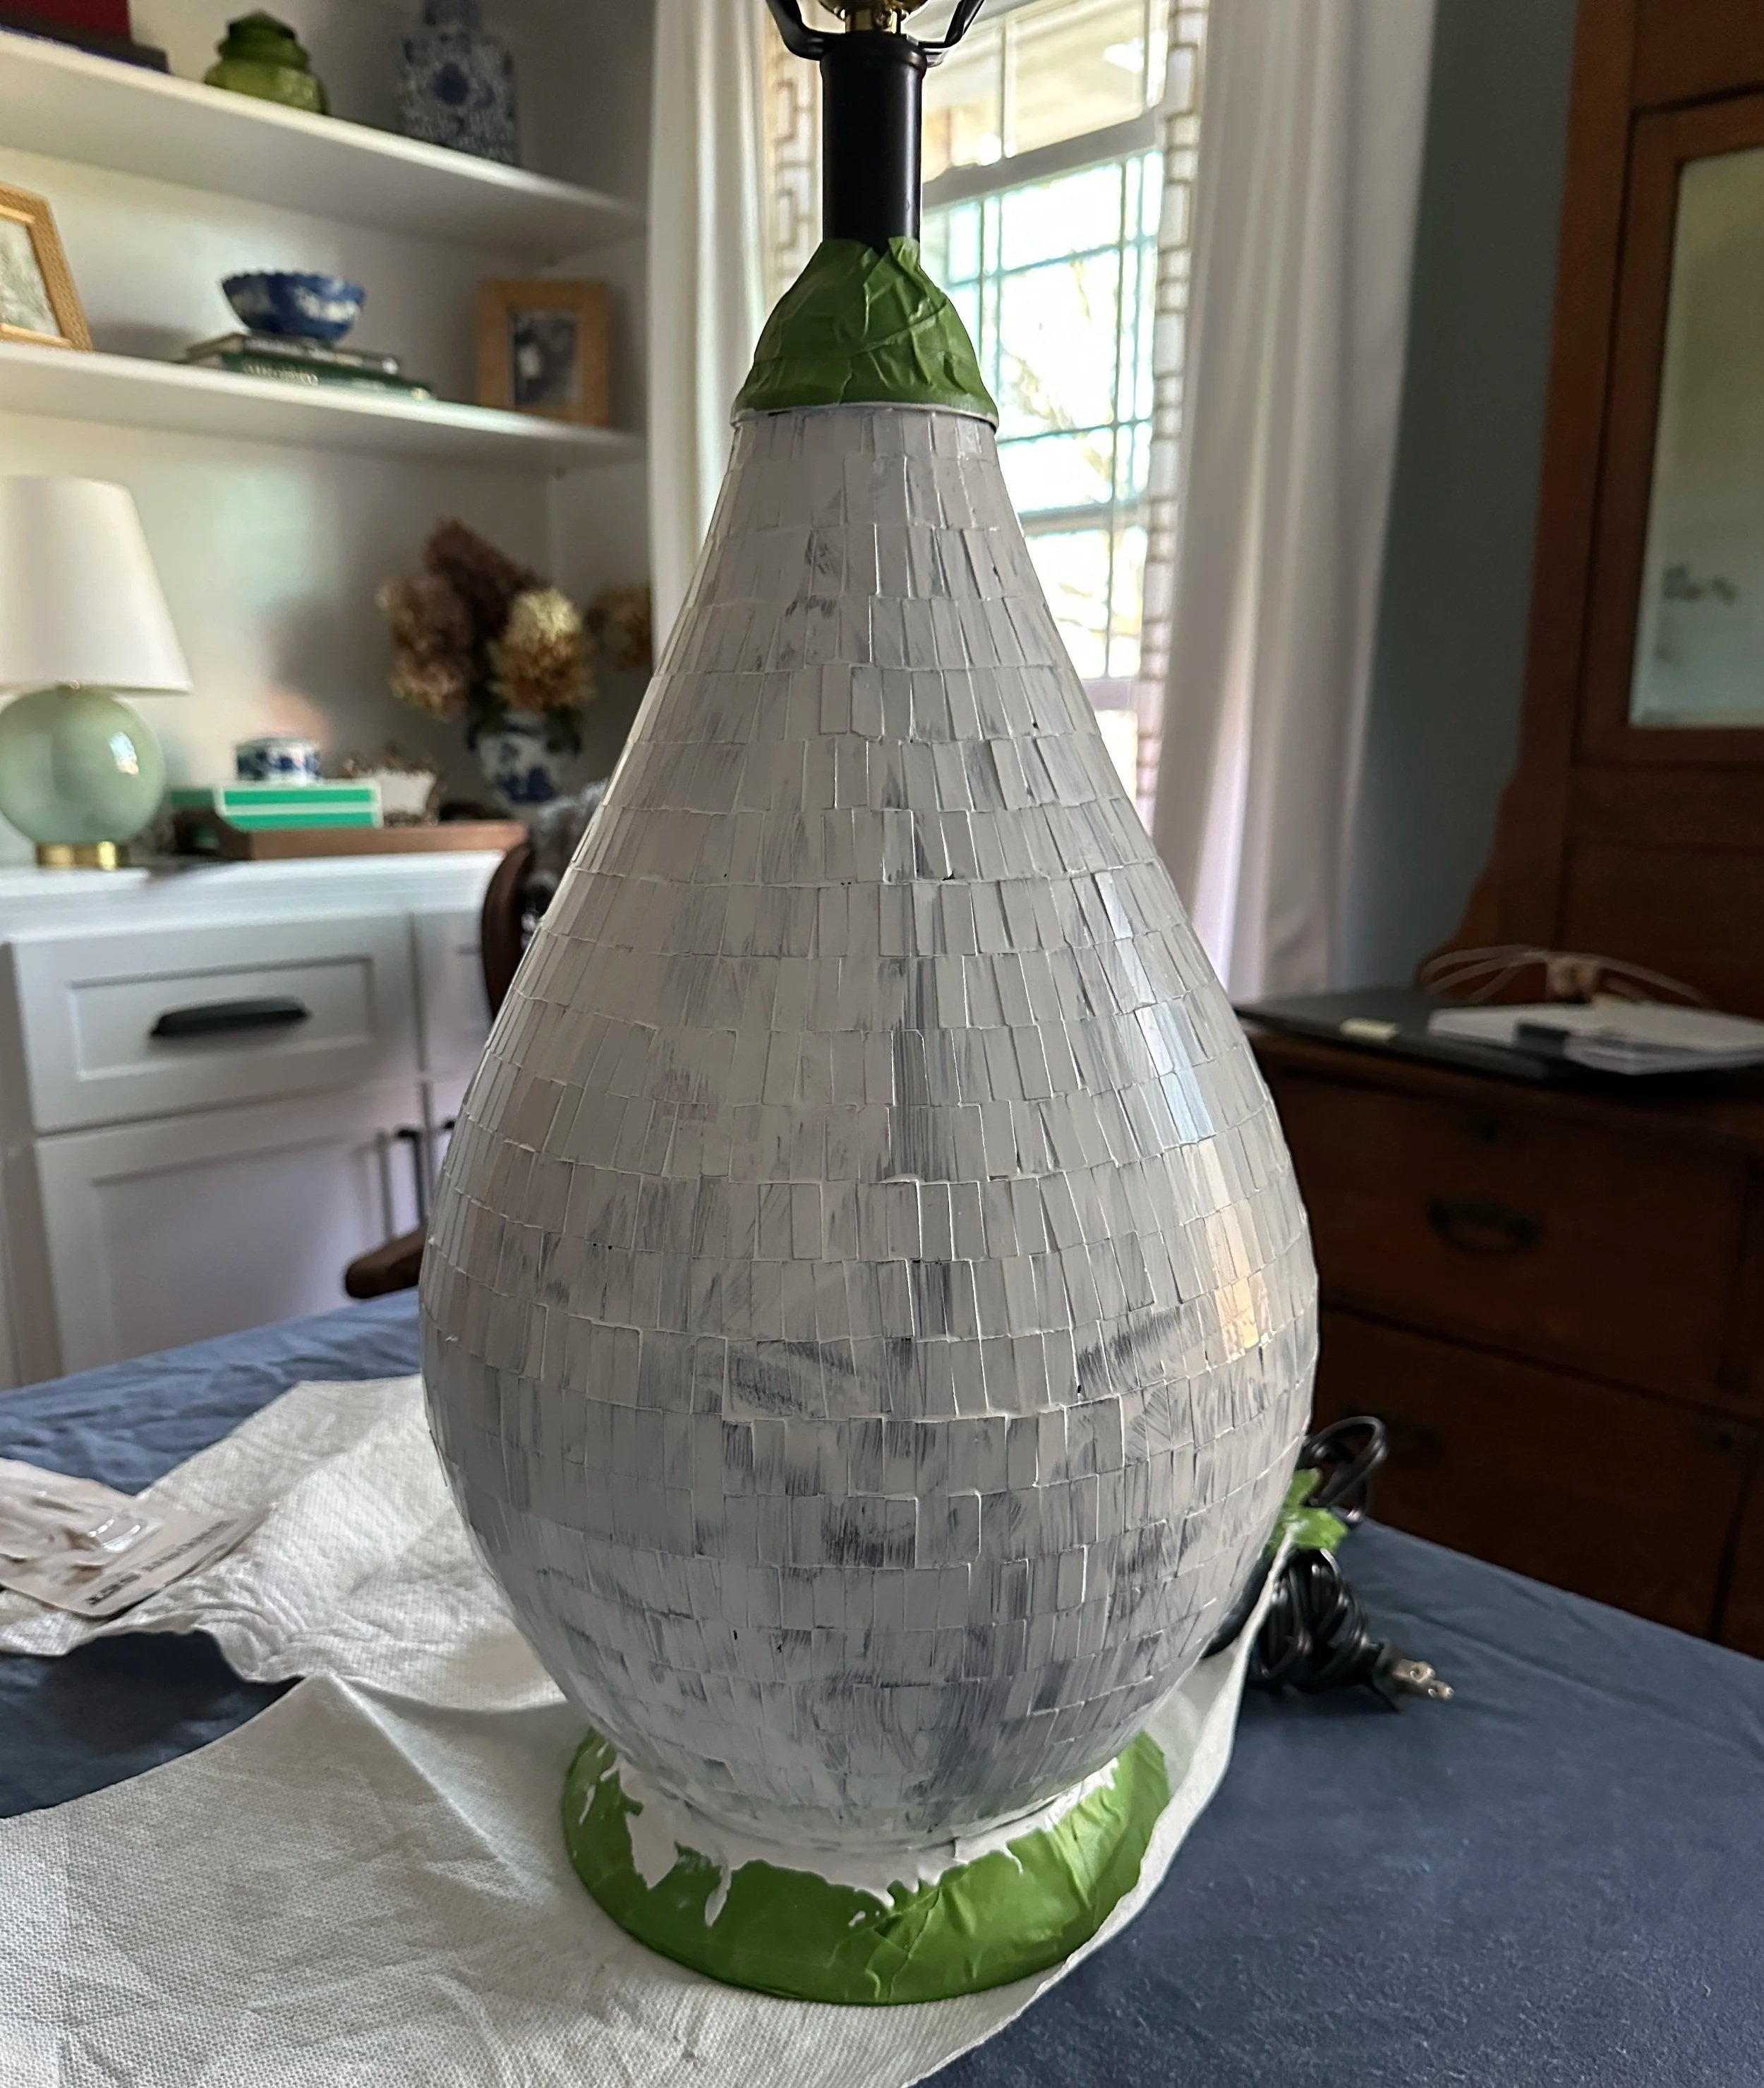
The first problem was the mosaic tiles. I taped off the top and bottom of the lamp so I wouldn’t get paint on them. I then painted primer over the tiles to see if that’s all I would have to do to get started on the decoupage process. No can do – not going to get that lucky!😂 I could still see the outline of every tile so it was on to plan B. I had to find a material that I could use to cover the entire lamp base. Sounds like a trip to Lowe’s is in order!
When I was browsing the aisles at Lowe’s, a nice gentleman asked if I needed any help. I told him about my project and he took me on an adventure through the store. He seemed excited about my little lamp project!😂 He took me into the employee break room to show me a table that had been covered with epoxy and how it created a smooth finish. I didn’t think that would work for the lamp. Because of its shape, the epoxy would probably drip and that wouldn’t look good at all. Also, epoxy creates a glass-like finish and I’d still have to find a way to rough up the surface enough to do the next step.
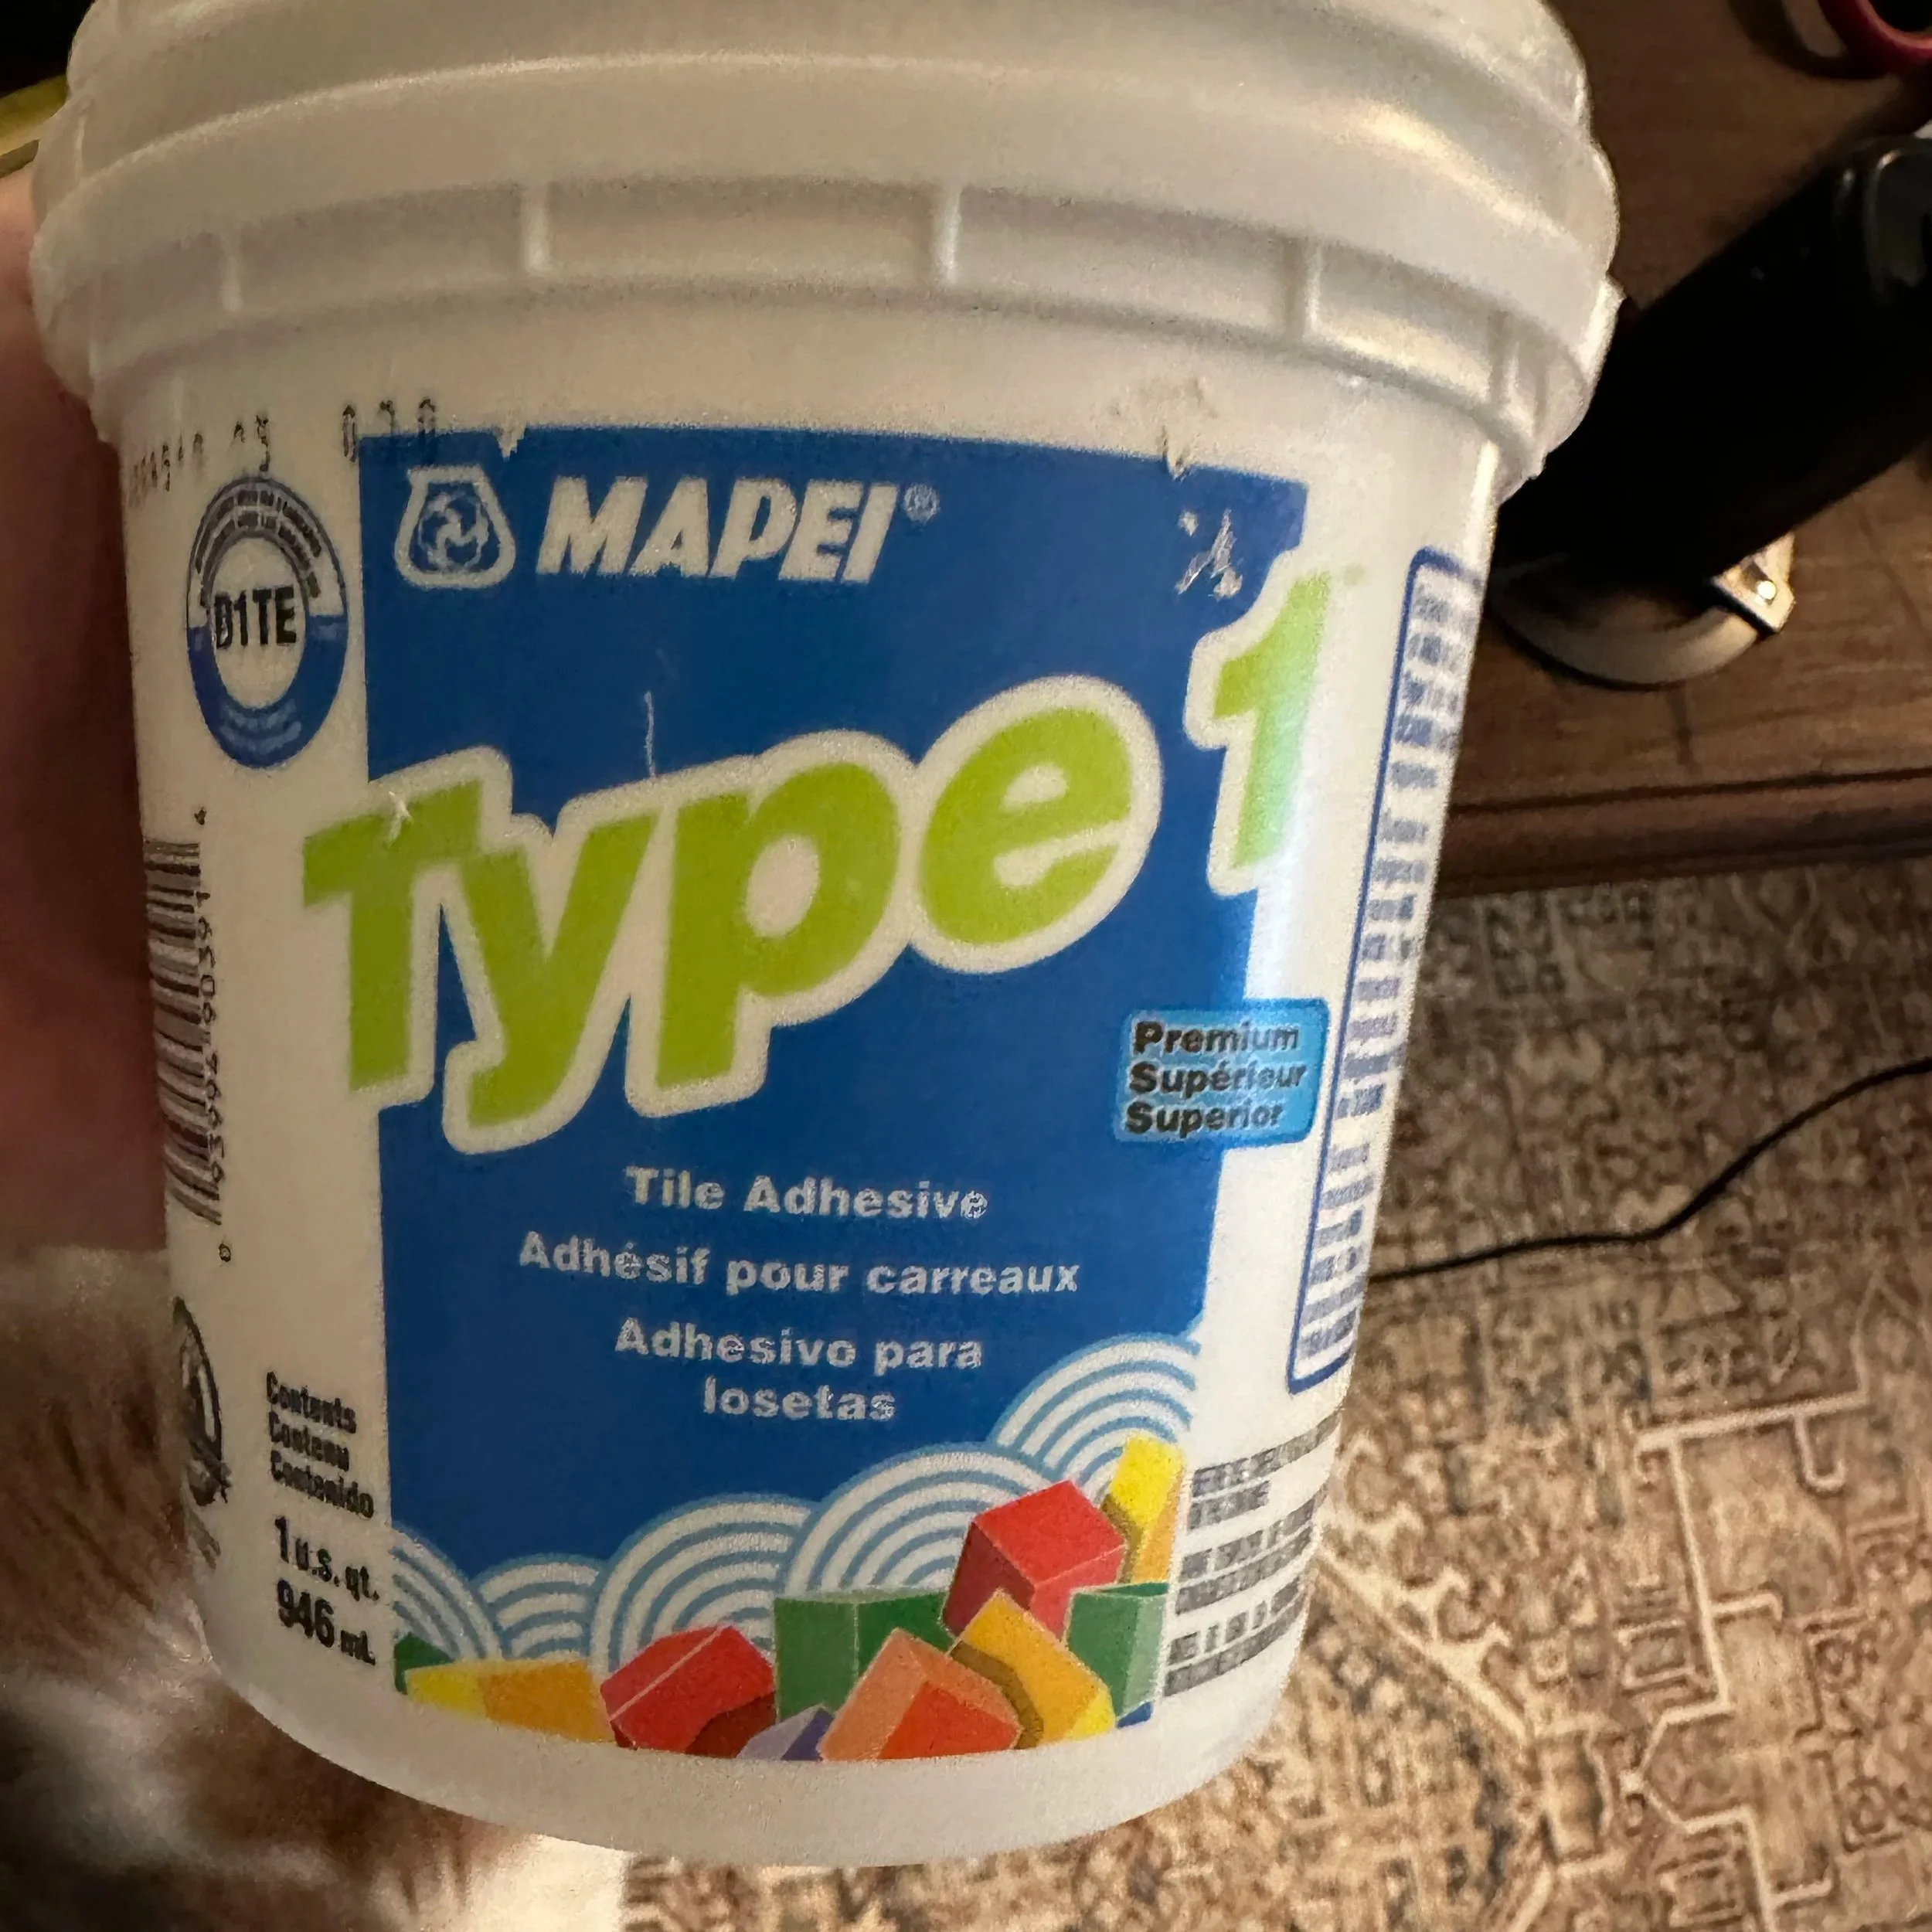
He agreed and then took me to the tile aisle and recommended either tile adhesive or grout. I have some experience using both products from the days when I created a few mosaic flower pots and a frame for a mirror for my daughter’s room. Once I thought about how tile adhesive behaves, I knew that was the perfect solution to my problem. I got it home and applied it like I was frosting a cake!😉
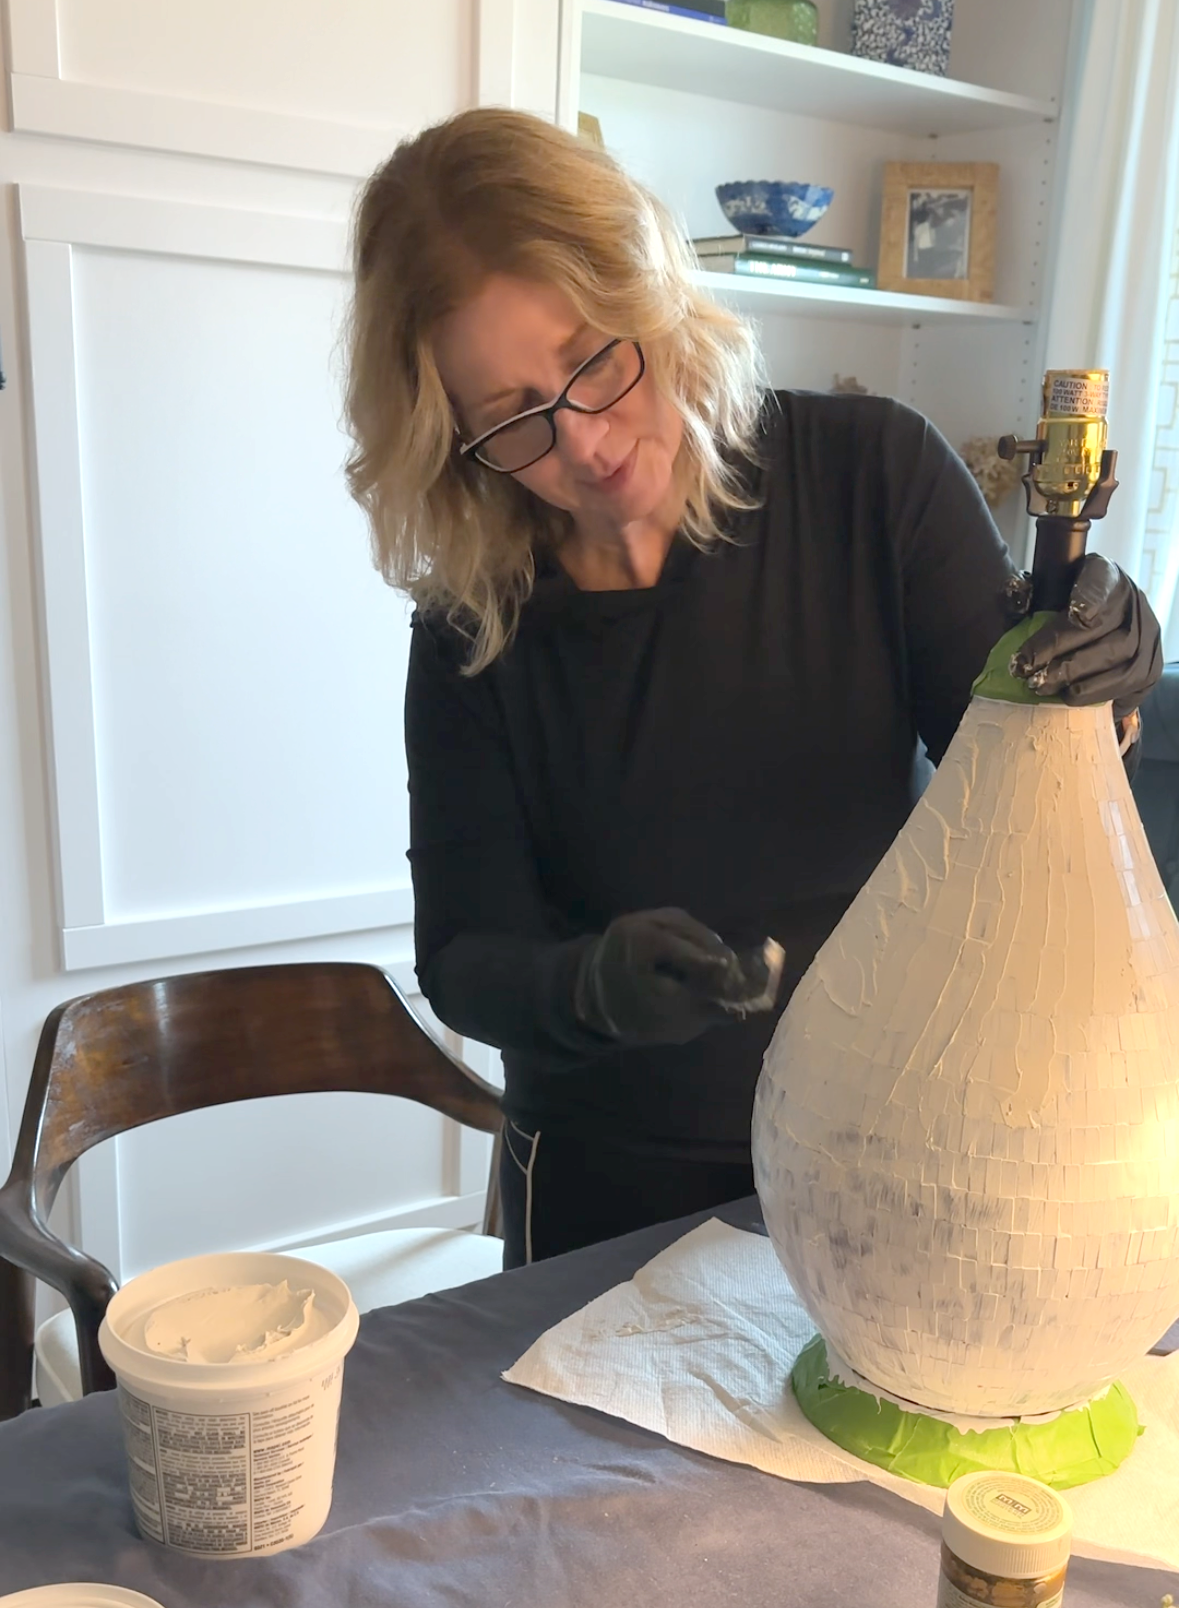
After I applied the tile adhesive, I got my hands wet and smoothed out my frosting marks. There were a few places where I could still see the mosaic tiles so it required a second coat. Once the second coat was fully dry, I lightly sanded the surface to smooth out any imperfections.
I ordered my blue and white napkins from Amazon. These are the exact ones I used for this project. I used my collection of blue and white ginger jars for inspiration and decided I wanted to have a top and bottom border to give the whole design more interest and also to make it look more authentic in the chinoiserie style.
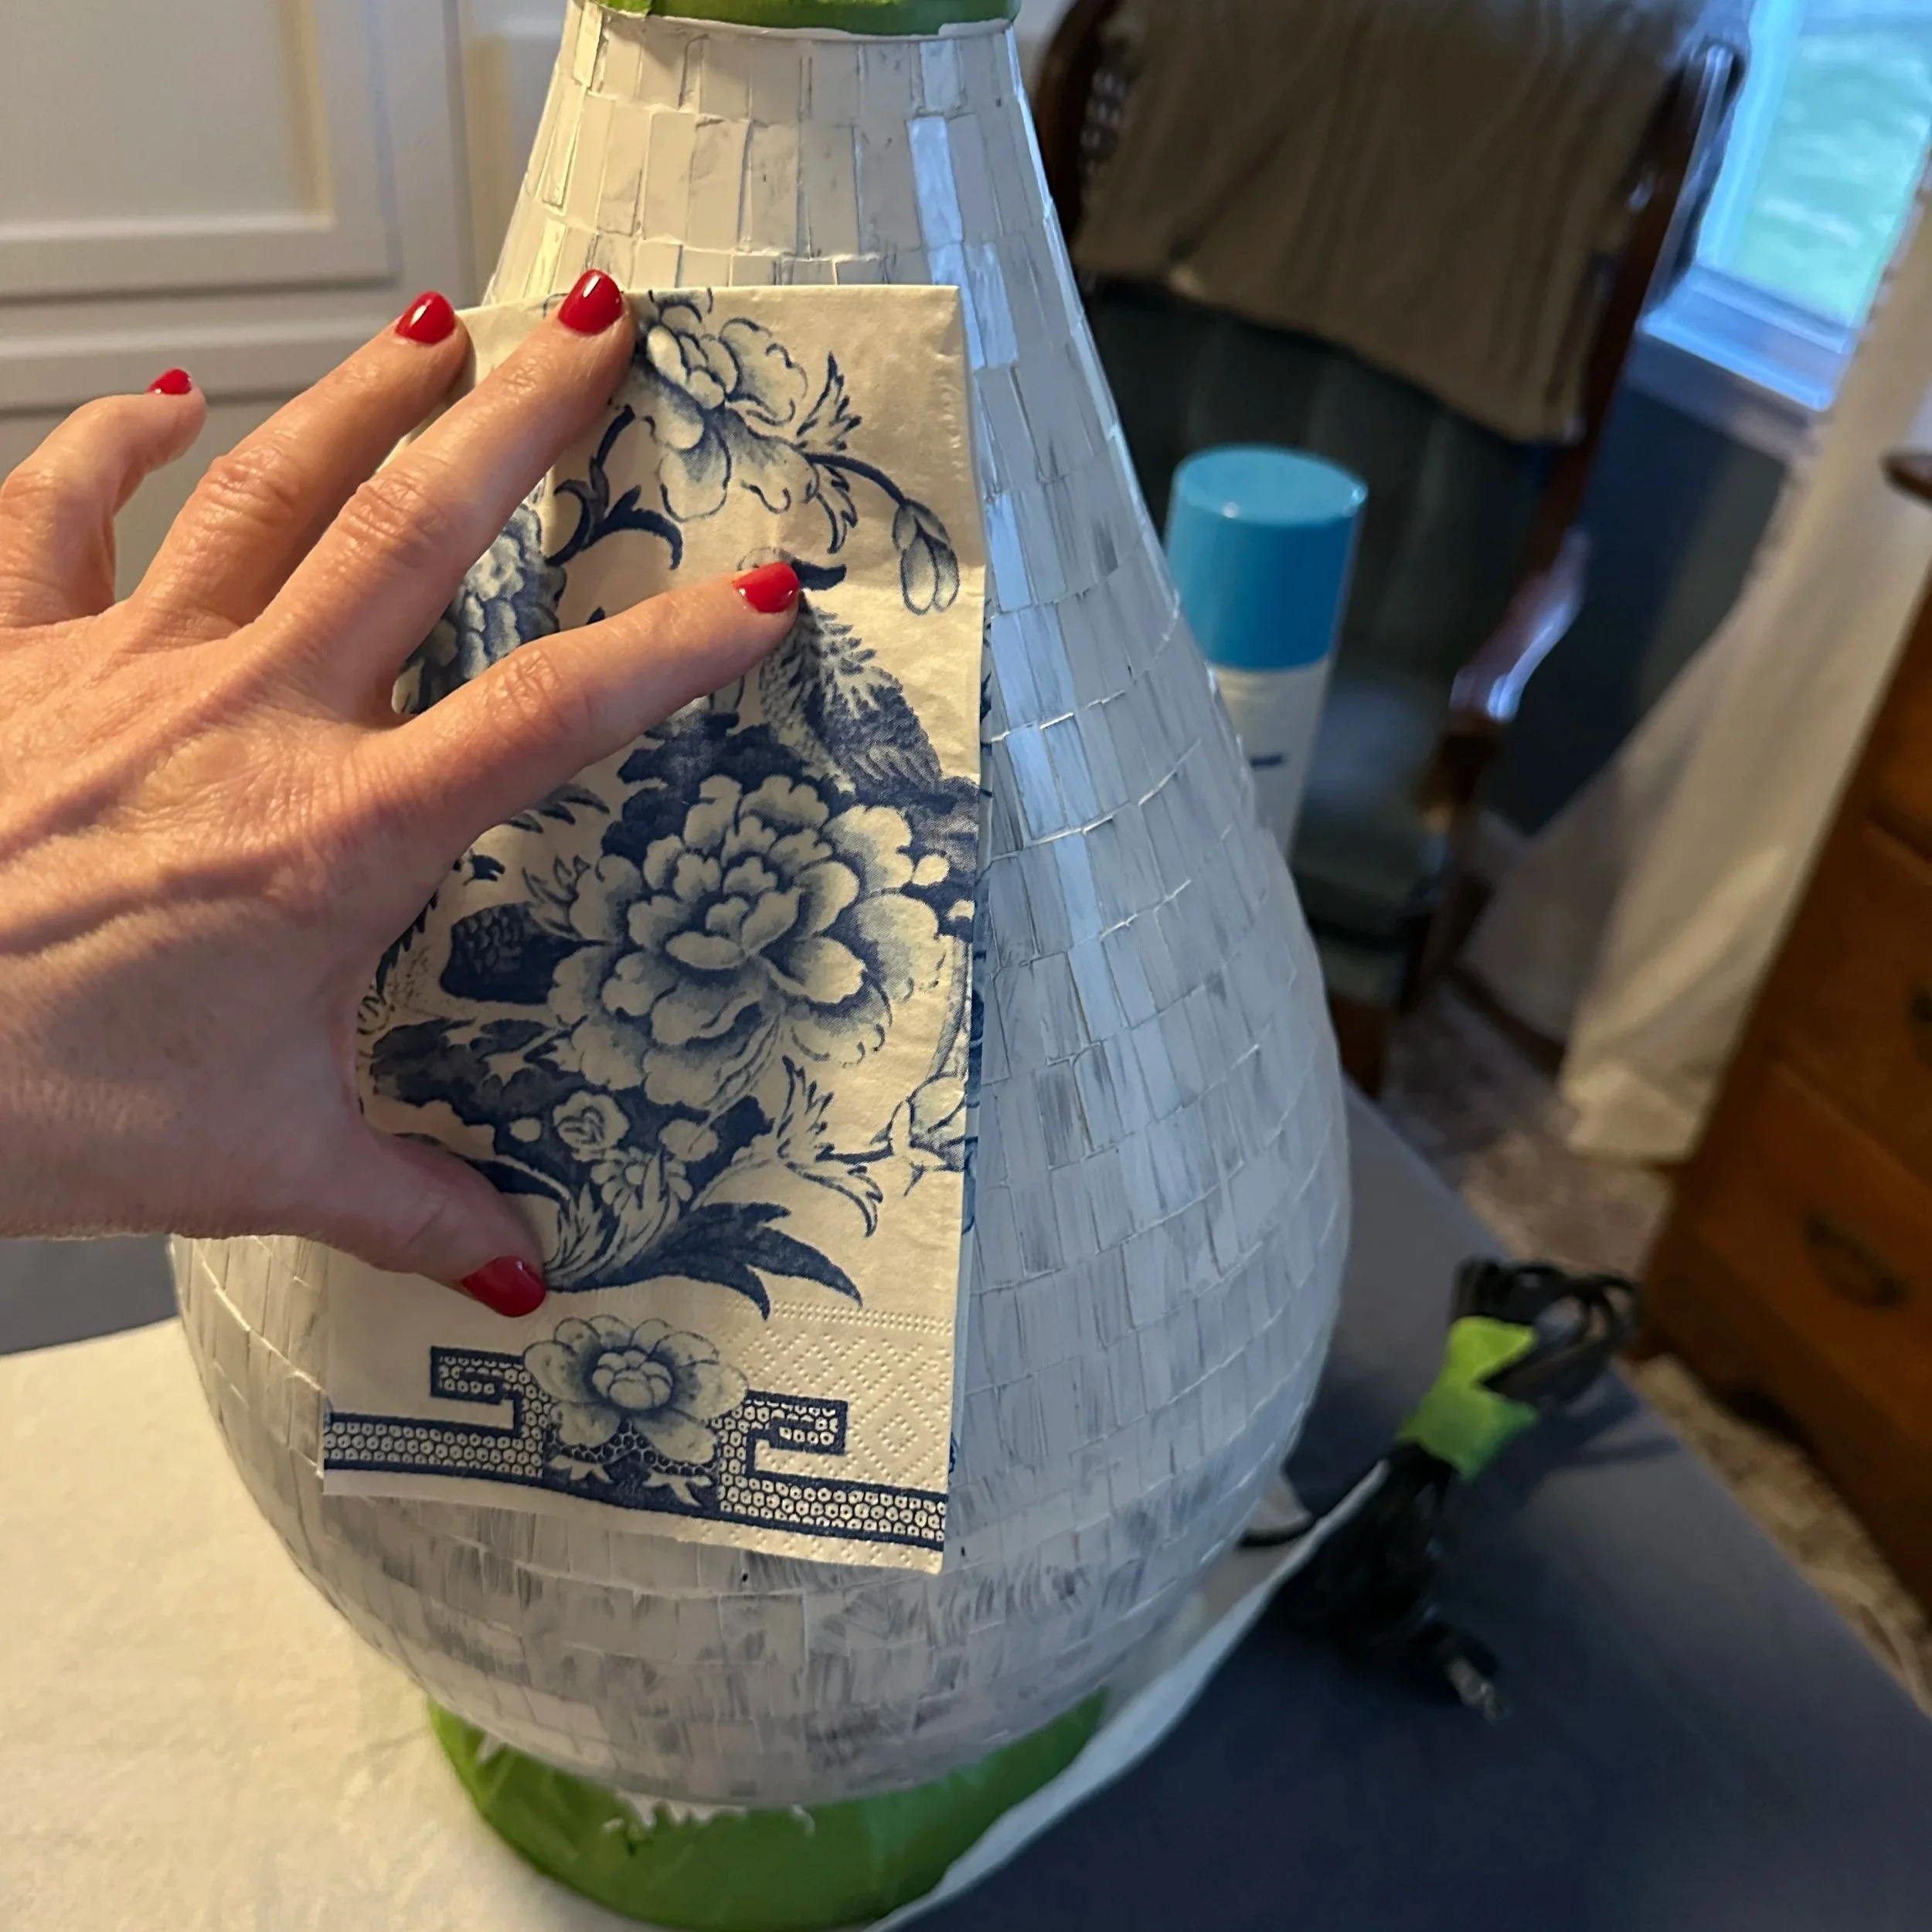
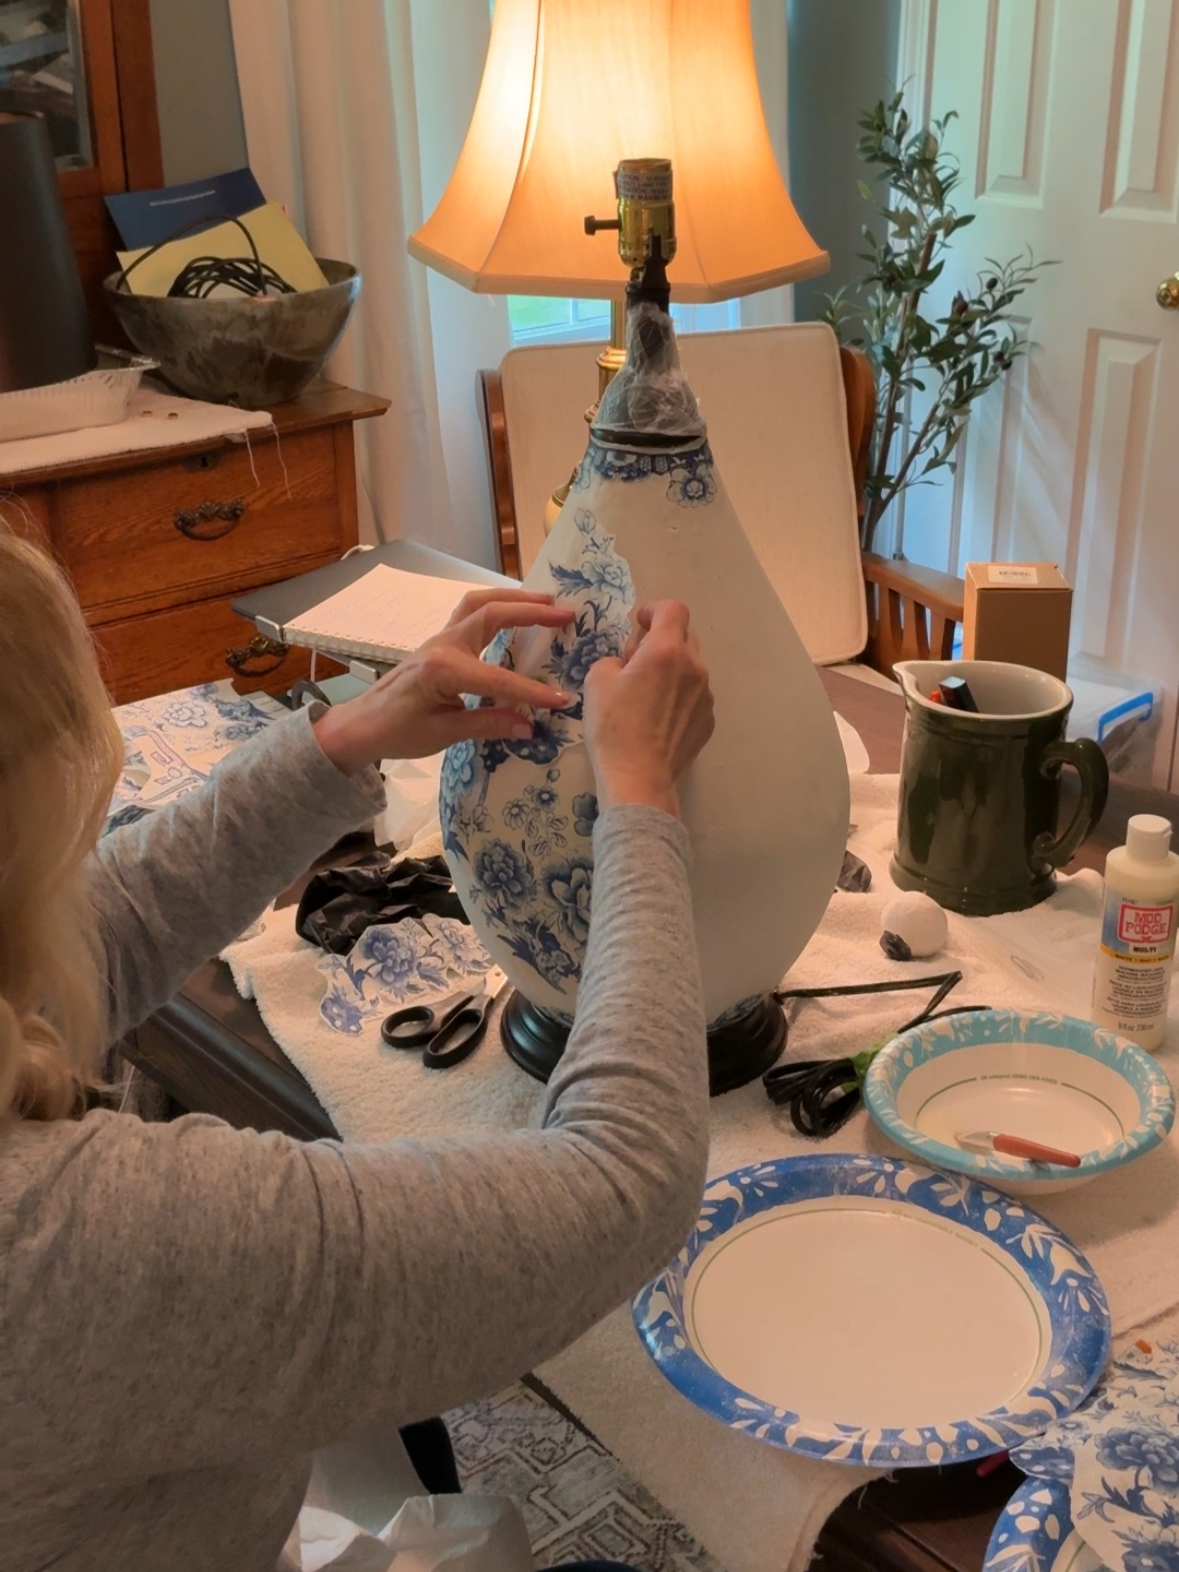
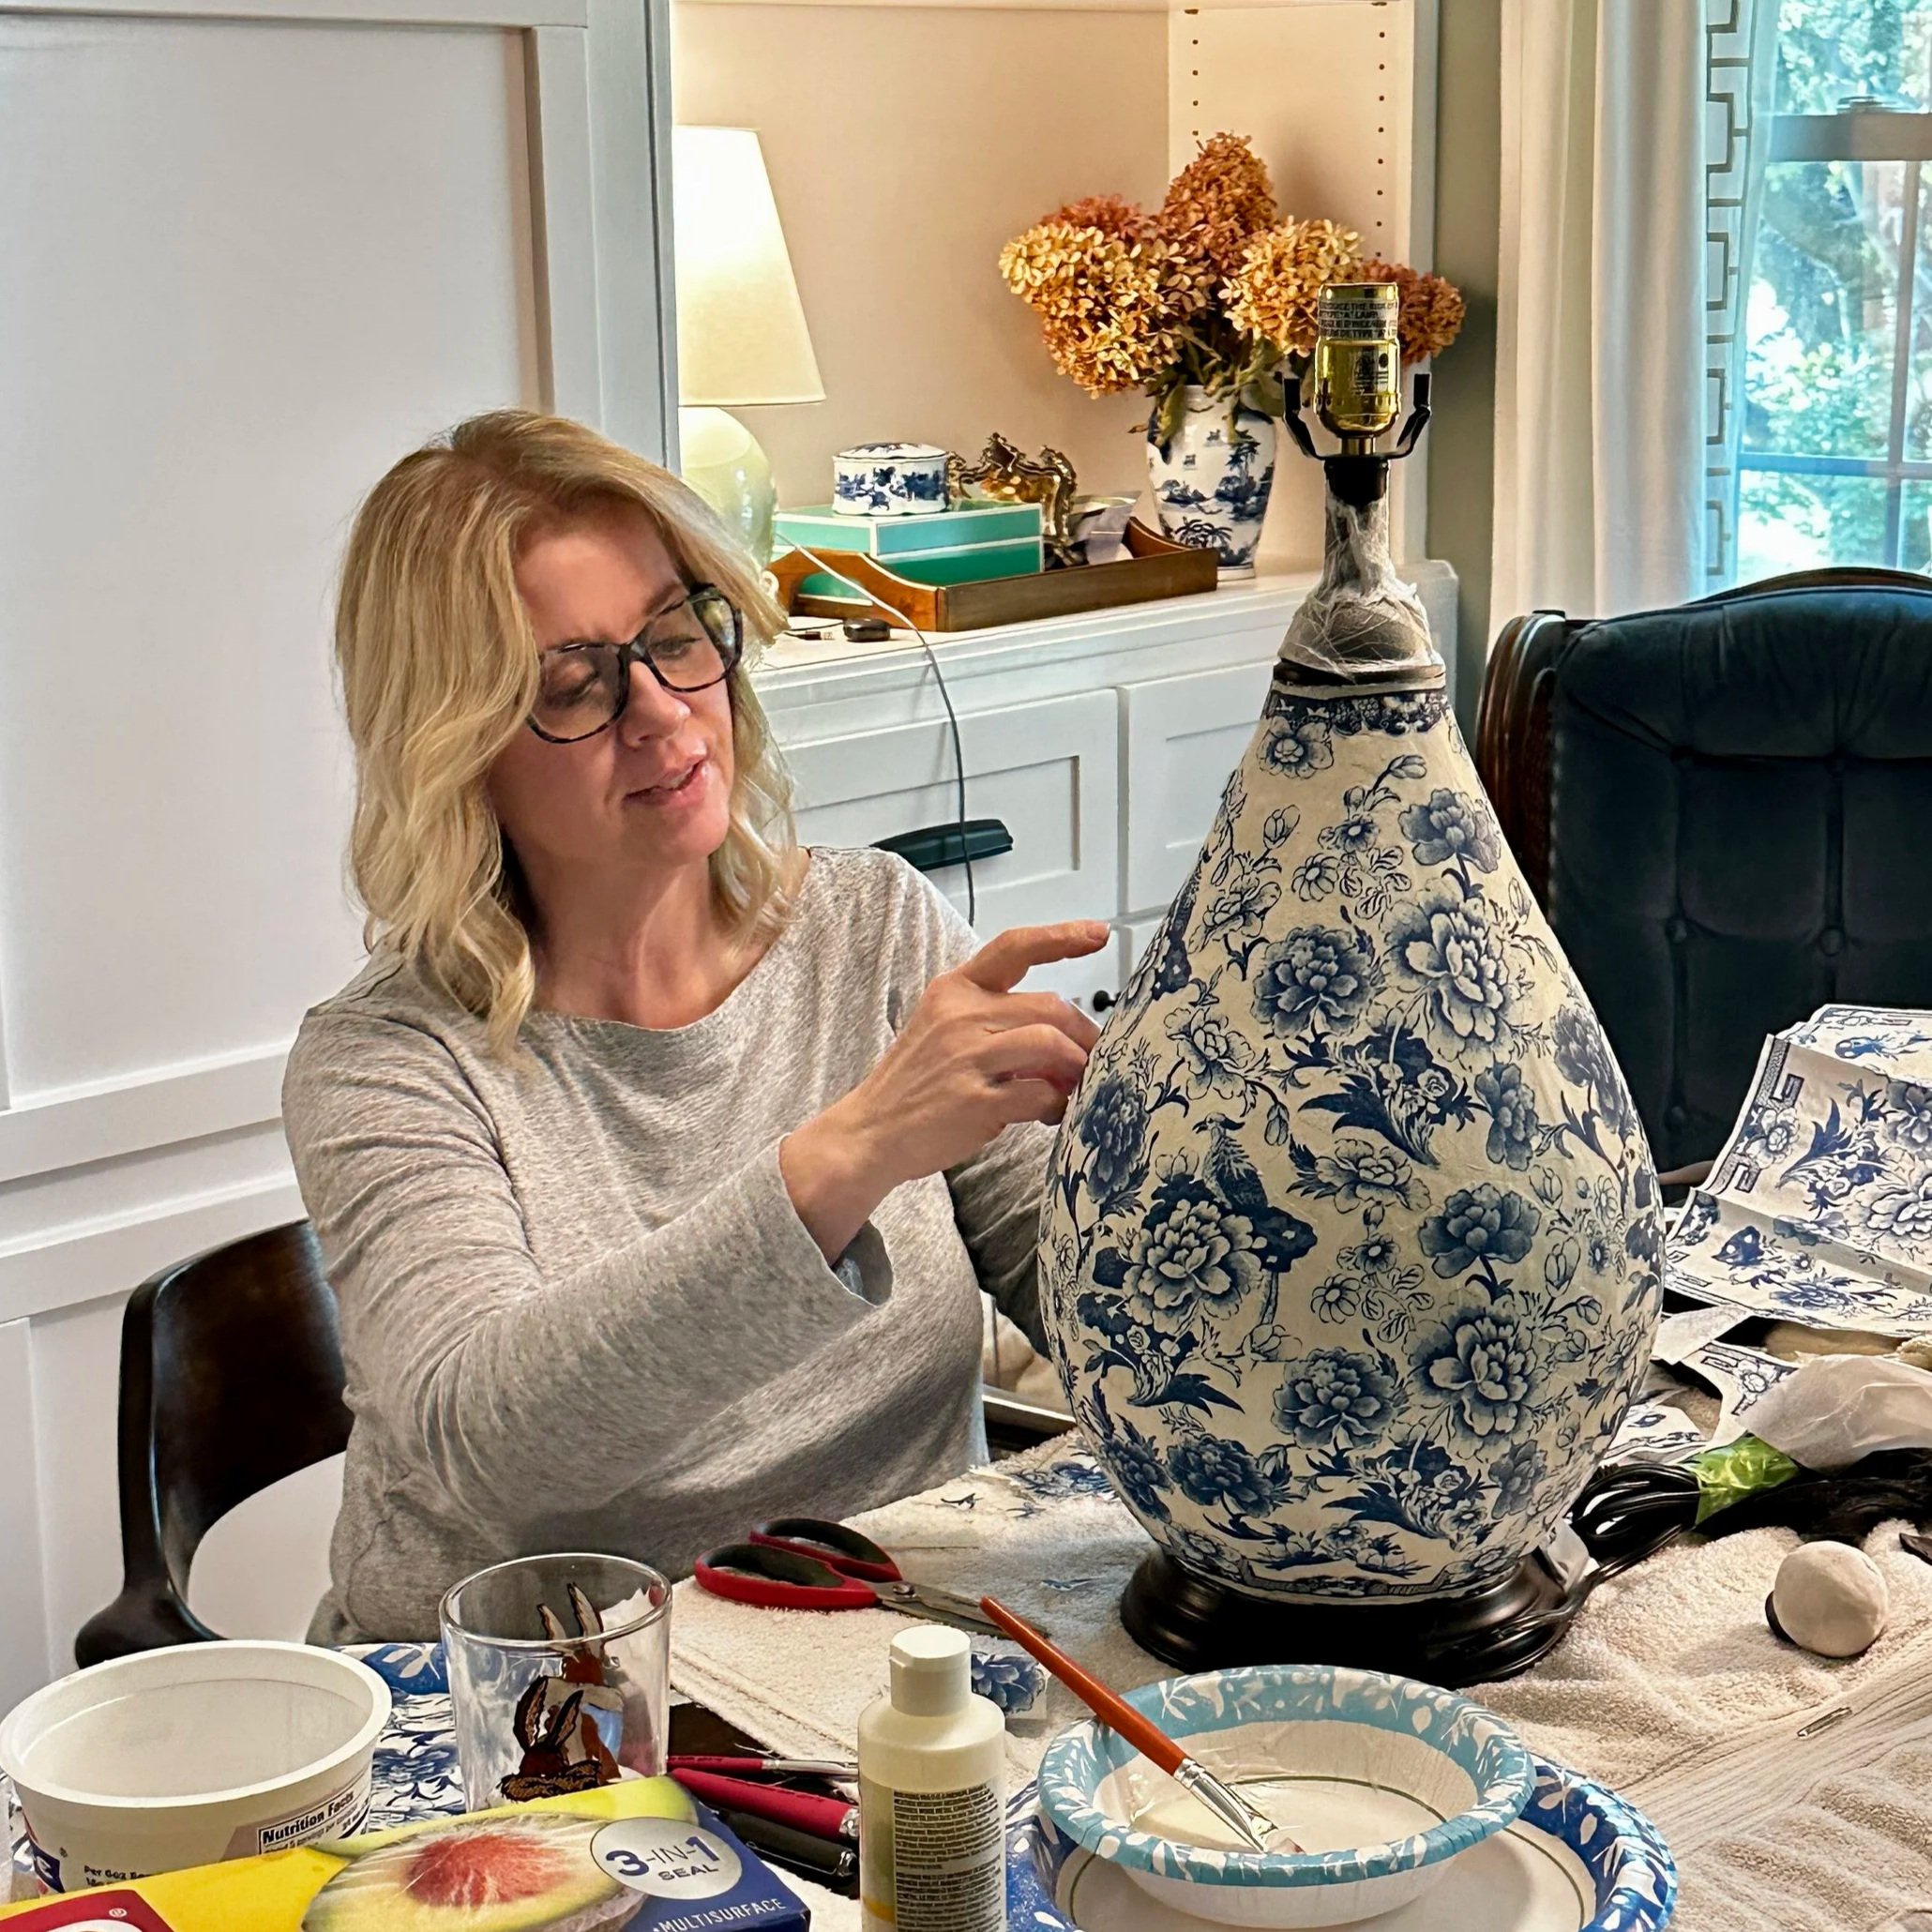
The first step was to remove the 2nd layer of the napkin so that I was only working with one layer. I separated the 2 layers at the corner and it was fairly easy to pull them apart. I had all of my supplies ready. I had the napkins, Modpodge, brushes, scissors, a paper plate to use as my work surface and a paper bowl to pour a puddle of Modpodge to work from. I also had a cup of water in case my brush got gummy or I needed to take a break. I also used my handy dandy Press ‘n Seal to cover the top and bottom of the lamp to protect it from any Modpodge glue and to cover my bowl of Modpodge if I needed that break.
What worked for me is using a clean paper plate as my work surface to paint the Modpodge on the back of the piece of napkin. I then carefully picked it up using my hand and the brush and placed it on the lamp. I then followed with another coat of Modpodge over the top. If I didn’t like the placement of a piece, I used the edge of the flat brush to gently lift the edge of the piece of napkin and place it where it needed to be.
The top border was fairly easy. I cut out the border portion of the flowers and then removed the square portion since I didn’t think that would lay quite right. It worked out great! I then tackled the bottom and it proved to be a little more tricky. I basically used the same concept, but wanted the straight lines of the edge of the napkin border in the design for a little breathing room between flowers. I had to cut a small slit on either side of the flower so the line of the border would be straight. I will admit that it is not perfect, but nothing handmade ever will be. The human element is what adds the charm, right?!💕
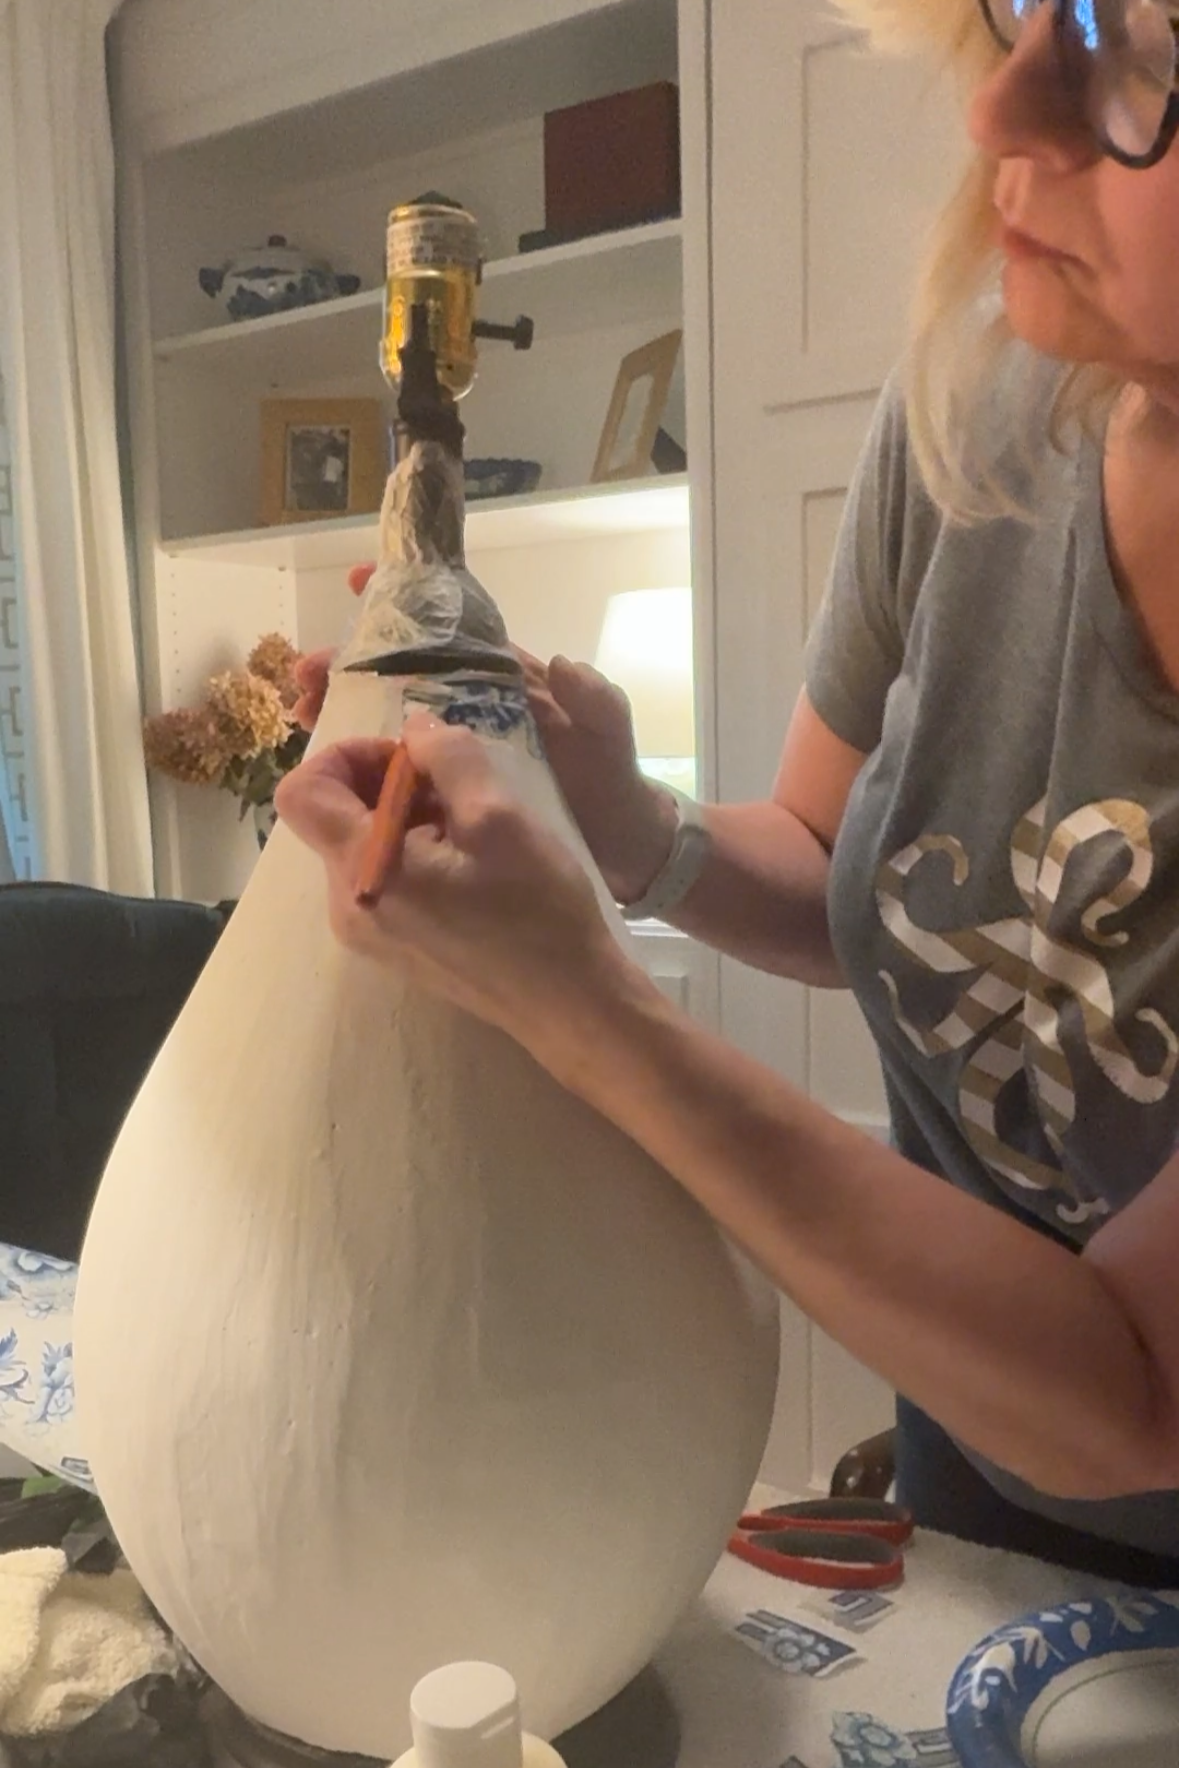
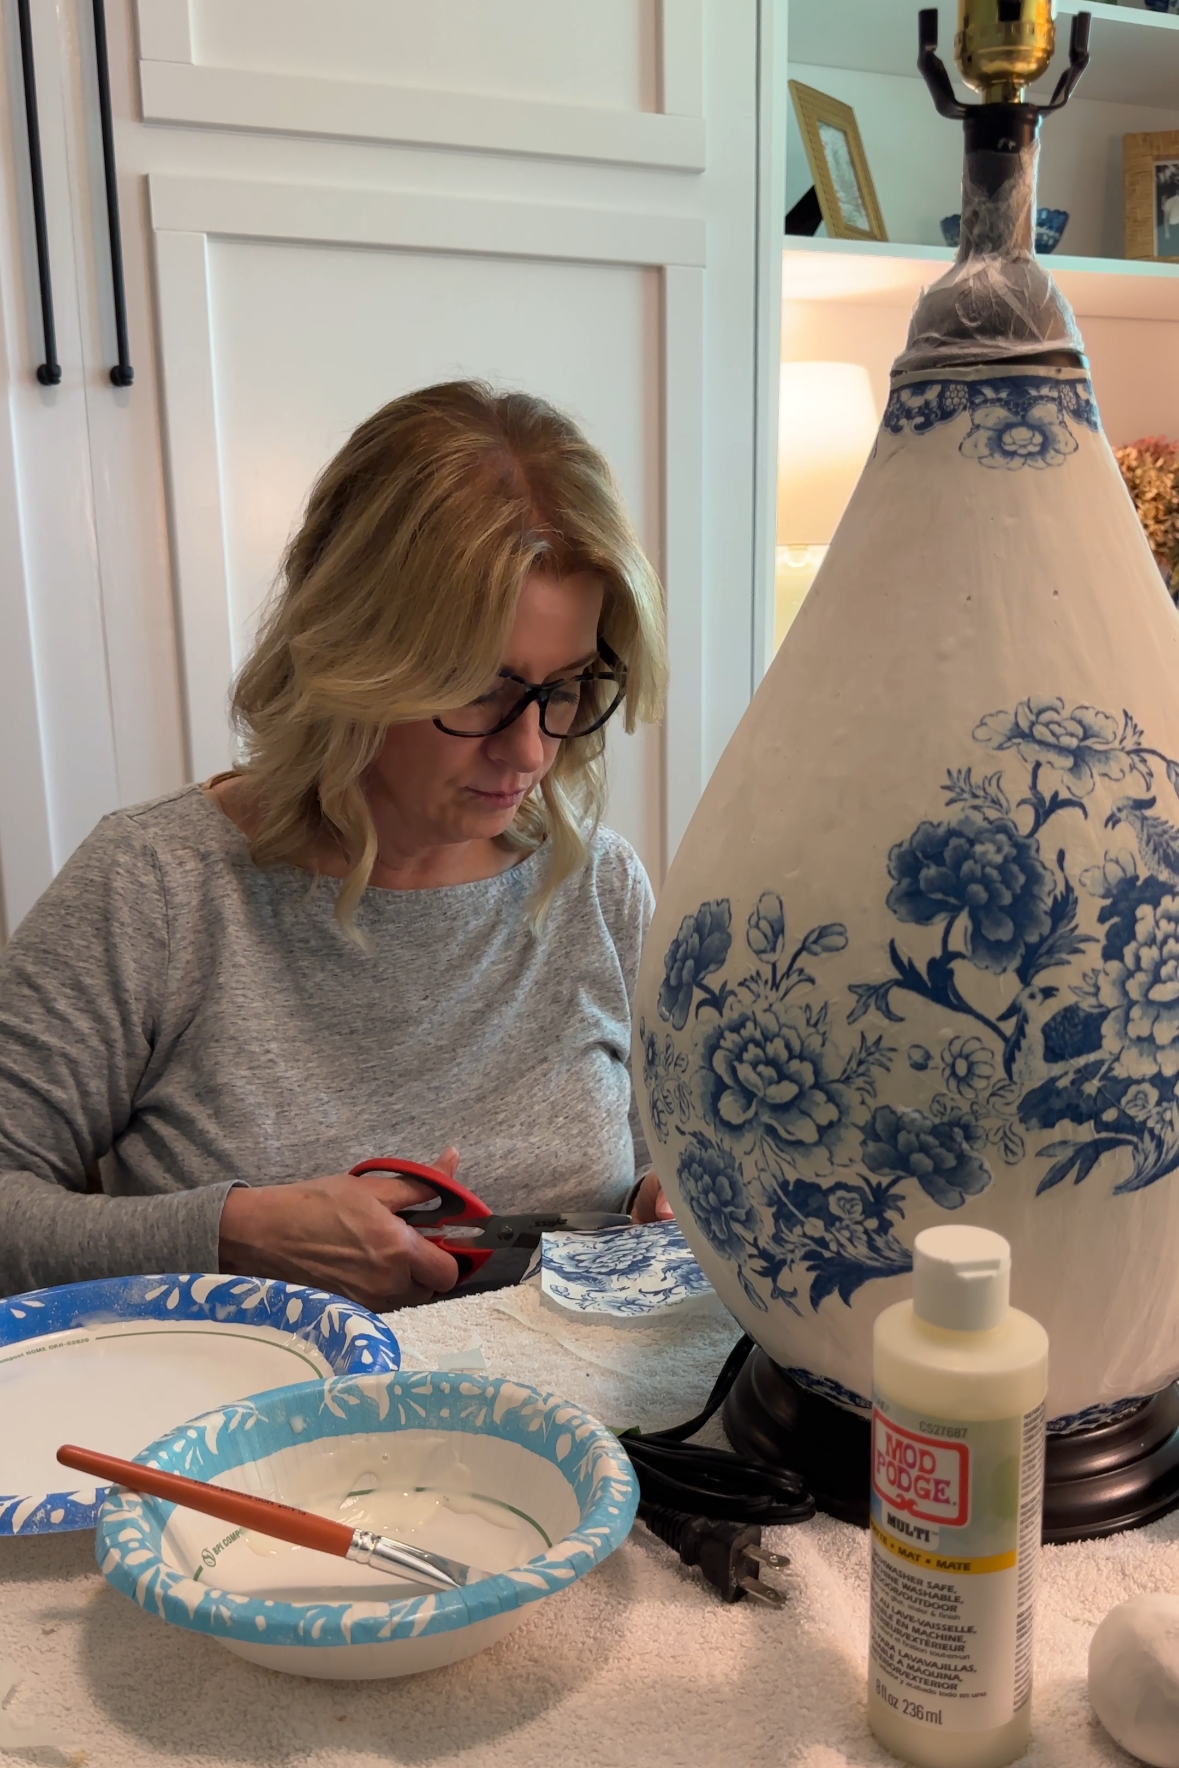
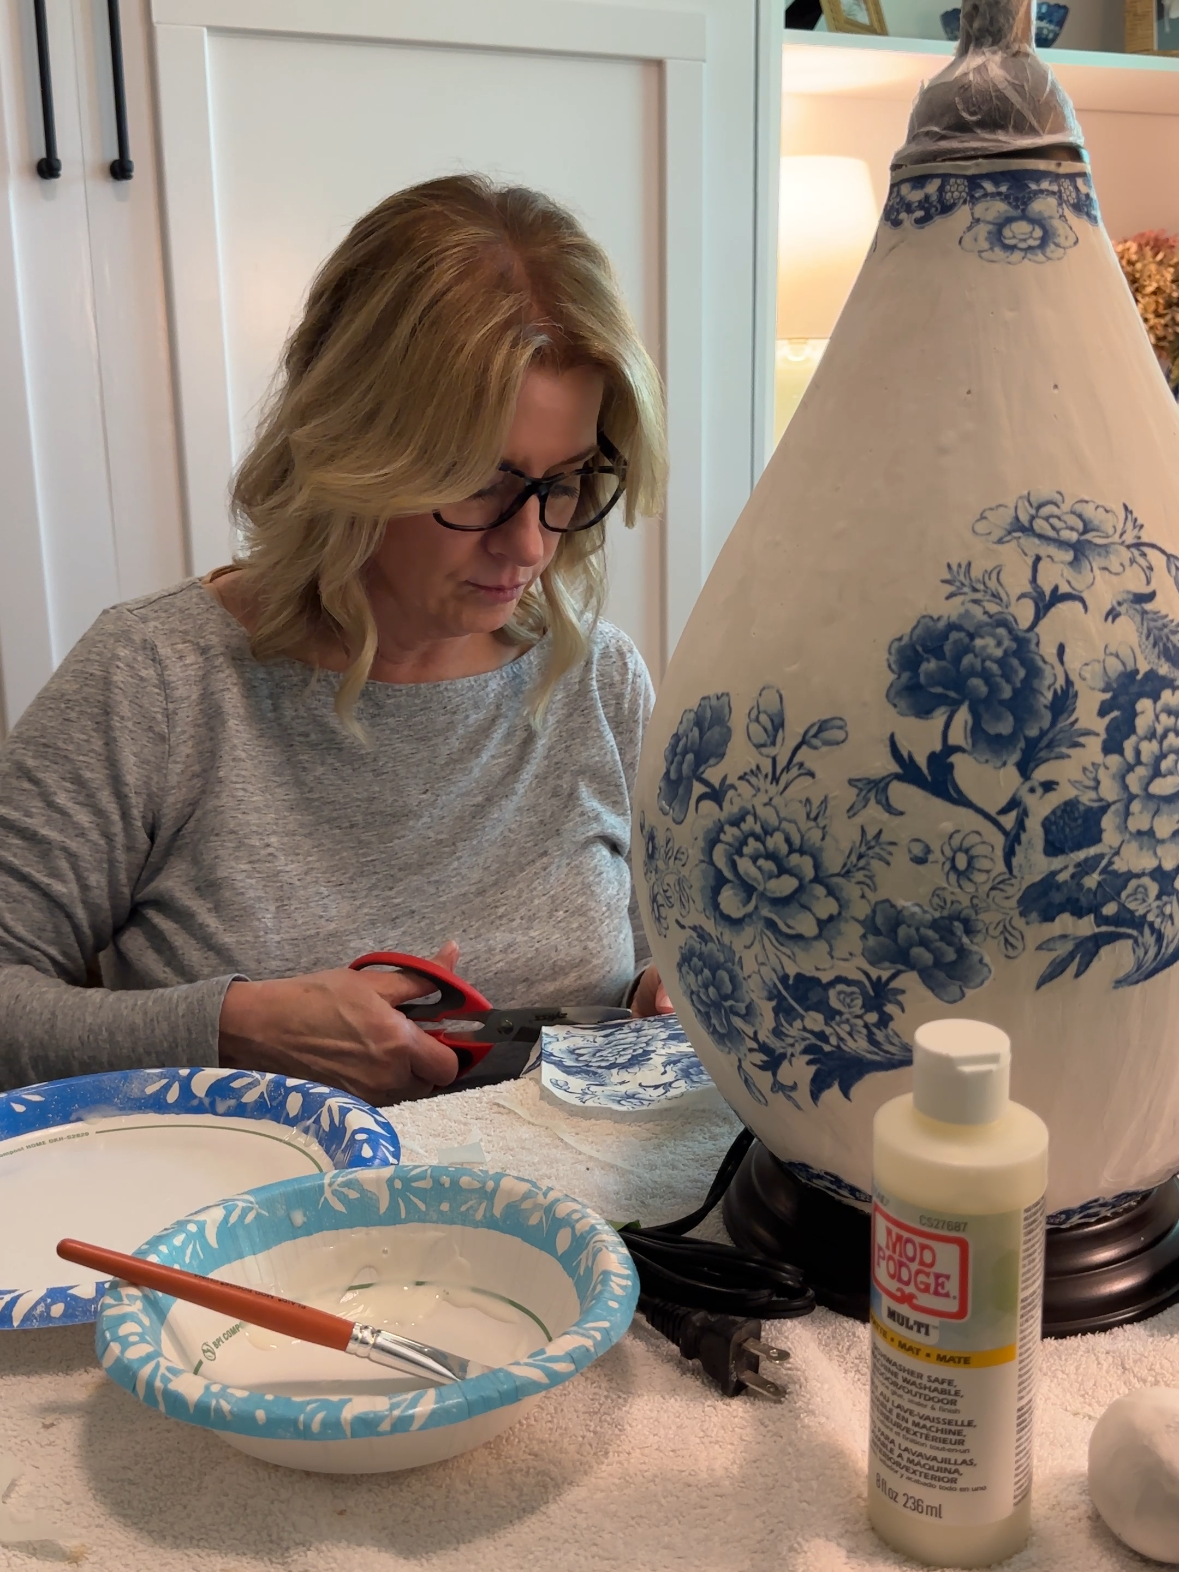
Once the borders were done, I turned the lamp so the front (opposite where the cord is) was facing me. This is where the design needed to start and so I cut out the portion of the napkin with the birds and used that as the centerpiece. I then used the portion with the flowers to go to the top and bottom of the bird piece. And then I added another bird piece. Once I had the large pieces decoupaged to the lamp, I started cutting out smaller pieces to fill in the gaps.
Once I had most of the gaps filled in, I noticed that the tile adhesive showing through in places is a brighter white than the white part of the napkin. At a distance, this doesn’t show at all, but up close it does. I decided to cut out the white portion of the napkin and completely cover the tile adhesive for a more uniform look. Instead of cutting the napkins with scissors, I gently tore them so my edges would be soft.
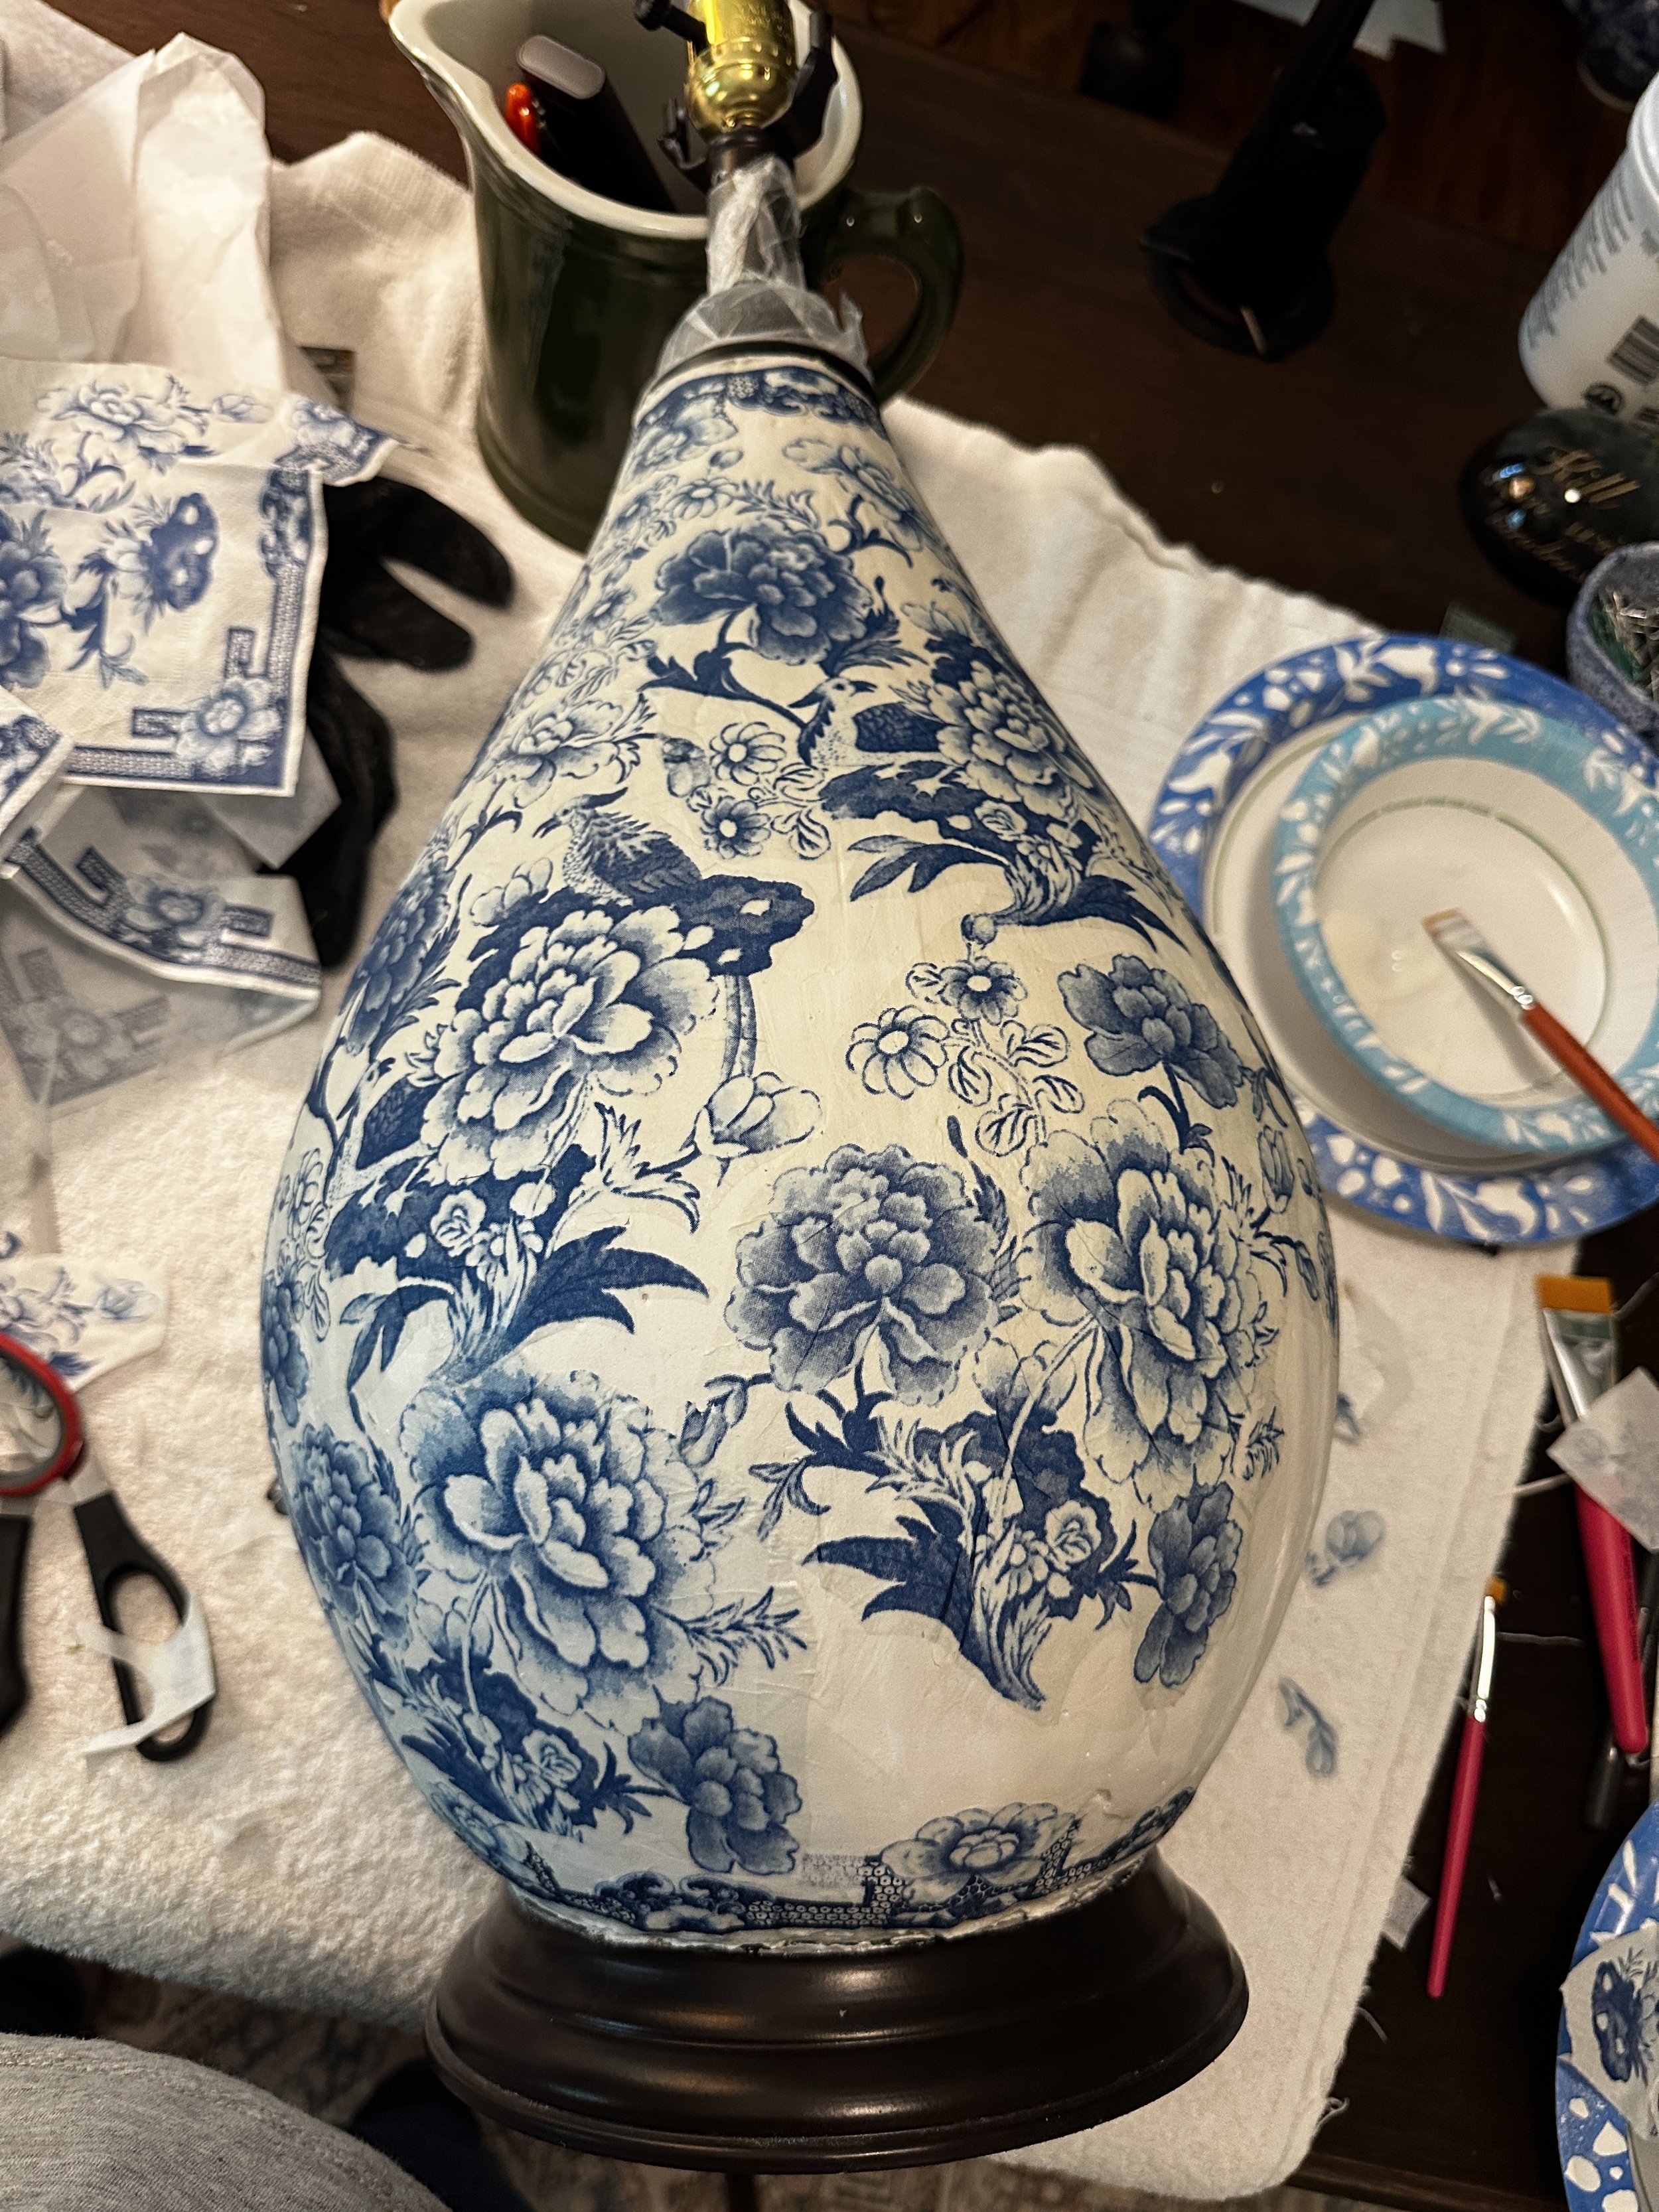
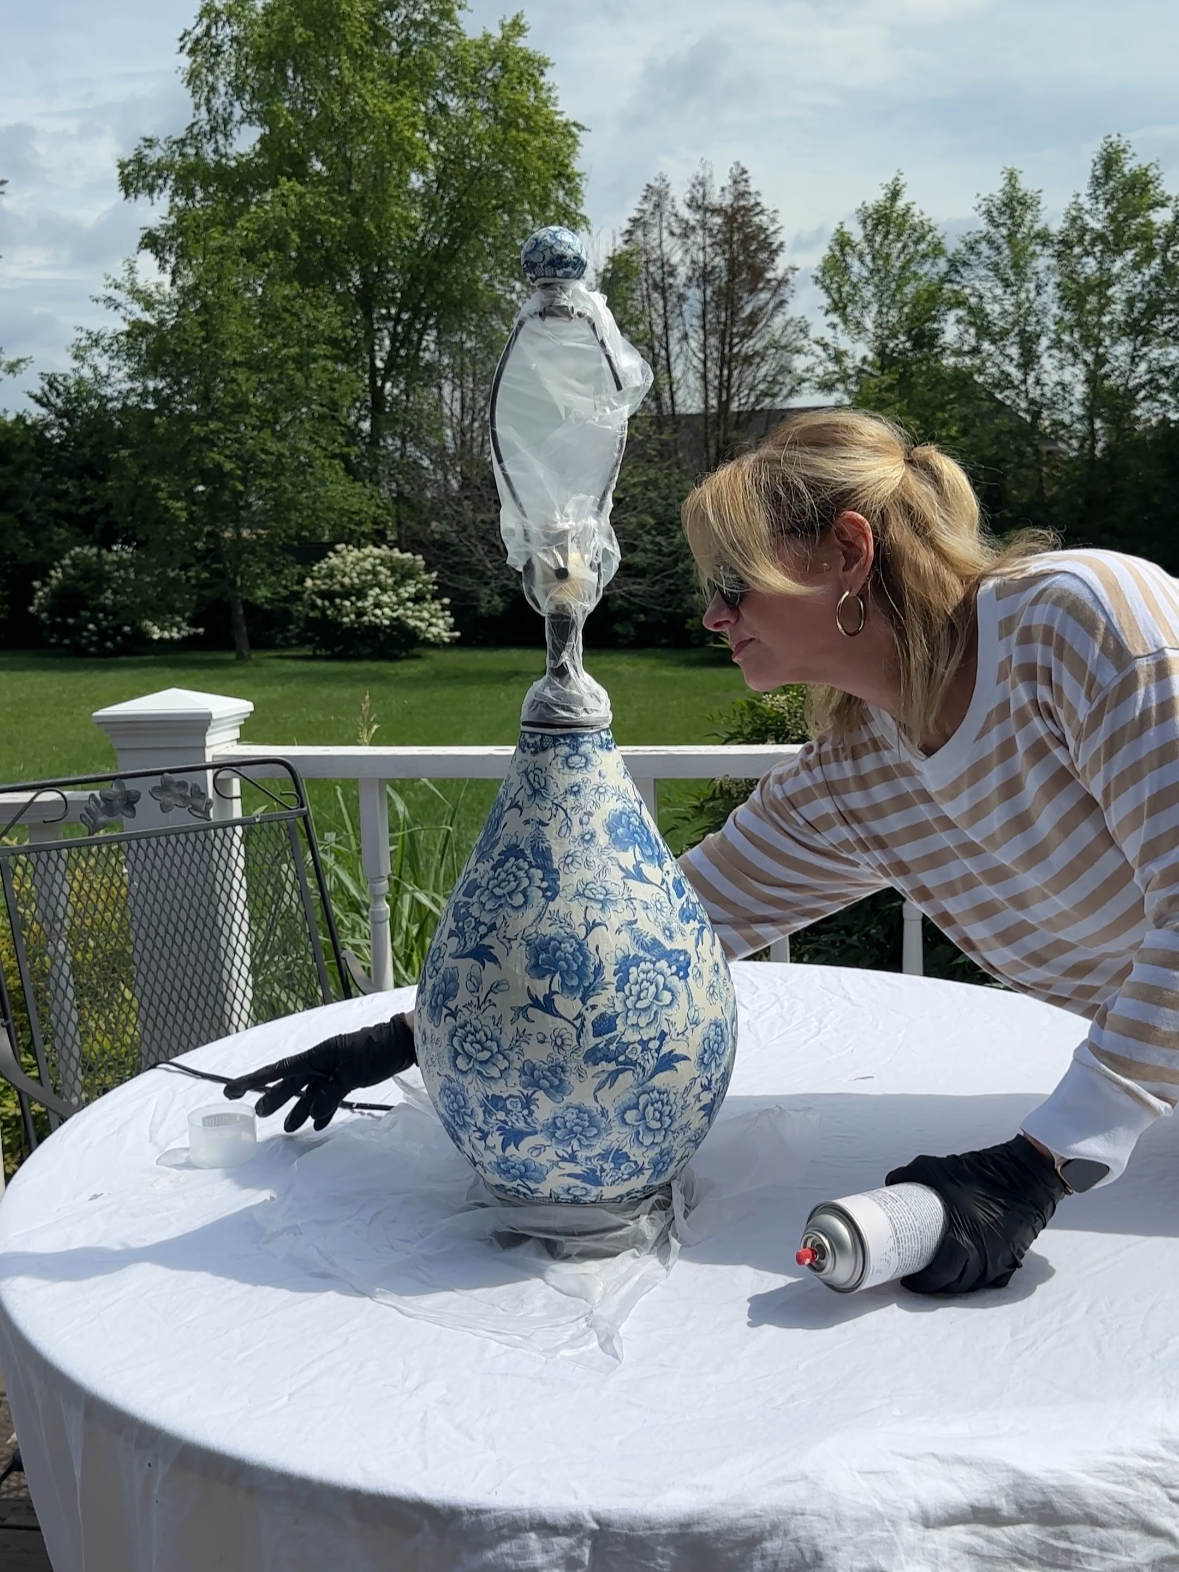
Once I had all of the gaps covered, I allowed the Modpodge to completely dry overnight. I then used a Modpodge sealing spray in a matte finish. I pined over this decision. Lamps are usually glossy and shiny. Since decoupage has slight imperfections where the napkin creases, I thought a matte finish would be best so as not to accentuate the imperfections. And, I figured if I didn’t like it, I could always go over it with a glossy finish. Win-win, right?
Now, if you look really closely at the area right next to the base, you’ll see imperfections where I applied the tile adhesive. The imperfections are not at all noticeable at a distance, but up close they are quite noticeable. I decided to finish off the edges with a piece of navy blue cording just hot glued to the lamp. I used this ¼" cording from Amazon. It’s the perfect size.
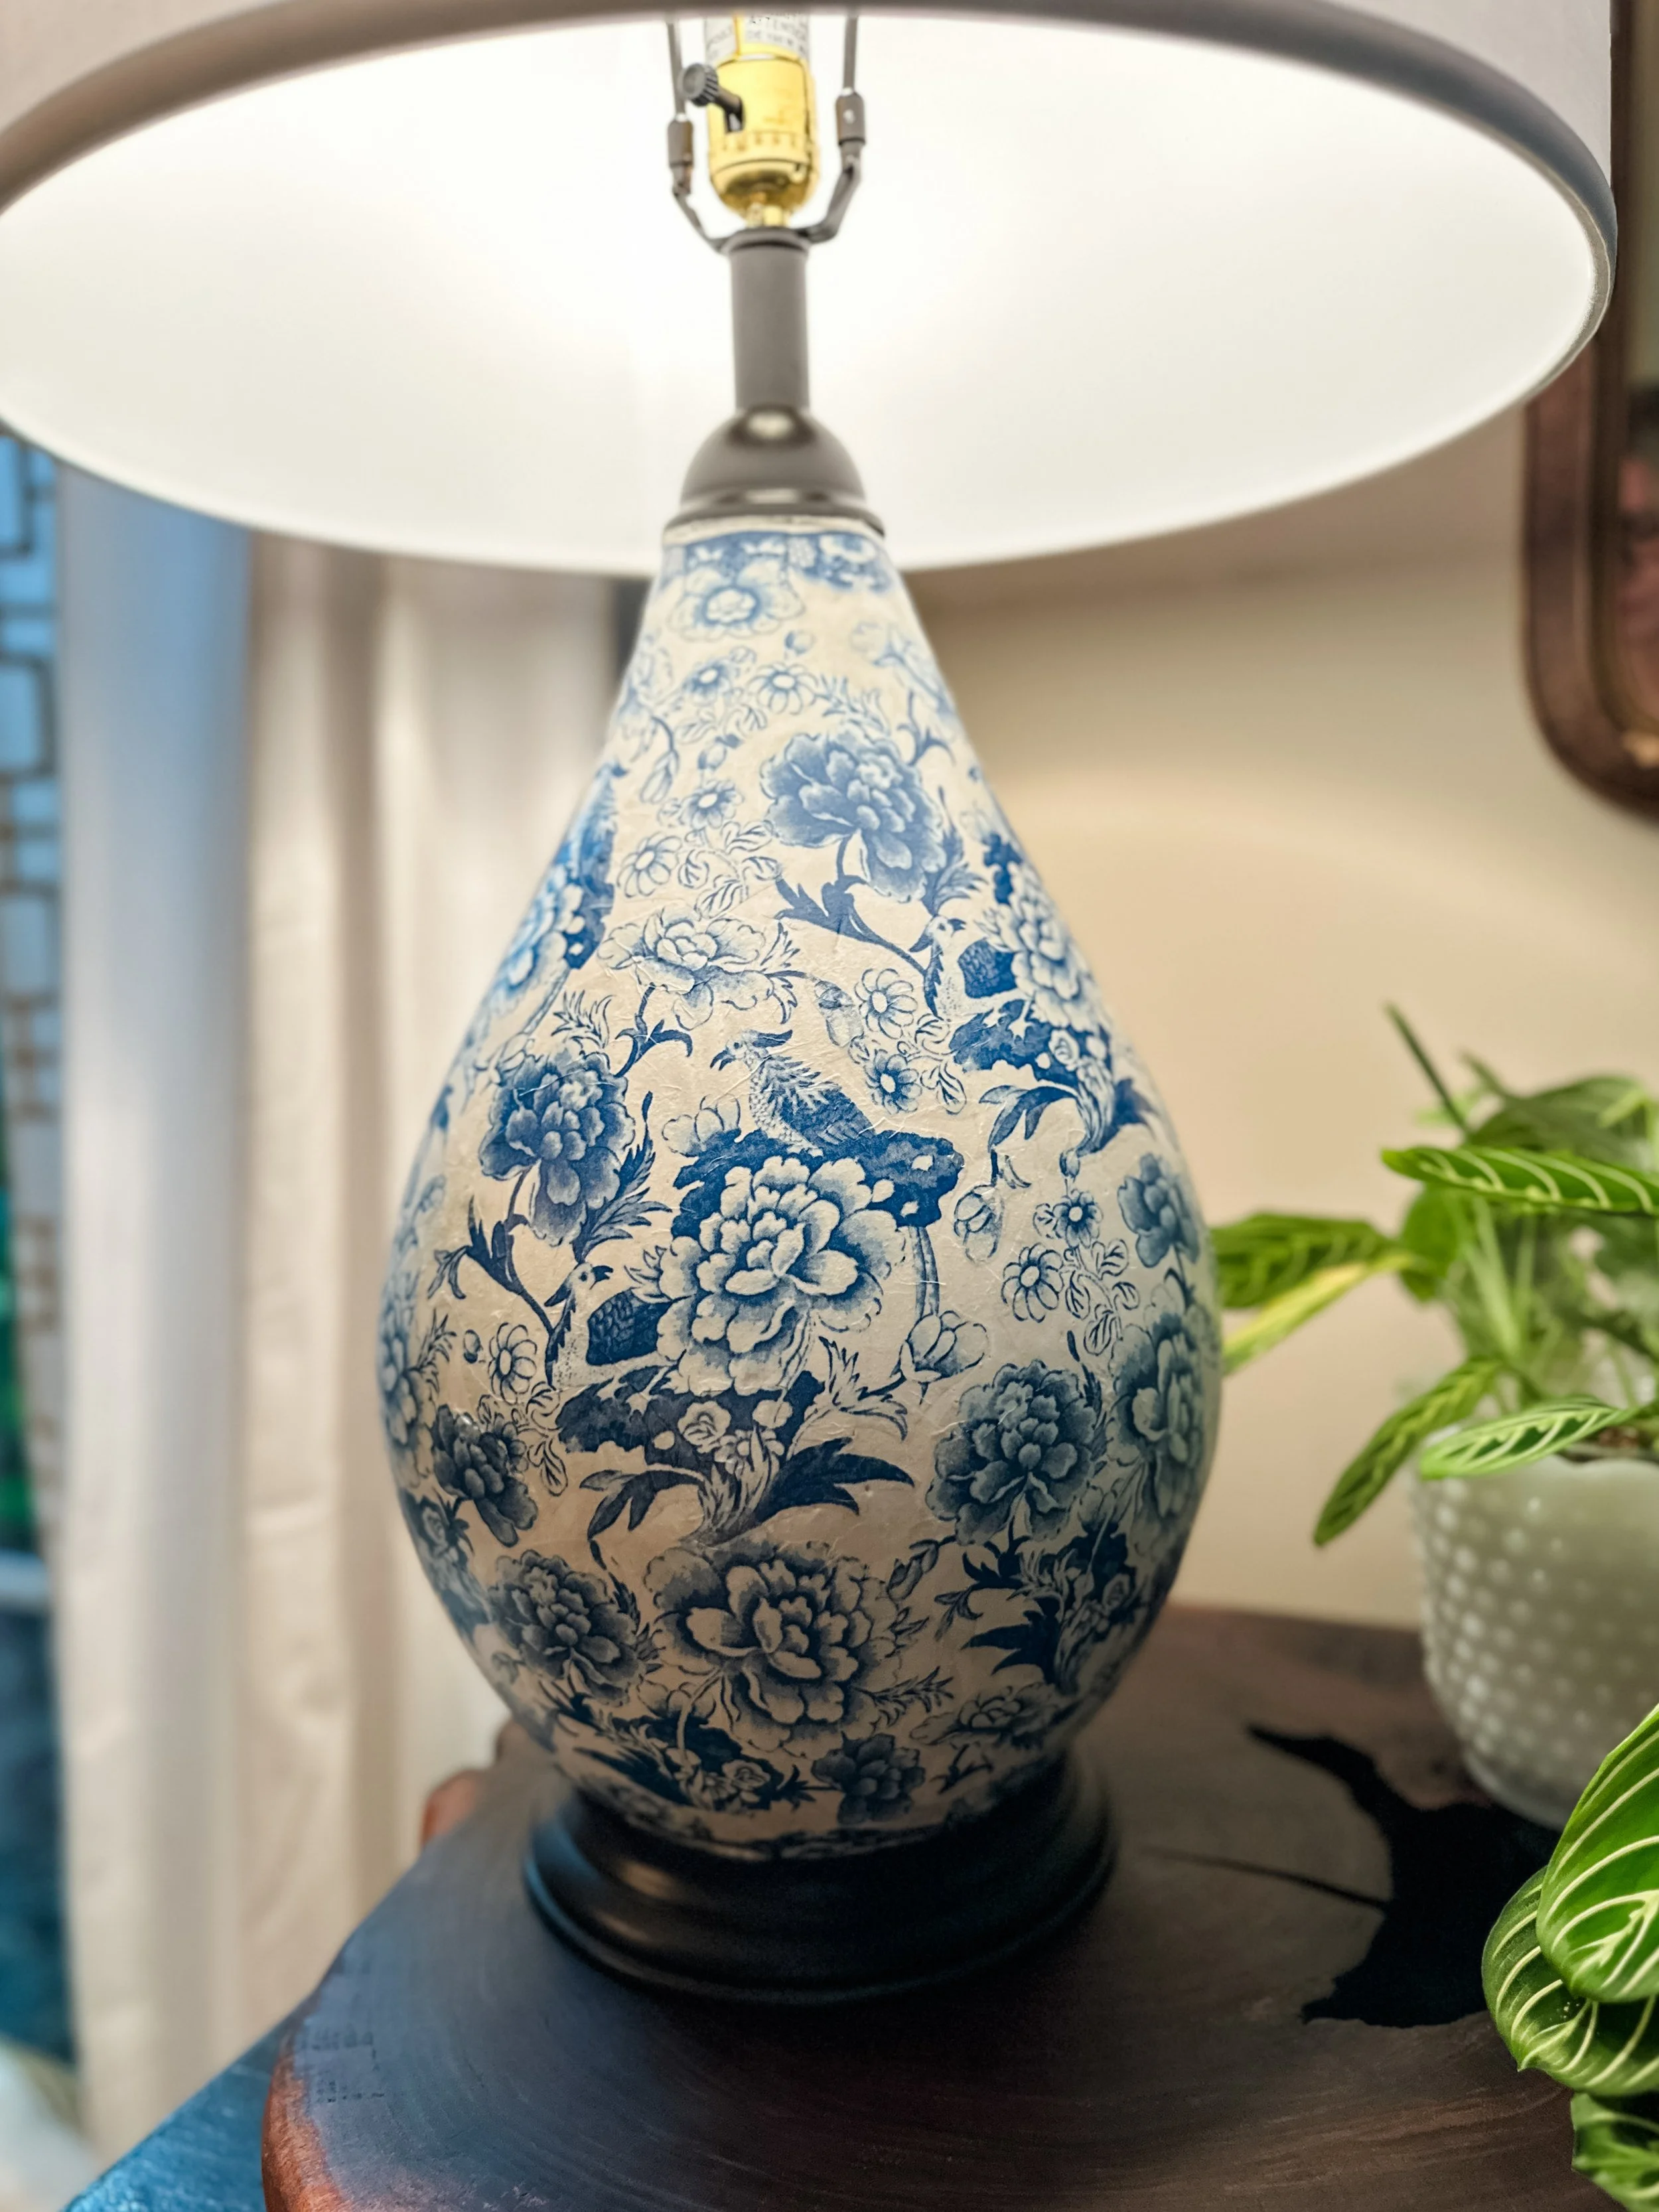
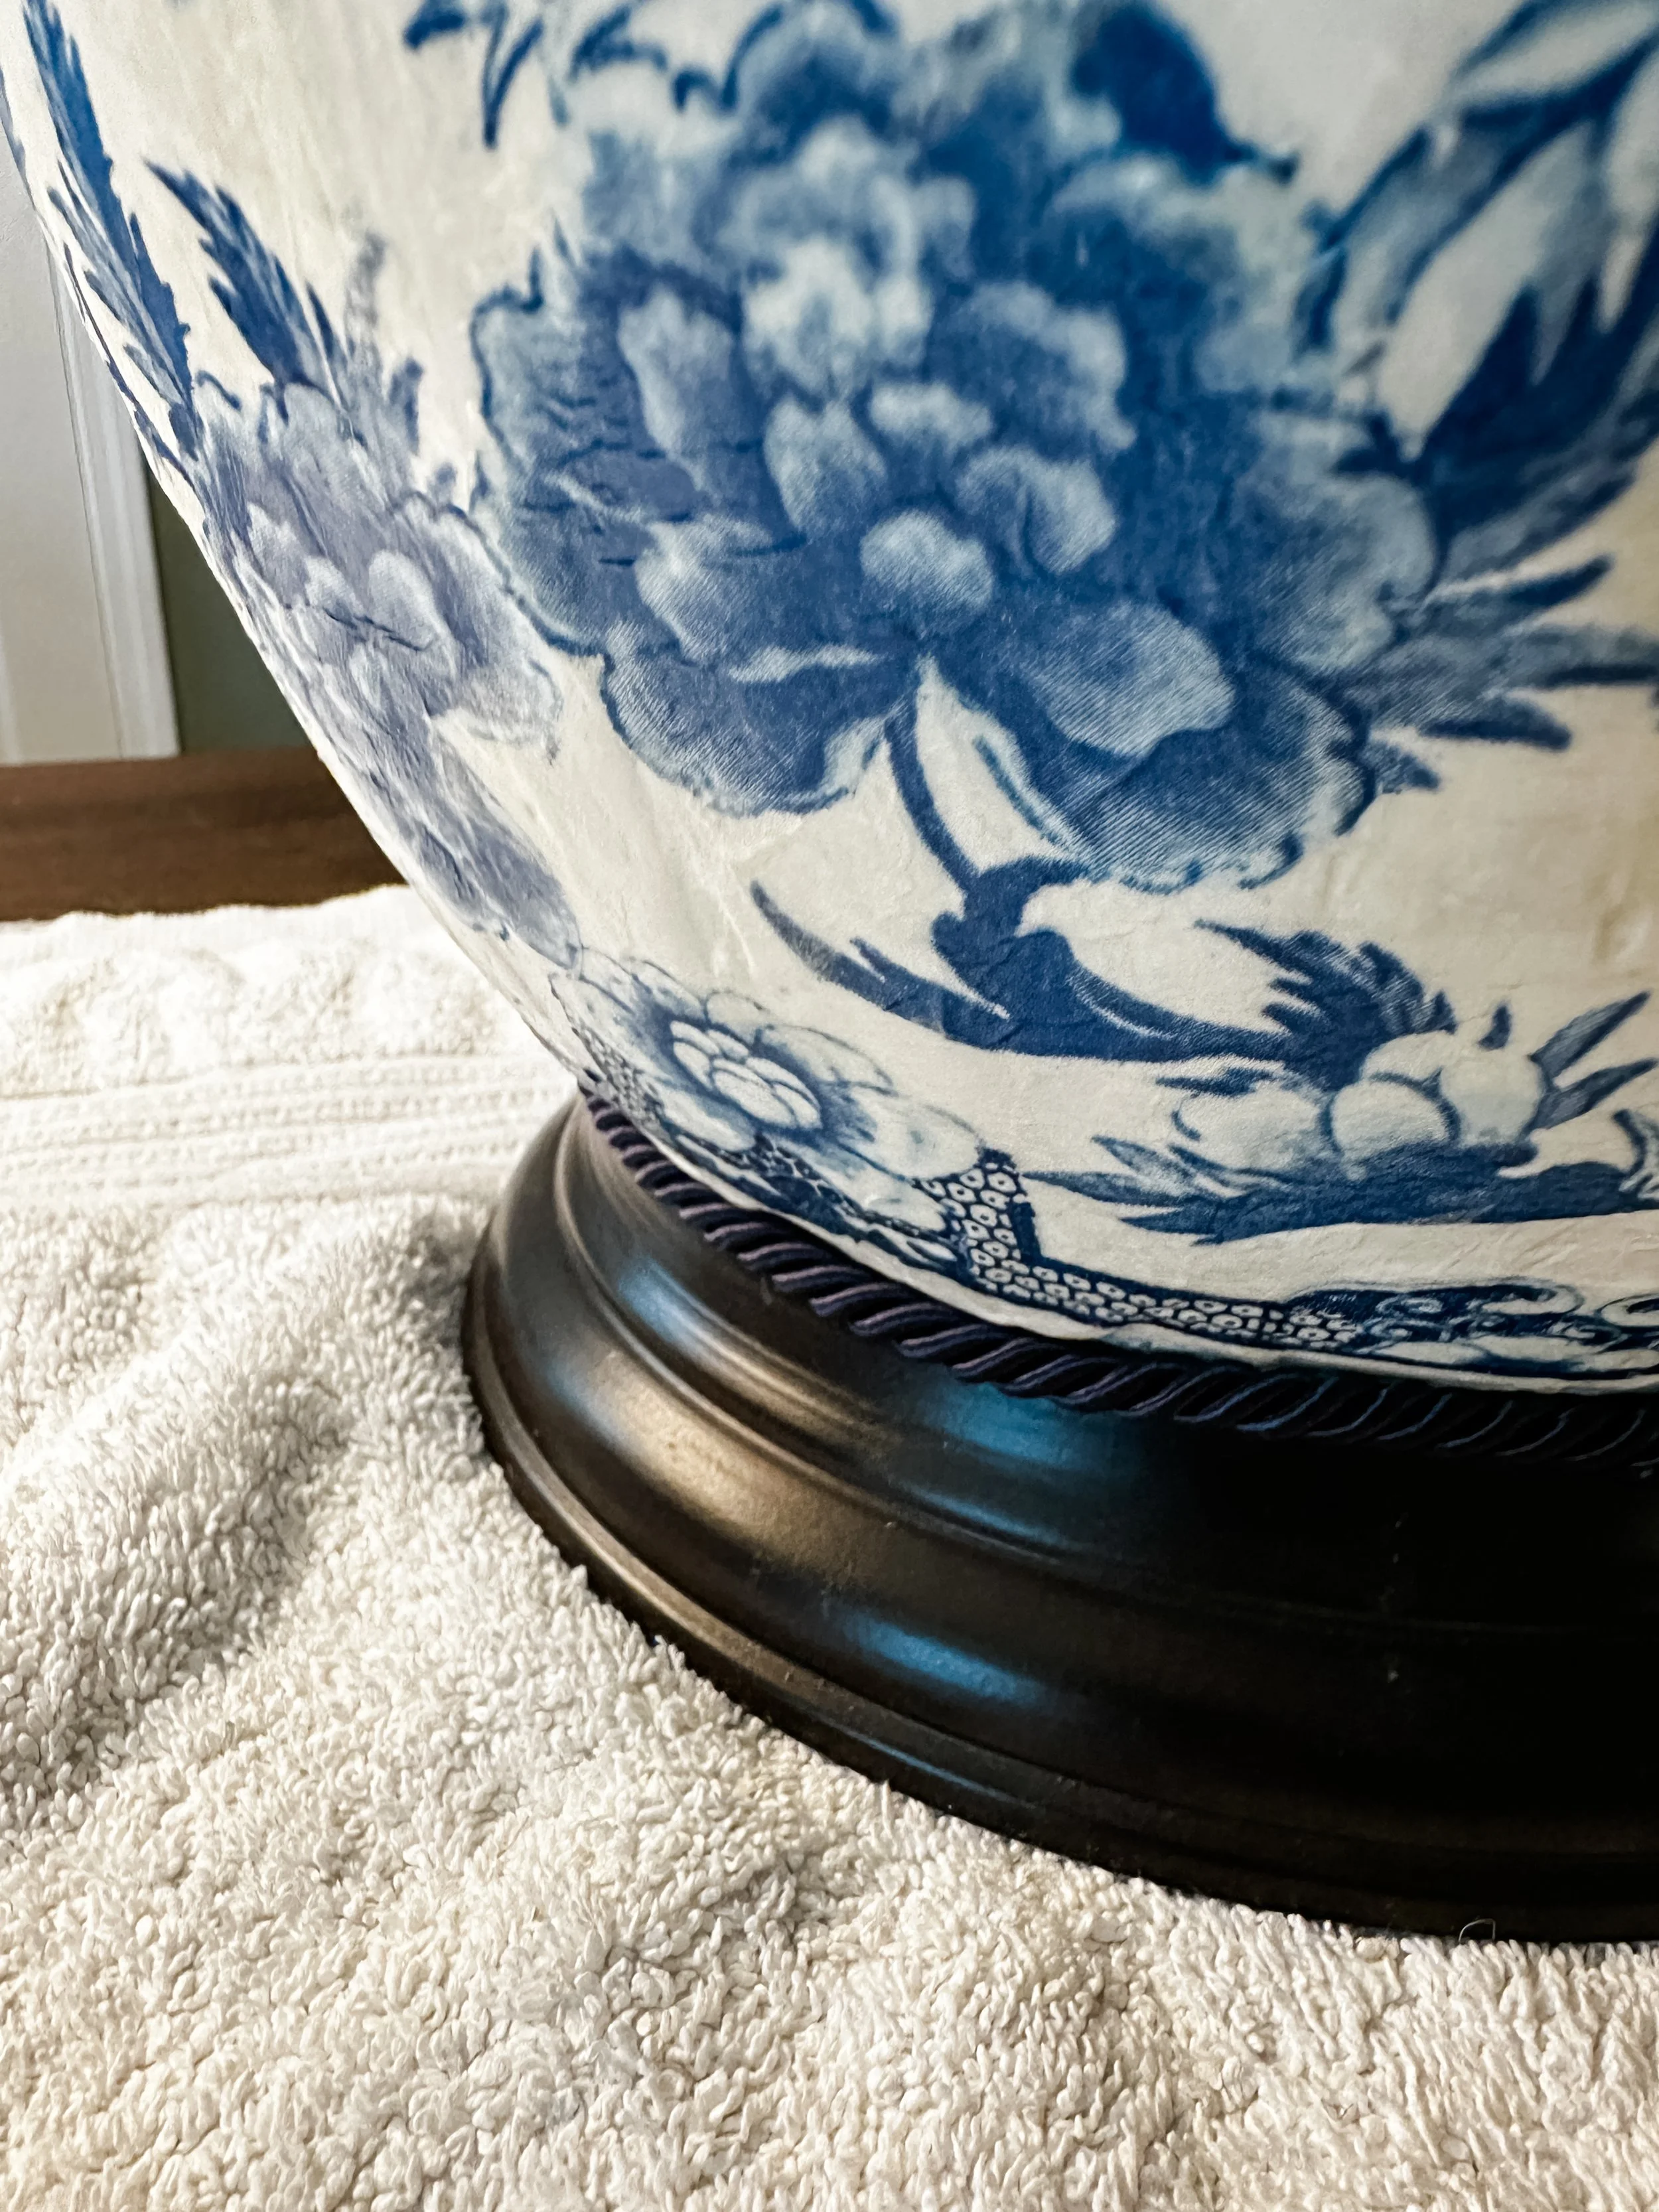
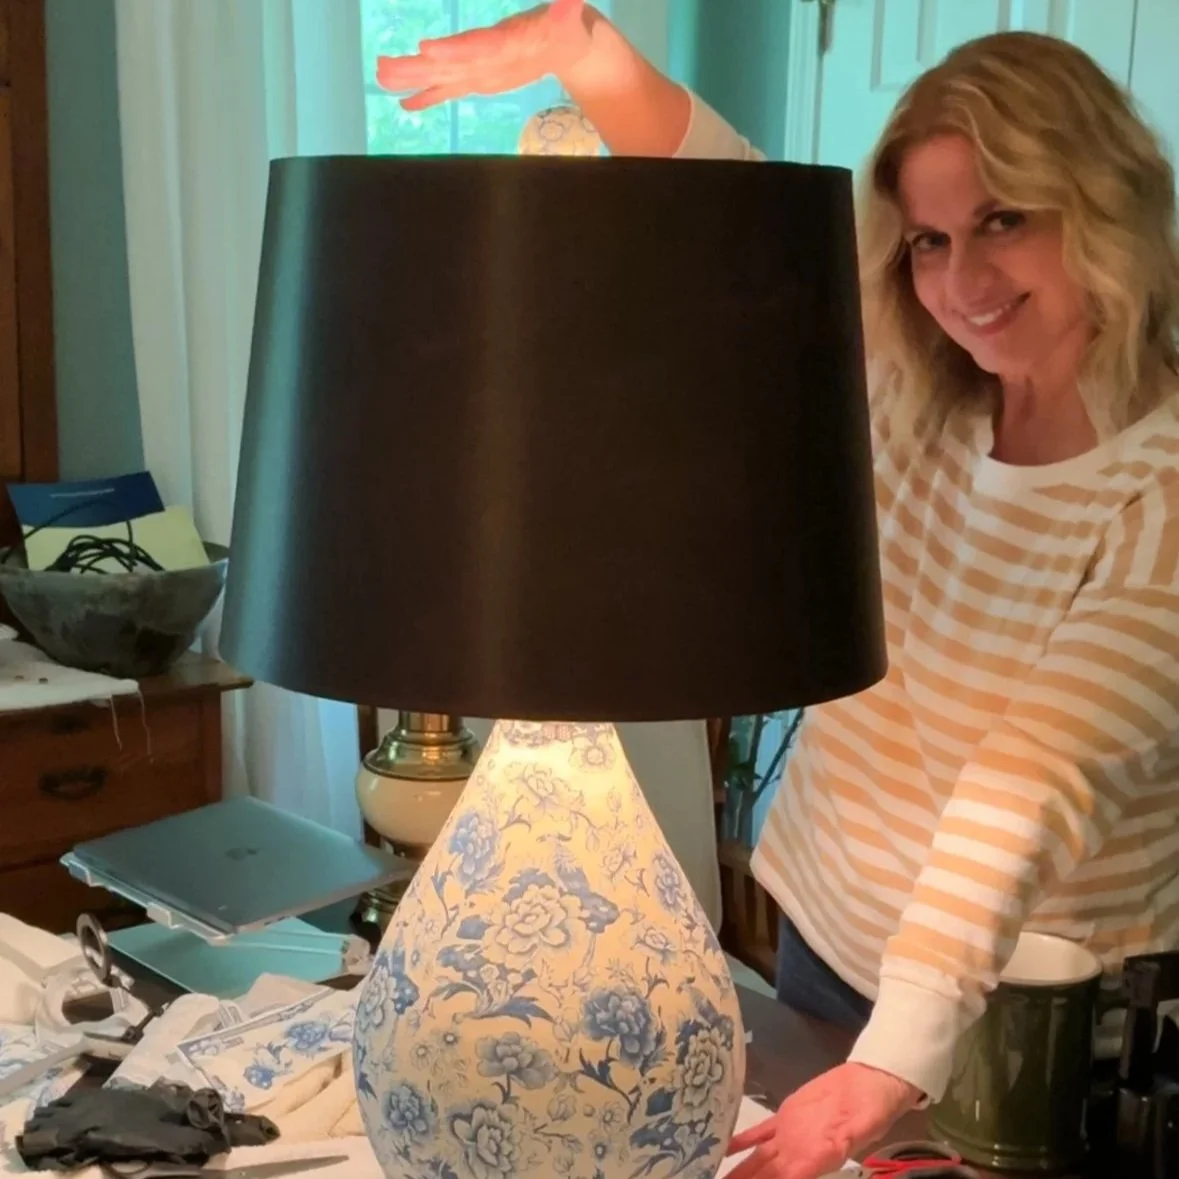
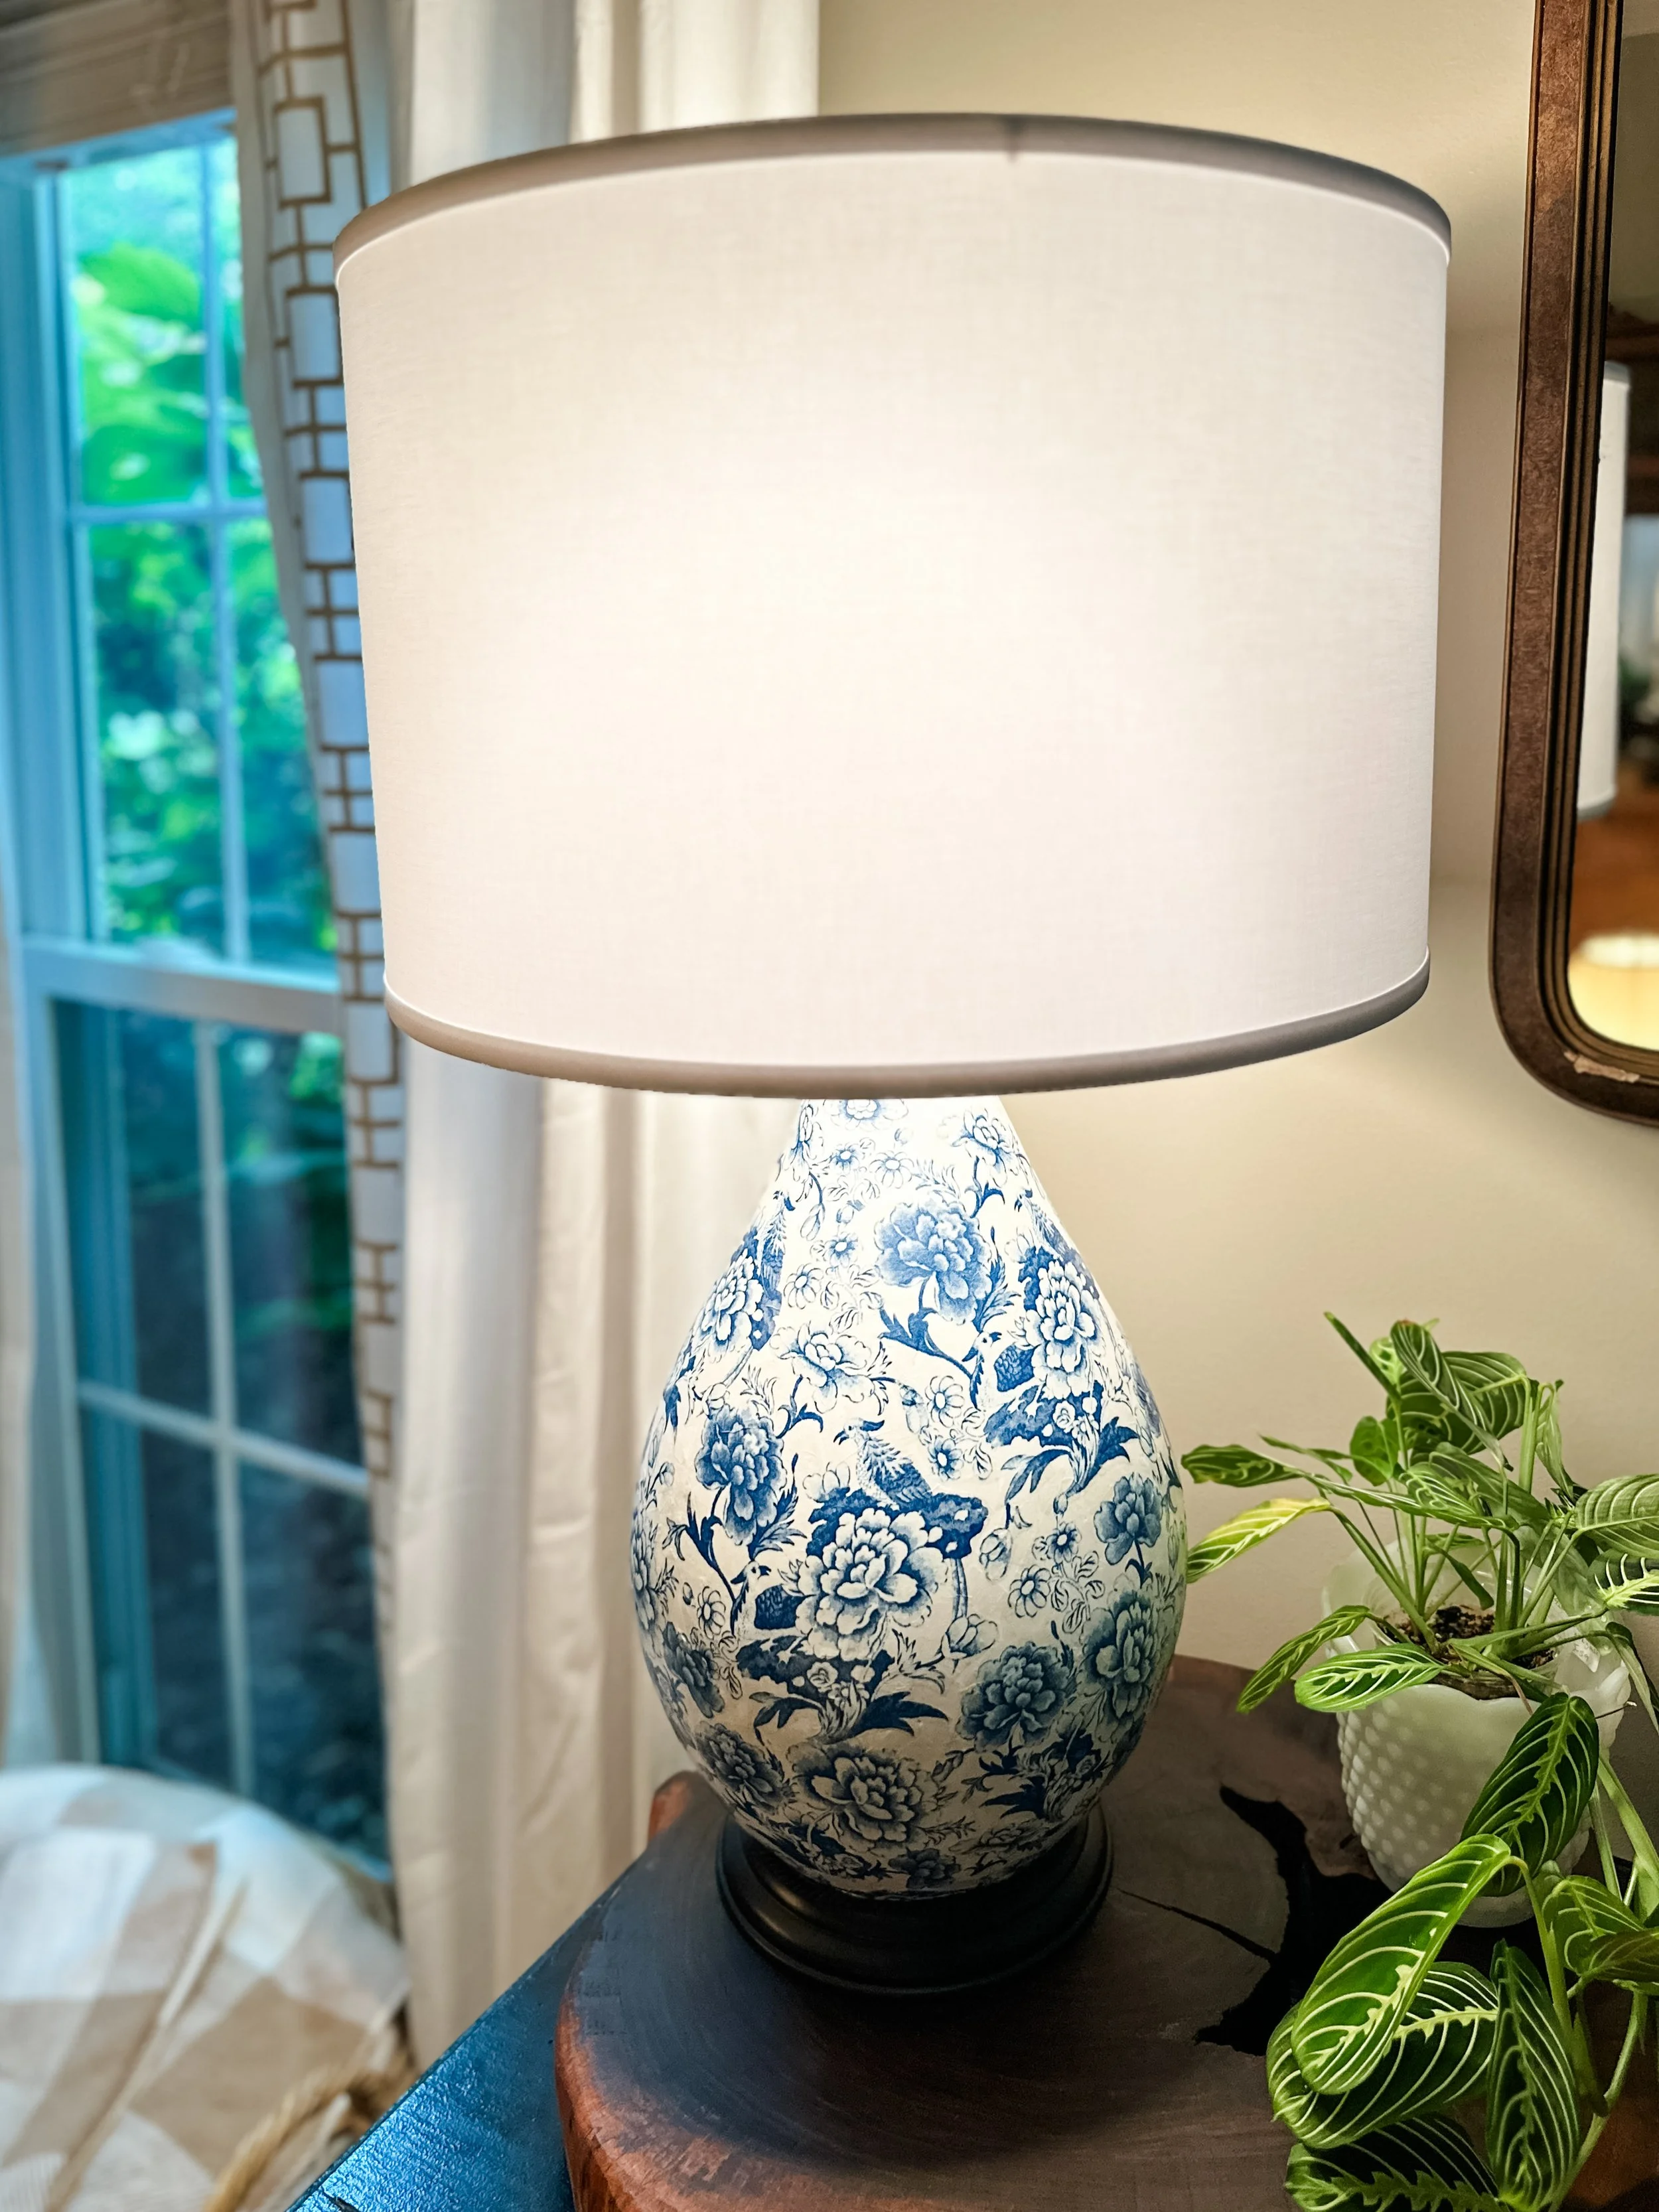
I have to say that this was one of the most joyful projects I’ve done in a long time. Since I did it in stages, it wasn’t overwhelming at all. Seeing the vision come together in such a beautiful way was so gratifying. I’m going to share all the products I used for this project at the bottom of the post and also include some photos of what the room looked like back in 2010 with this lamp and also what it looks like now with the upcycled, revitalized lamp! What do you think? To me, it’s a work of art! And, I really can’t believe that I made that! 🥰
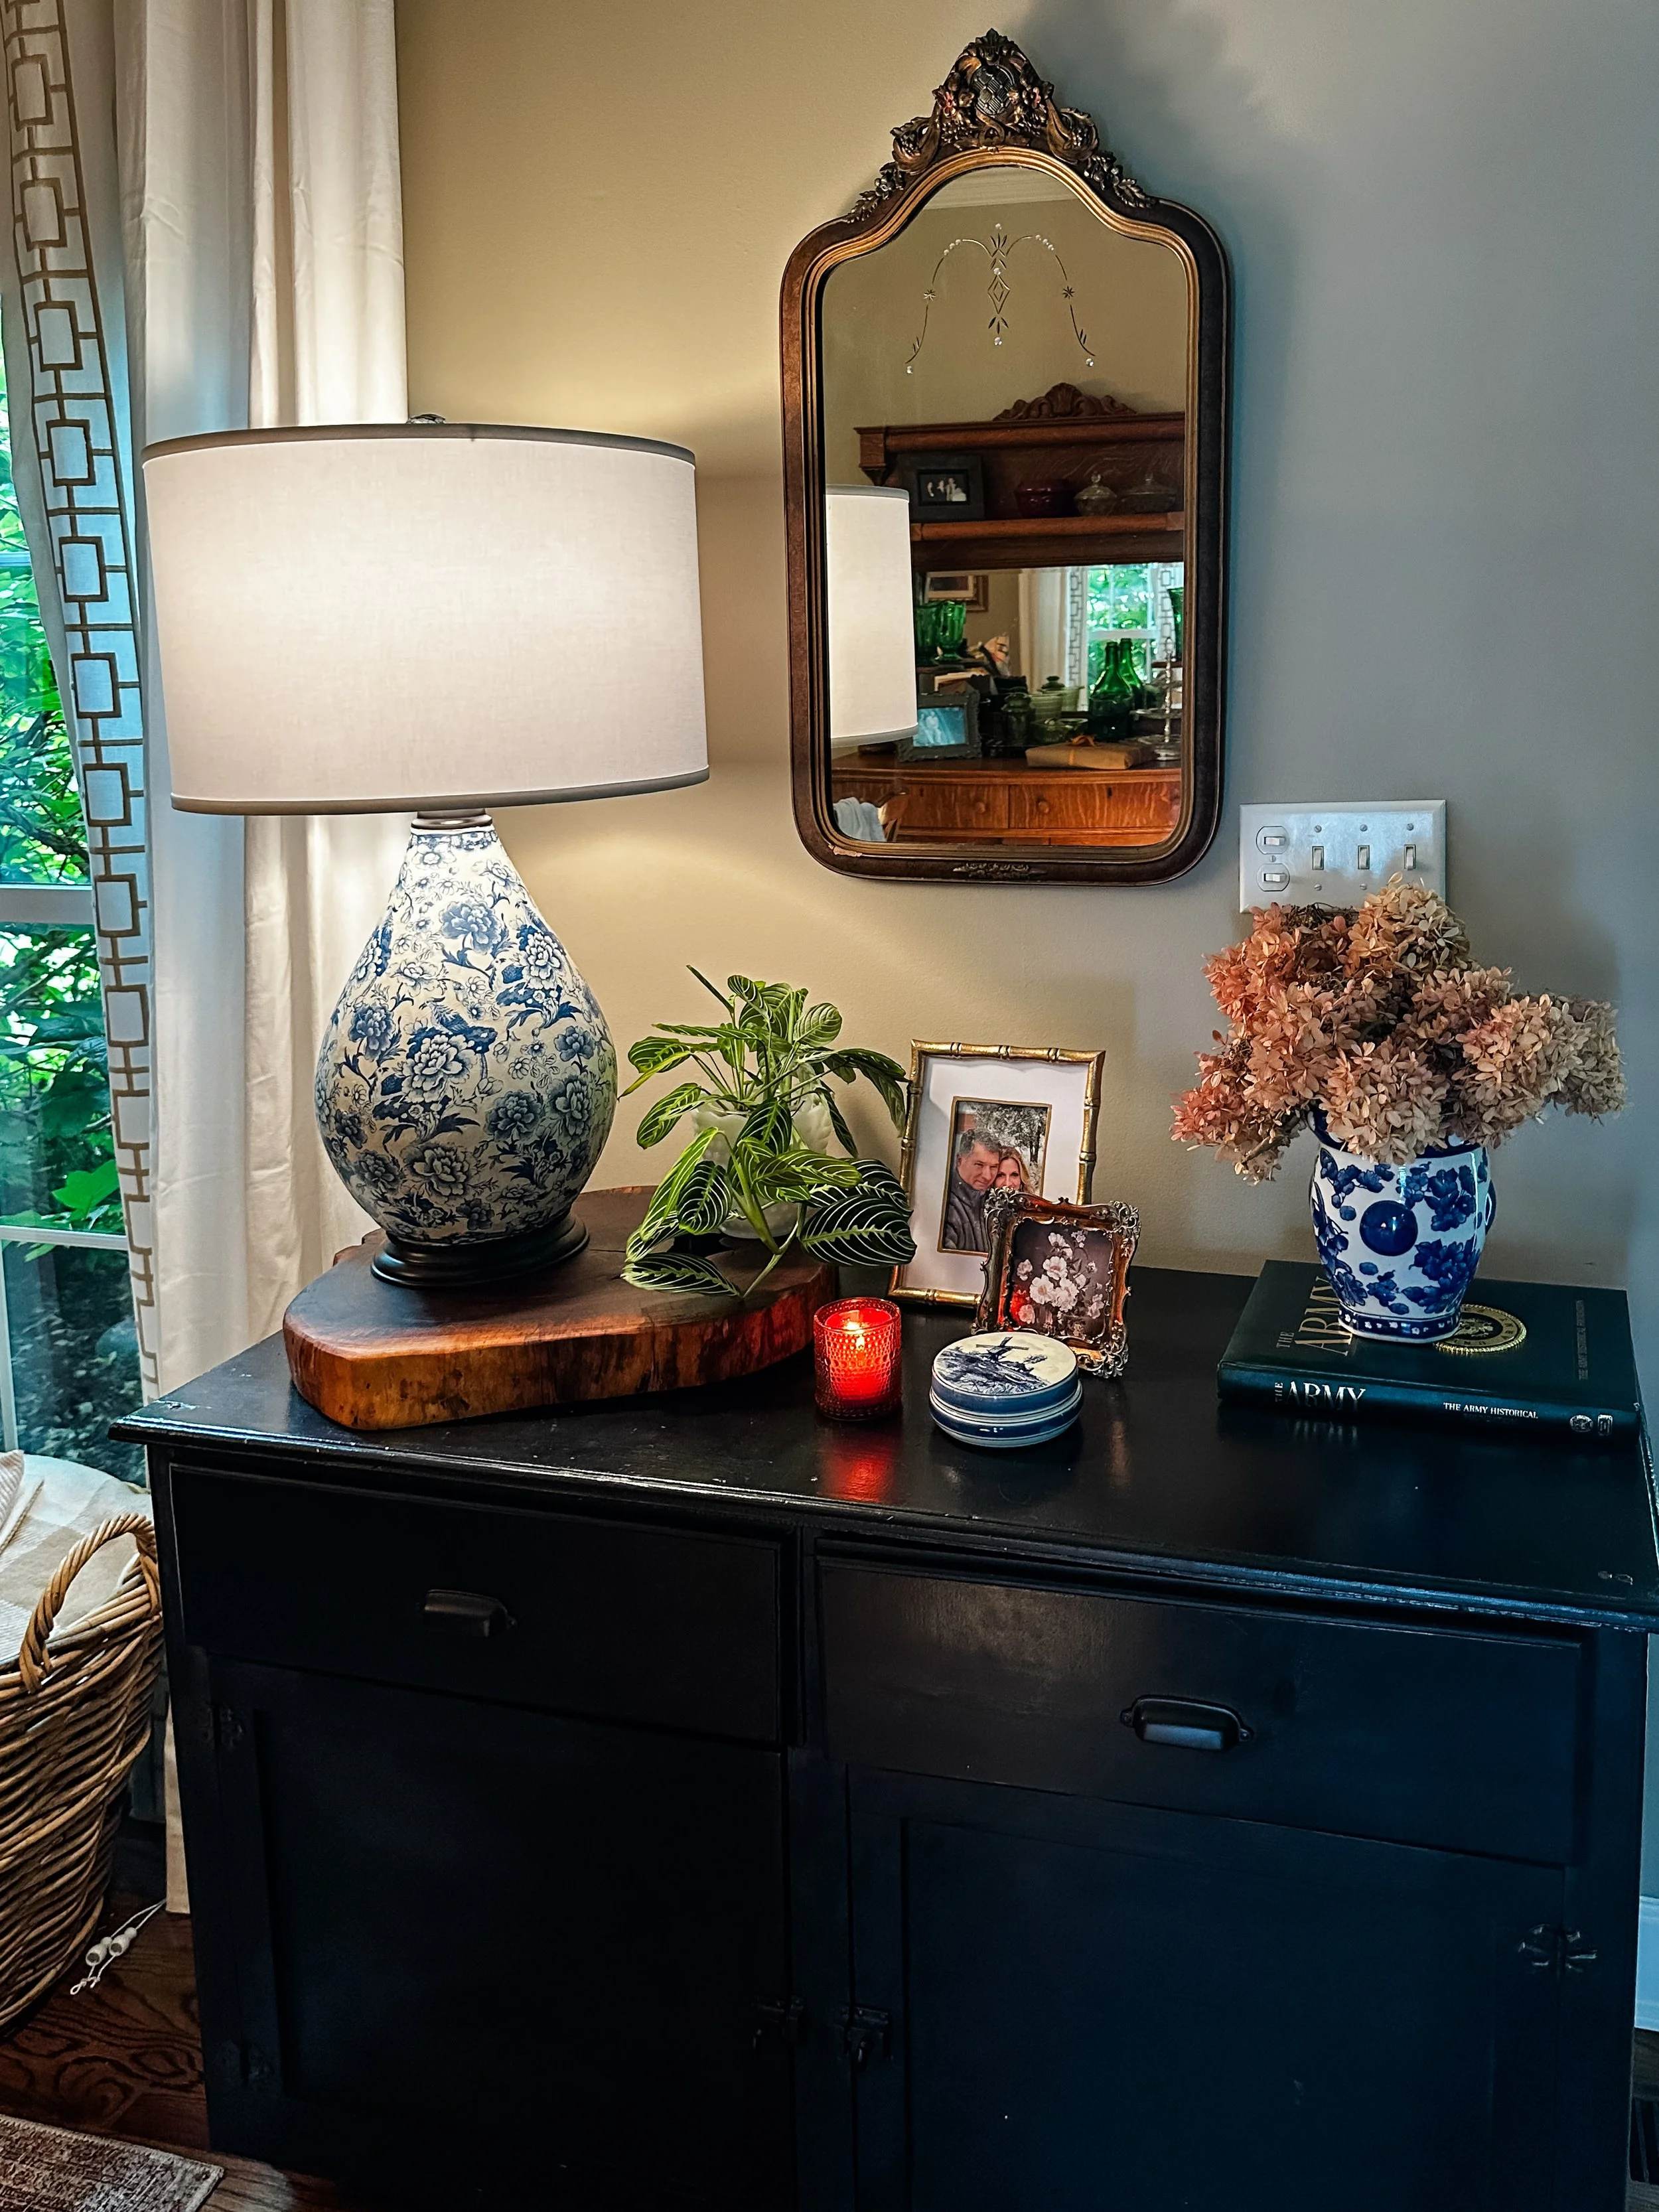
Let’s do a cost breakdown of this project:
Old Lamp: Free since I’m repurposing
Blue Napkins: $9
Tile Adhesive: $17.33
Mod Podge: $3.99
Mod Podge Brushes: $9.99
Mod Podge Matte Finishing Spray: $12.50
Navy Blue Cording: $7.94
Subtotal: $60.65
*The primer and frog tape I had on hand. I didn’t have to replace the lampshade, but I decided to get a white linen shade because I think it looks better with this lamp. It also is more cohesive with the room it’s in.
Lampshade: $95.89
Total cost: $156.54
Not bad since it now looks like a lamp that is $400 or more!
Do you love this look? I’ve linked the supplies I used to create this look and similar lamps. I’ve also linked other vintage-inspired items that would look great in a room with this lamp!
Want to try this DIY for yourself?
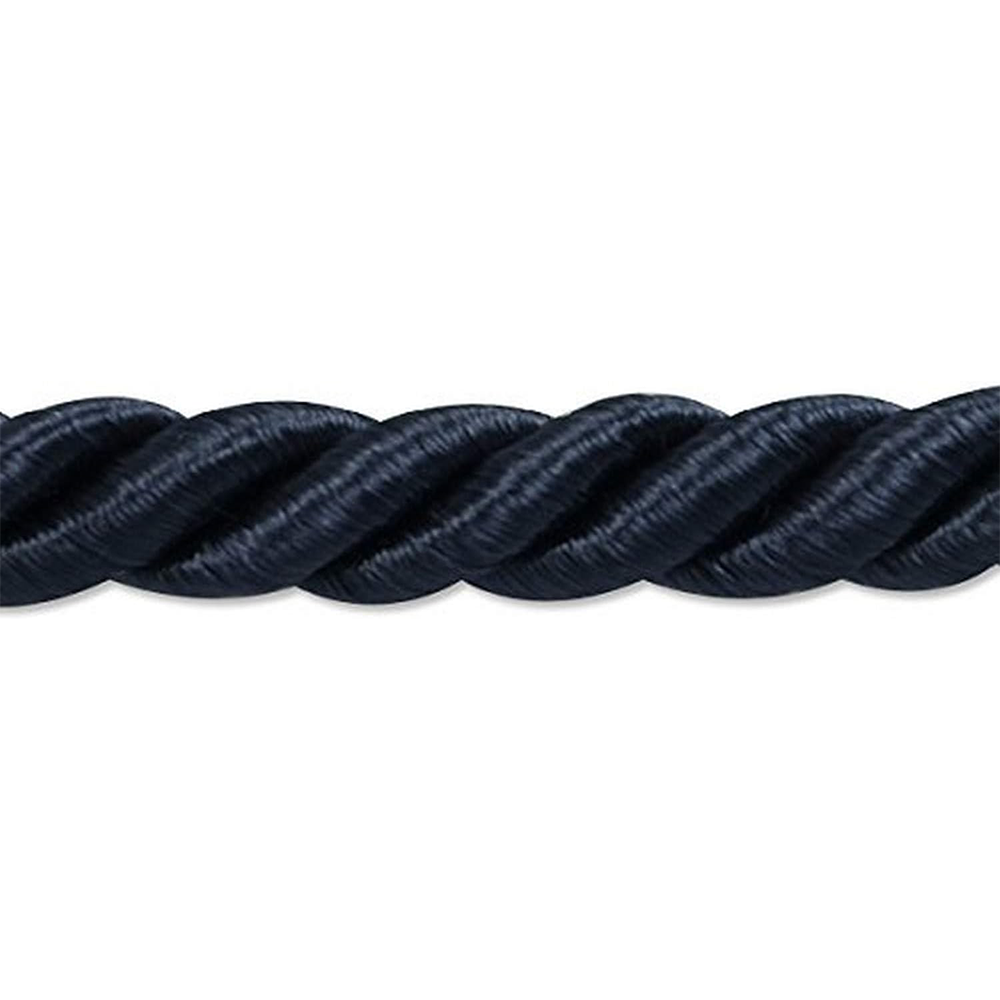
Navy Cording
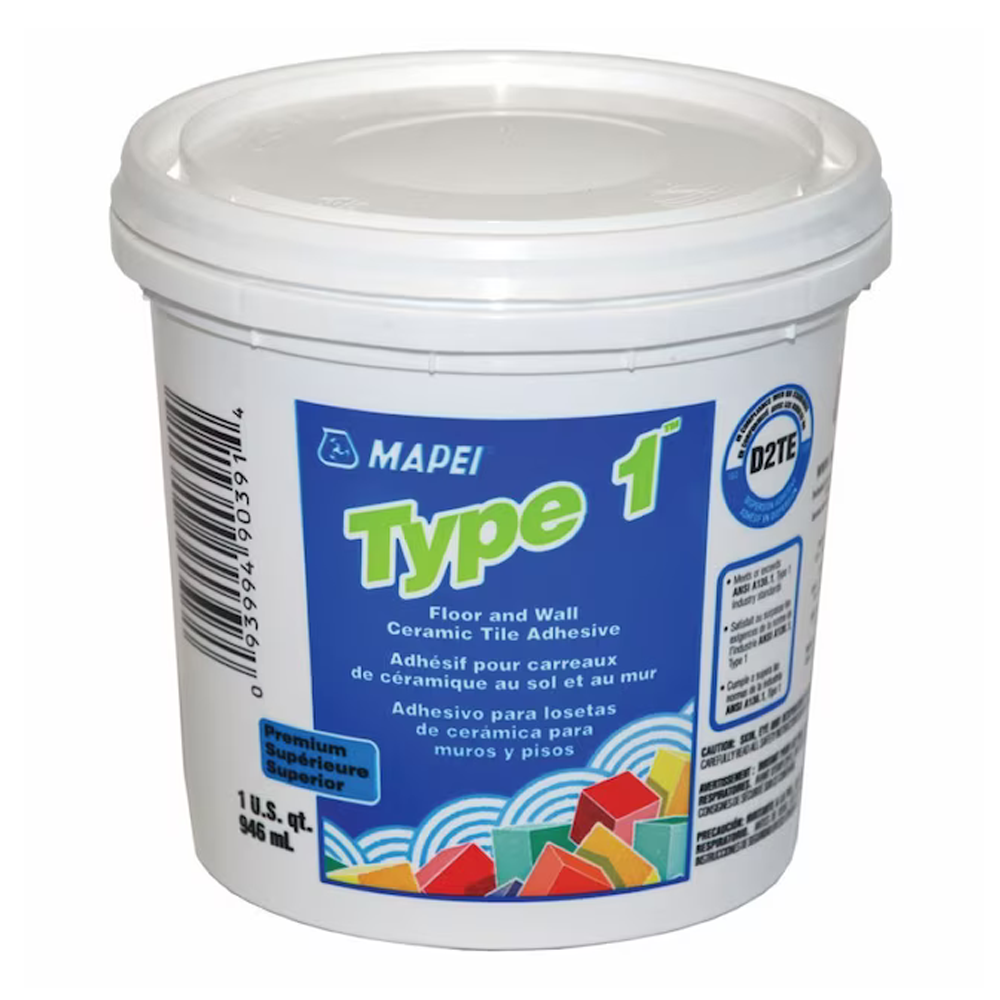
Ceramic tile Mastic
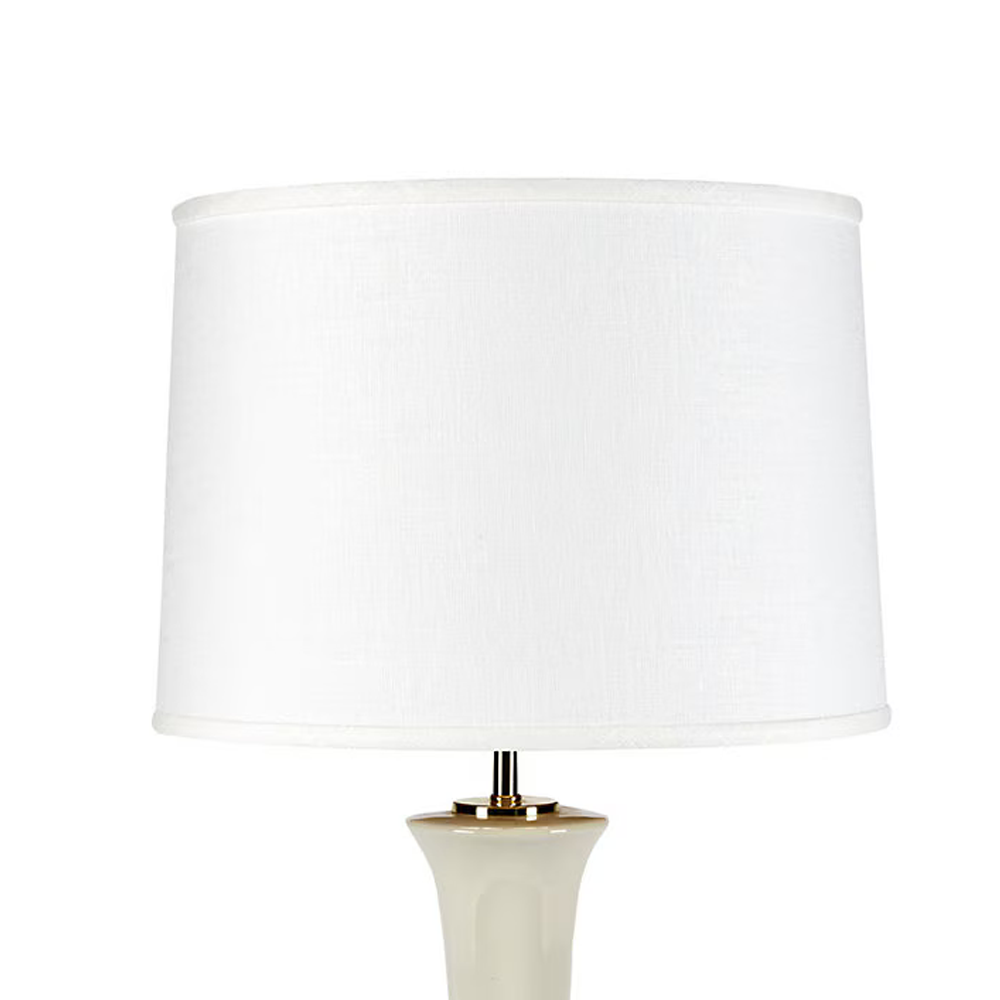
Linen Tapered Drum Lamp Shade
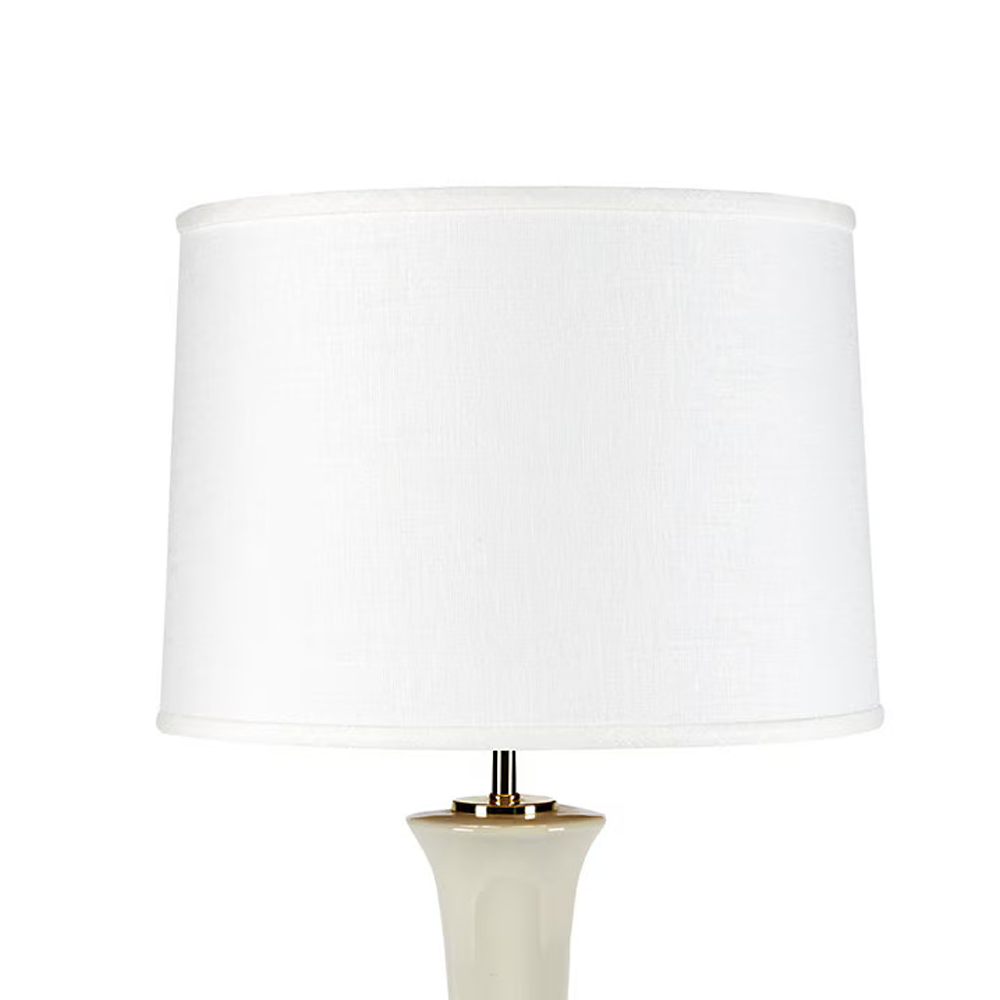
Couture Drum Lamp Shade
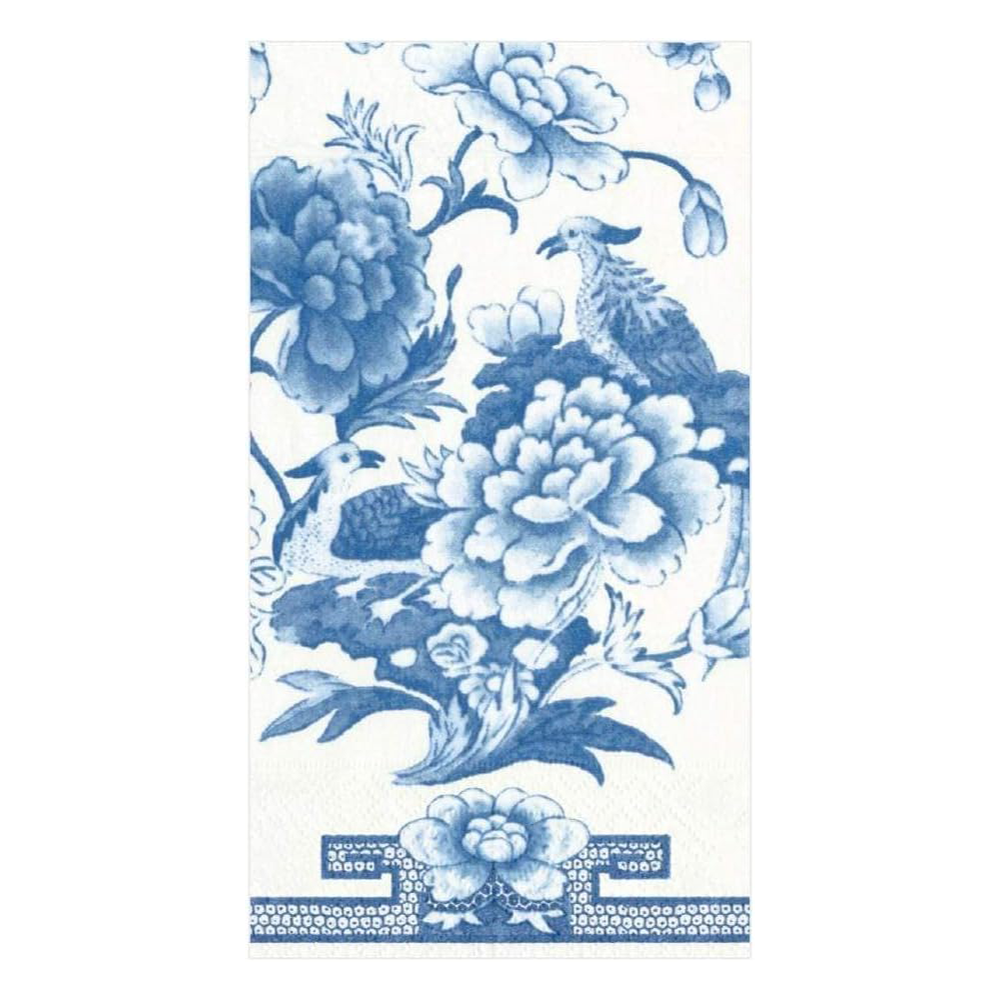
Paper Guest Towels, Blue and White
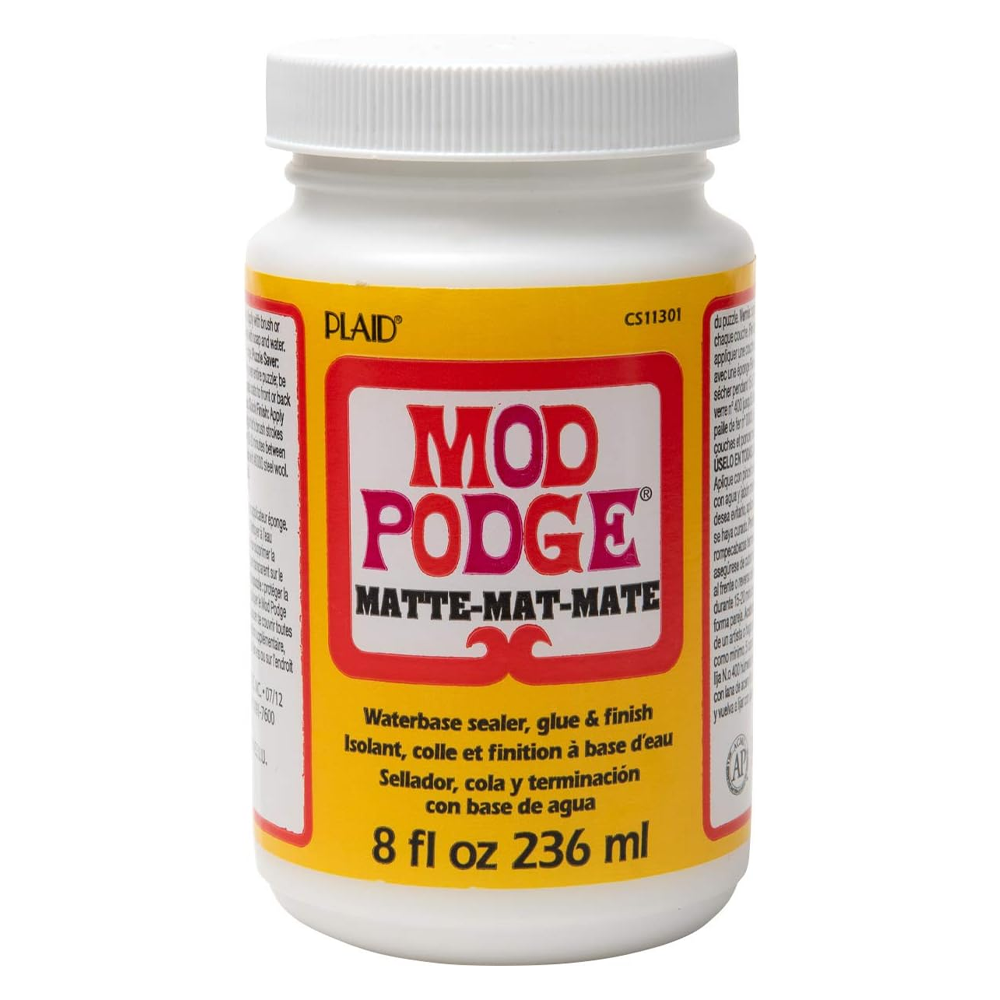
Mod Podge Matte Sealer, Glue & Finish
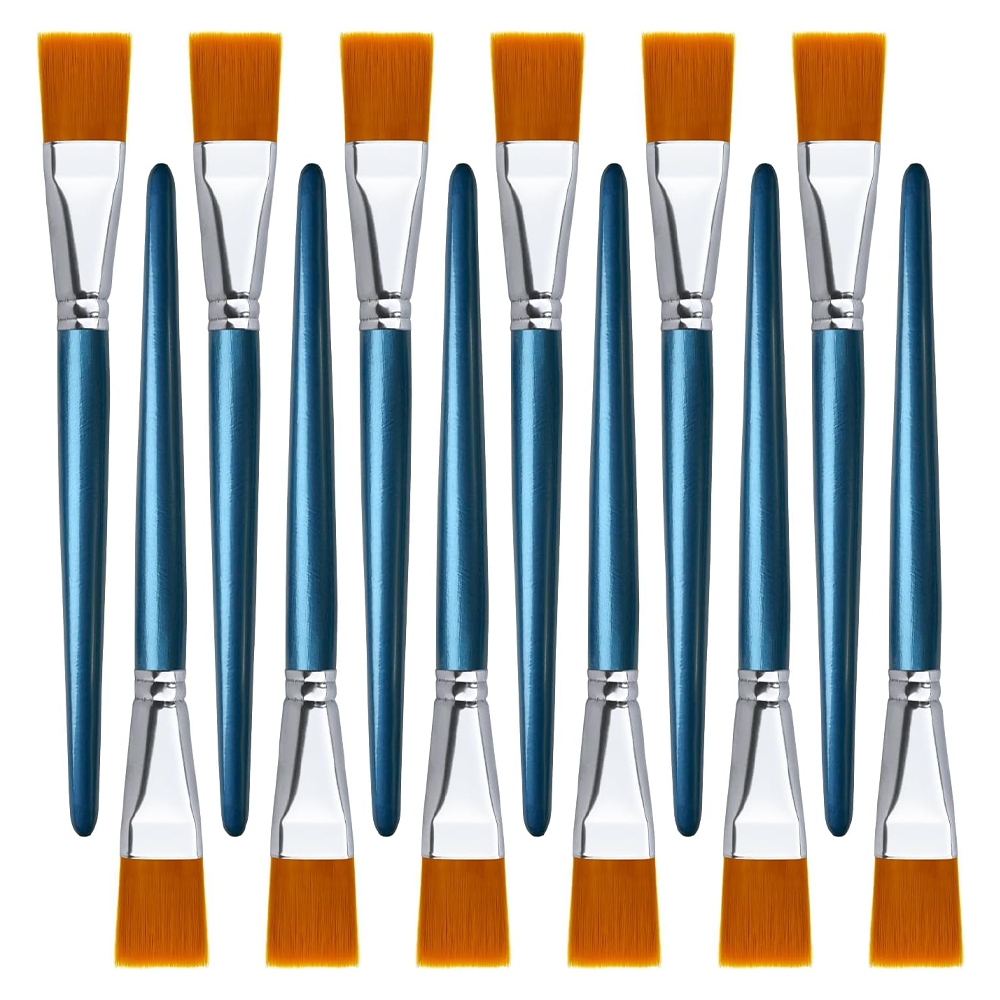
12 Pieces 1 inch Flat Paint Brushes
Get the Same Look, without the DIY
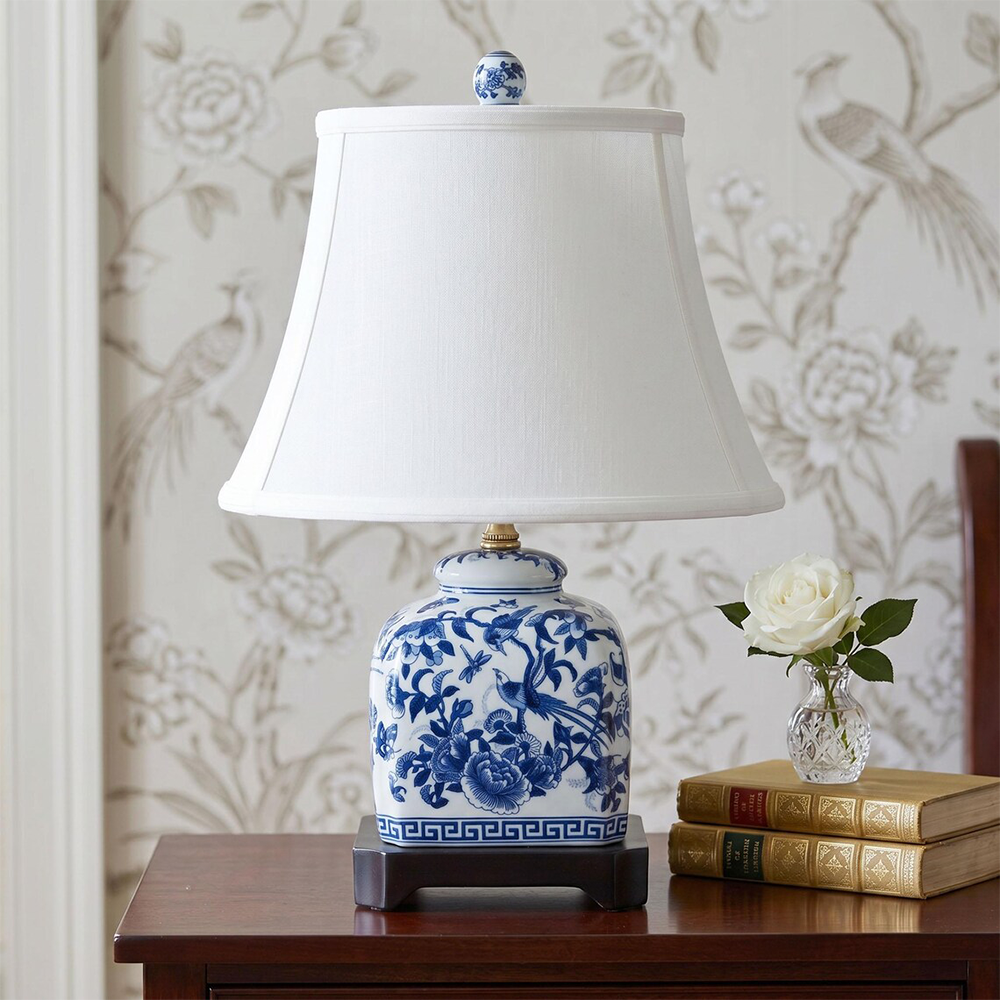
Square Blue and White Porcelain Table Lamp
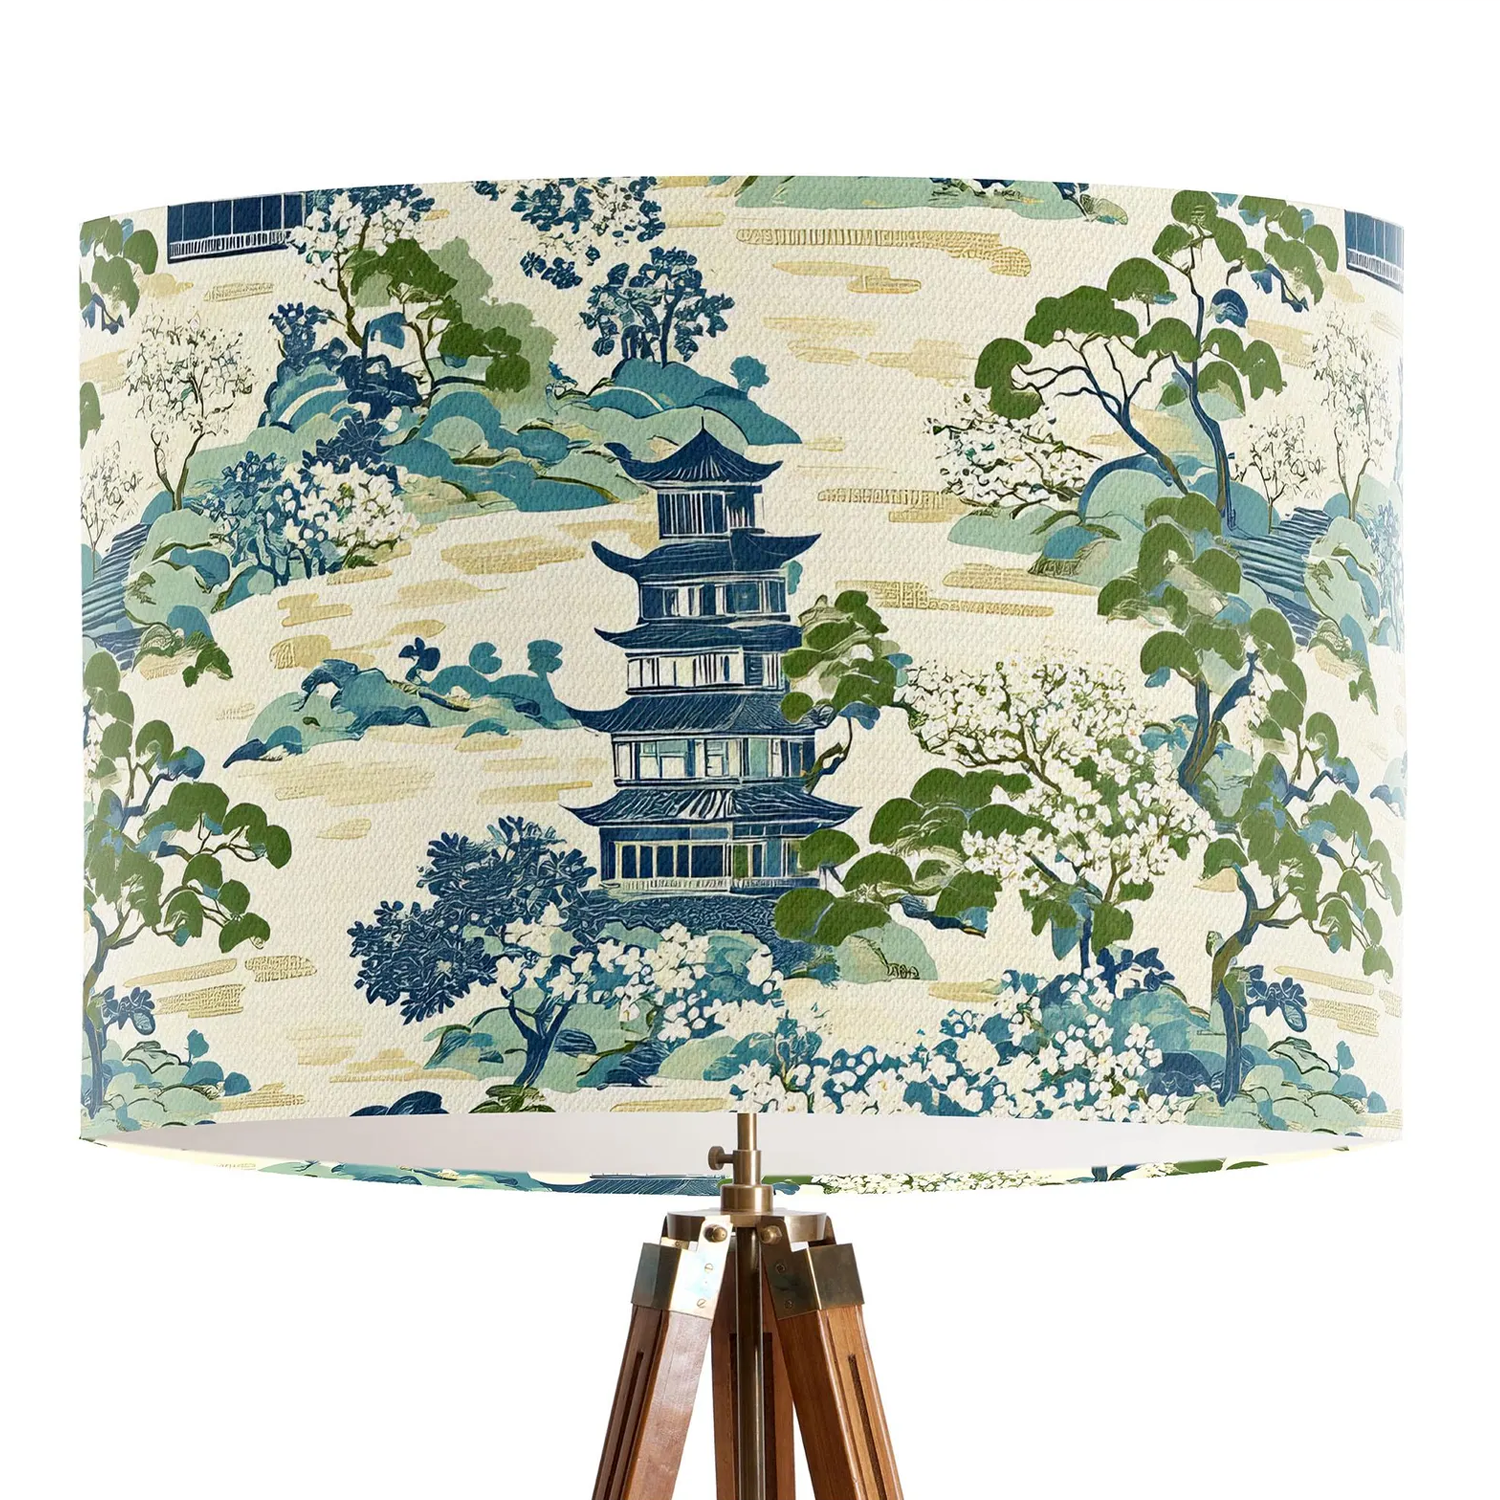
Elegant Blue Green Chinoiserie Lampshade
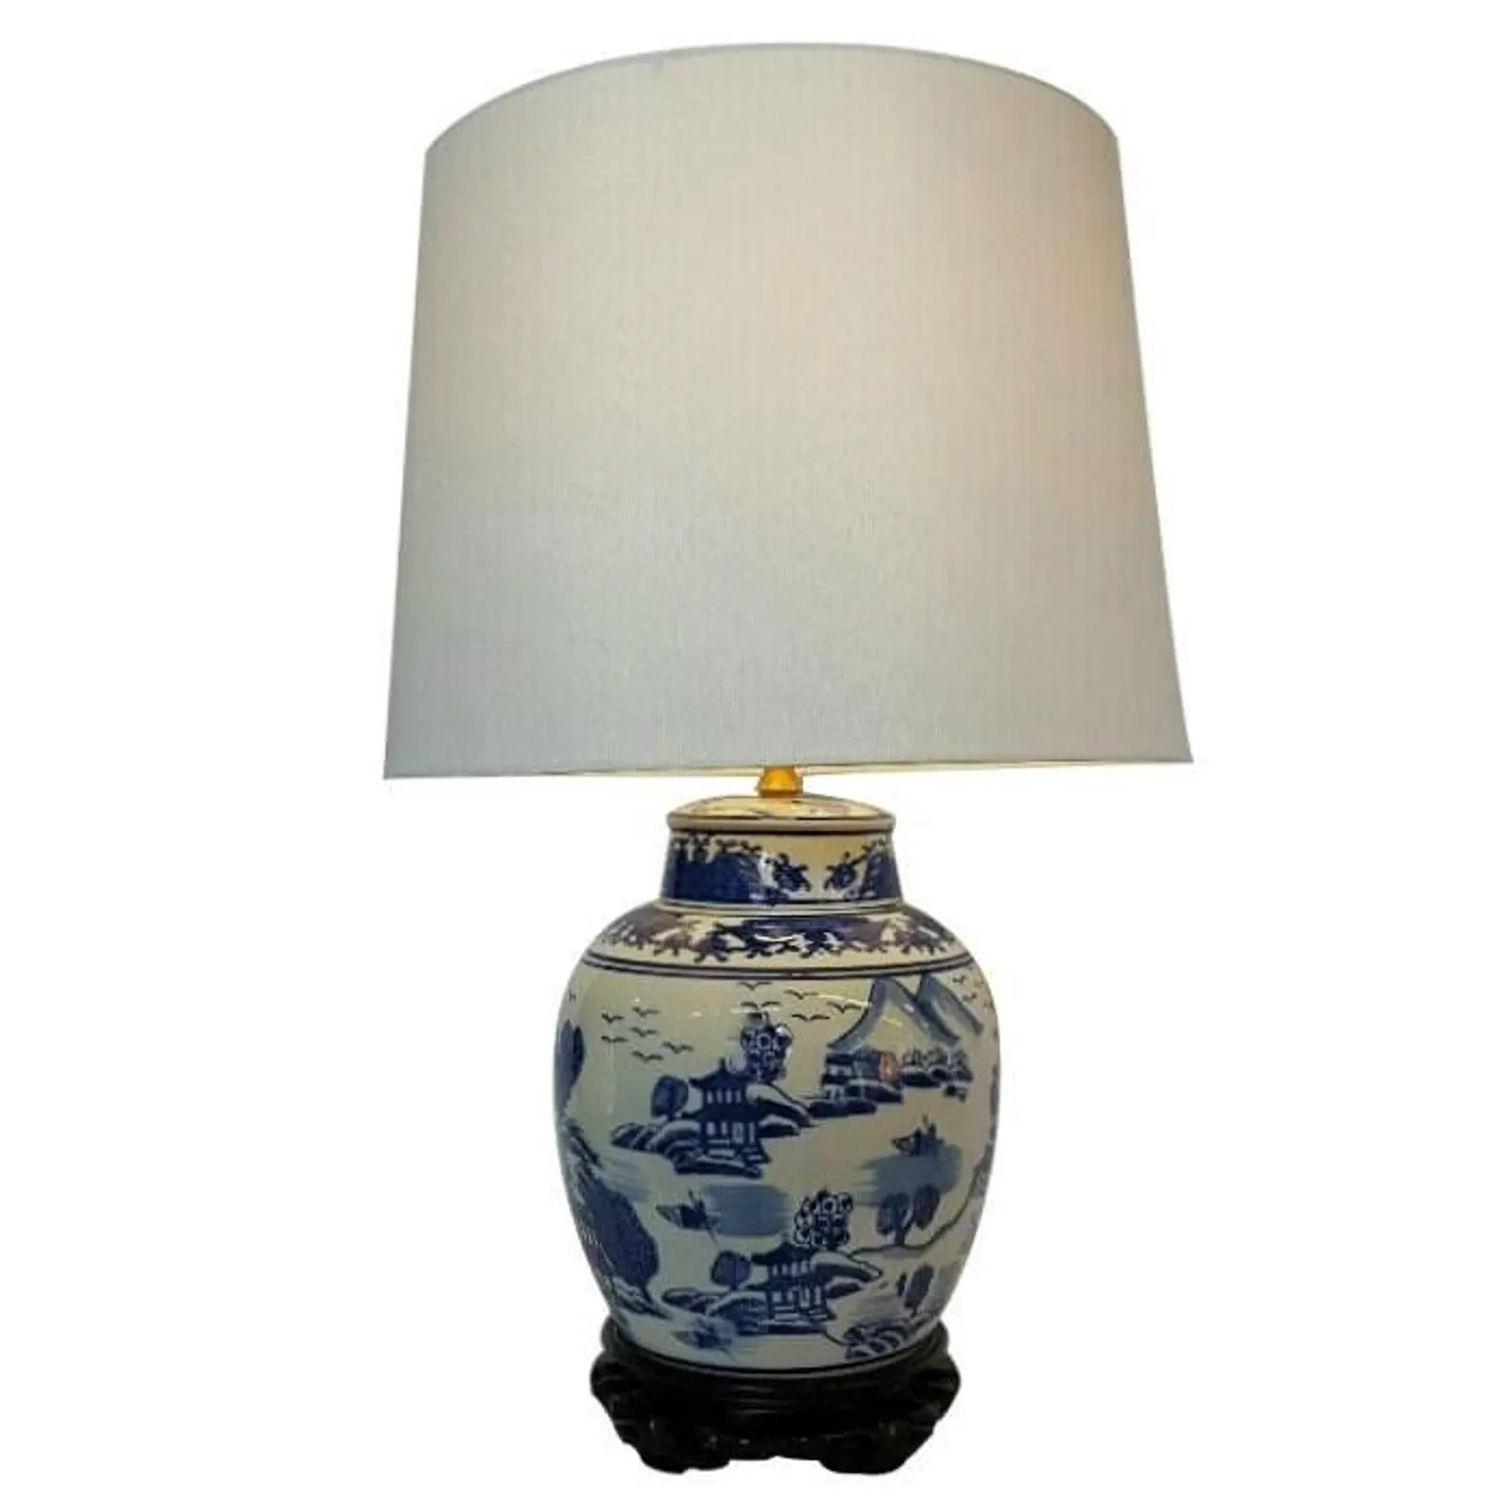
Blue and White Chinoiserie Porcelain Table Lamp
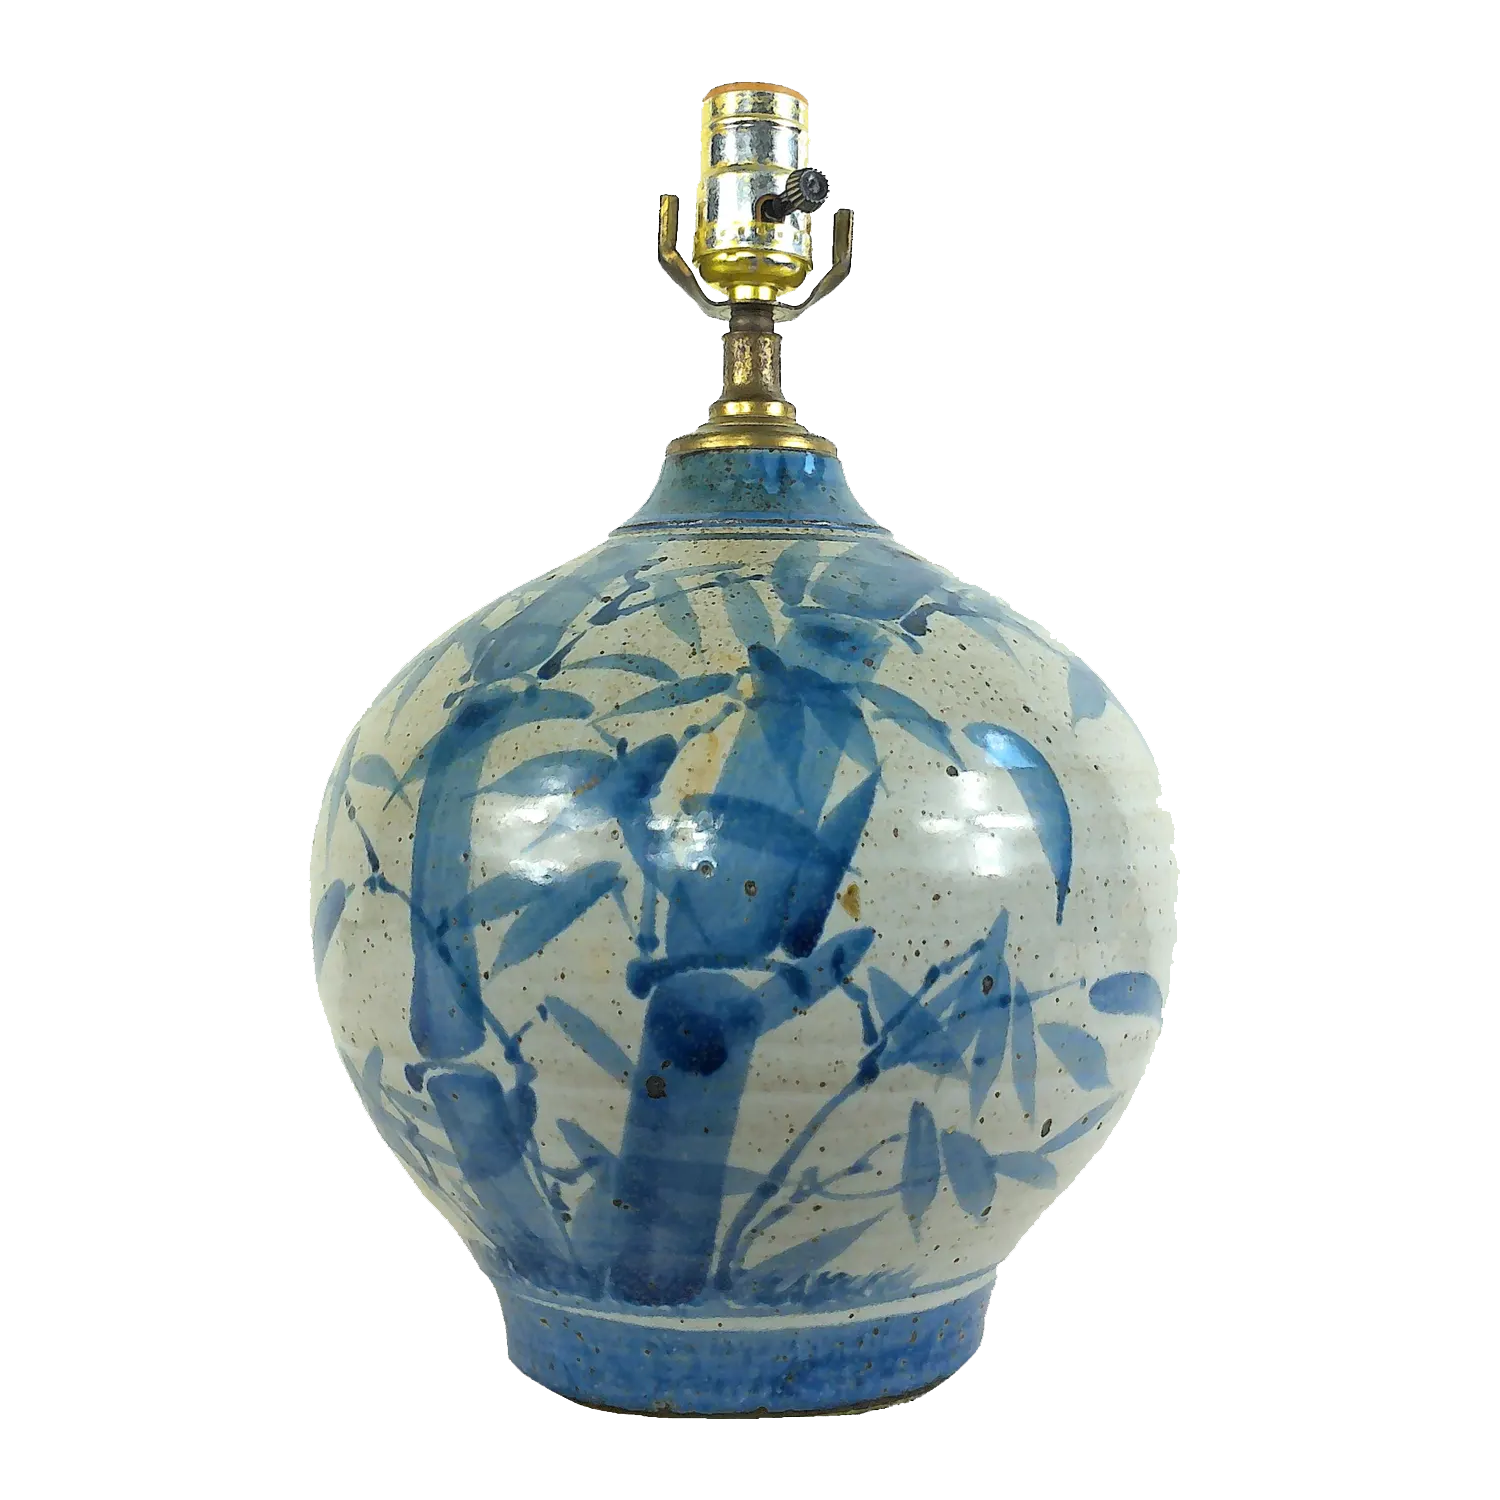
Vintage Stoneware Table Lamp
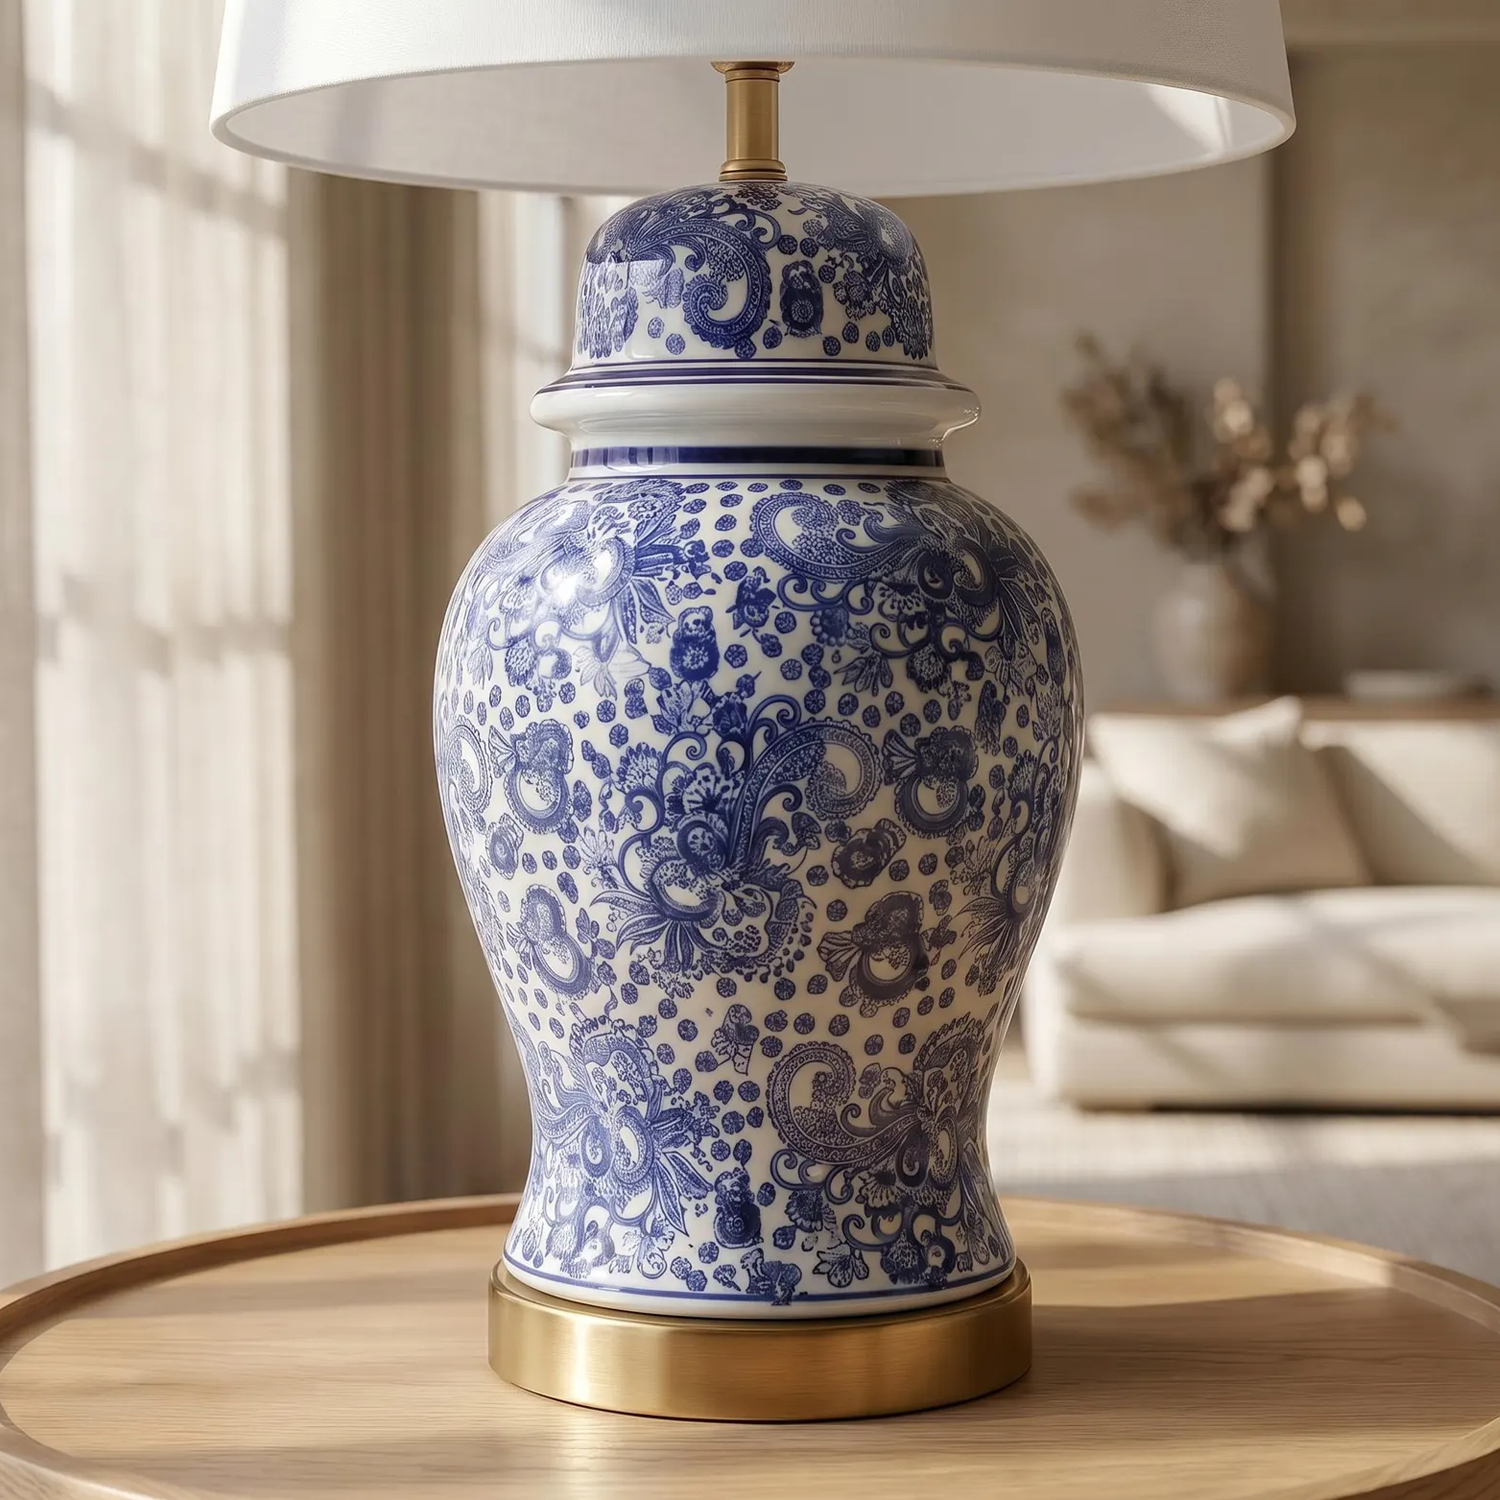
Ceramic Ginger Jar Table Lamp
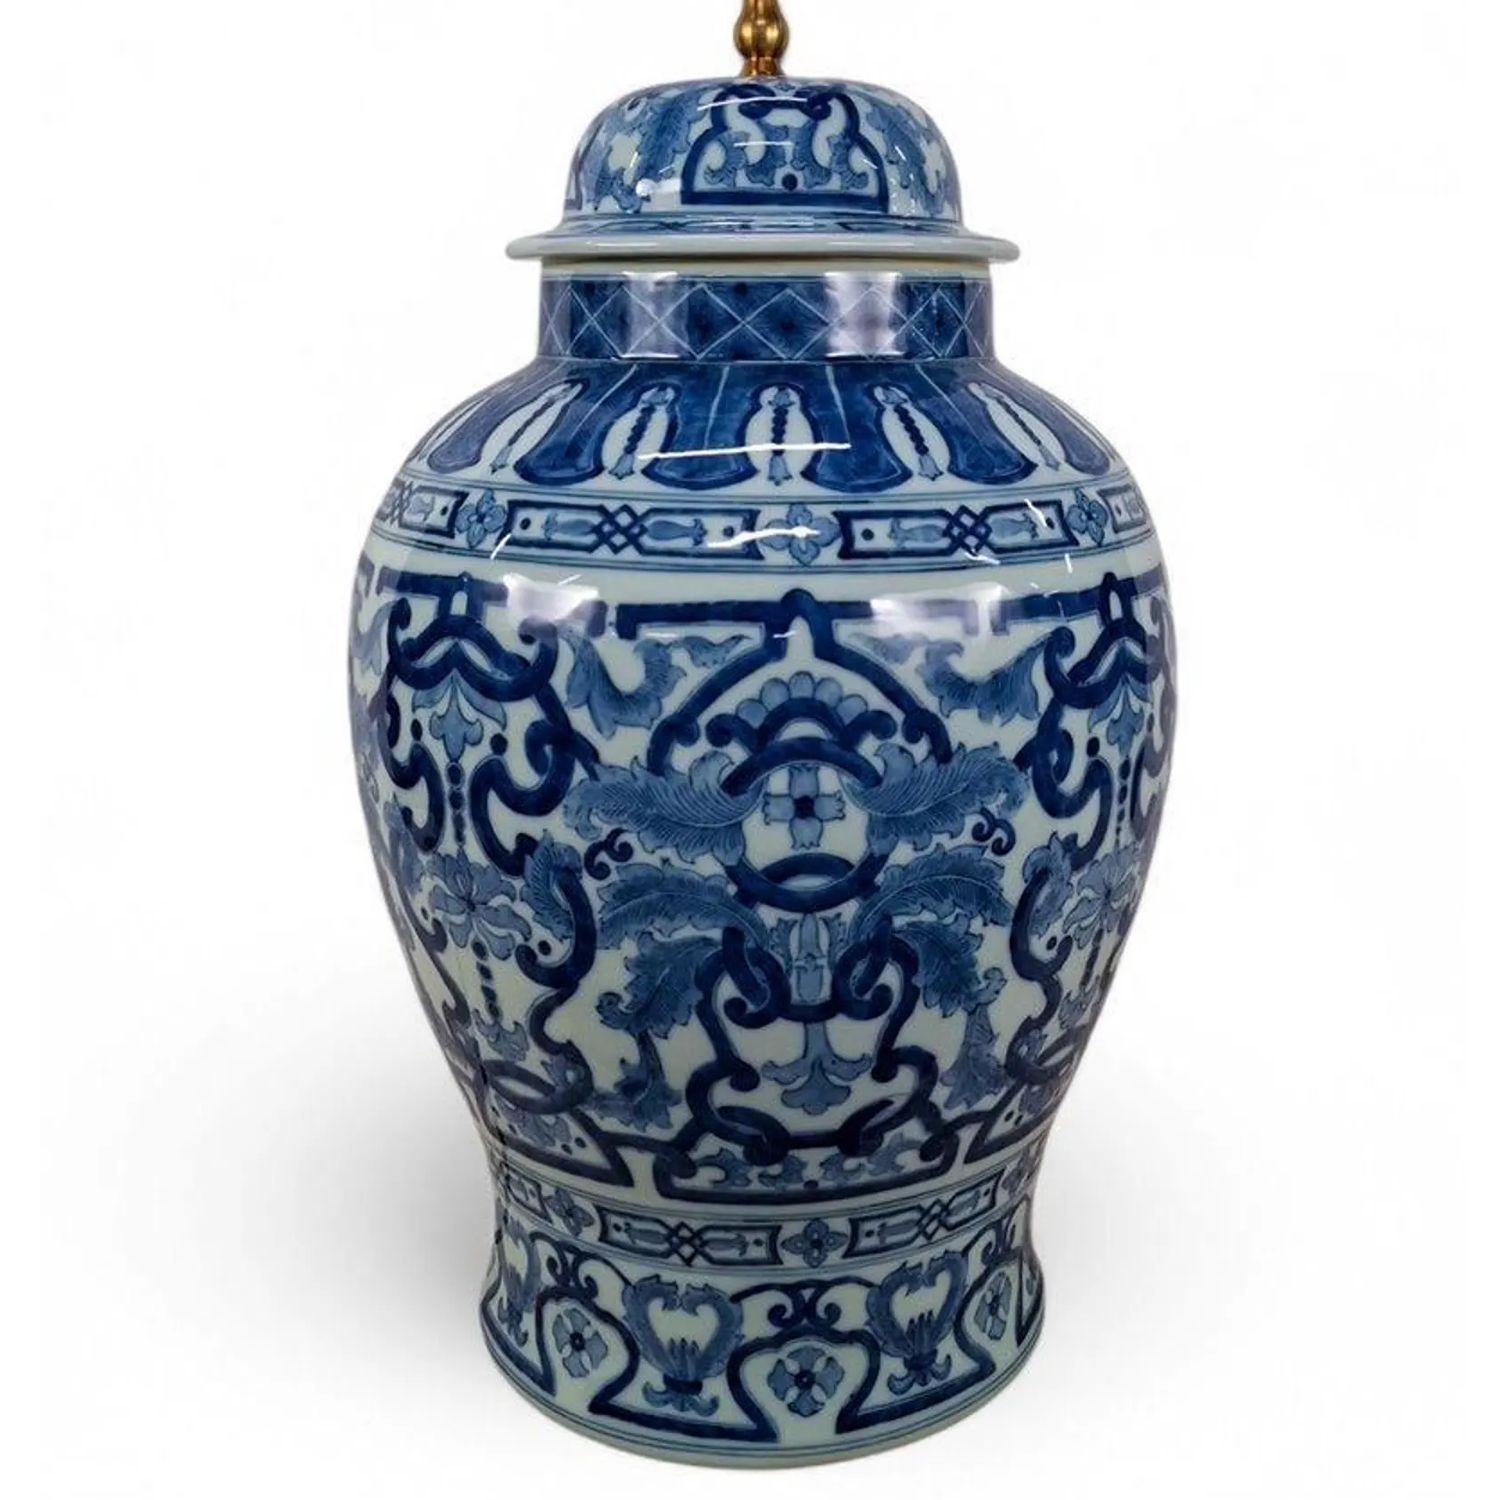
Blue Porcelain Medallion Temple Jar Table Lamp