

Turning a Vintage Sewing Machine Cabinet into a
K-Cup Holder
I love a good upcycle, don’t you? Have you ever had one of those a-ha moments where you look at something at a thrift store and know it could function as something else, something useful? This happens to me pretty frequently when I’m out thrifting and antique shopping. I love having a piece with a story behind it. To me, this is what makes a house rich with layers, texture and character.
Last fall, Doug and I went to a vintage market in Franklin, Kentucky at Bright’s Antique World. These vintage market days are special because Bright’s opens up a separate building and it’s more like a flea market or farmer’s market. The vendors are actively selling their wares so you can haggle with them over prices which I LOVE!

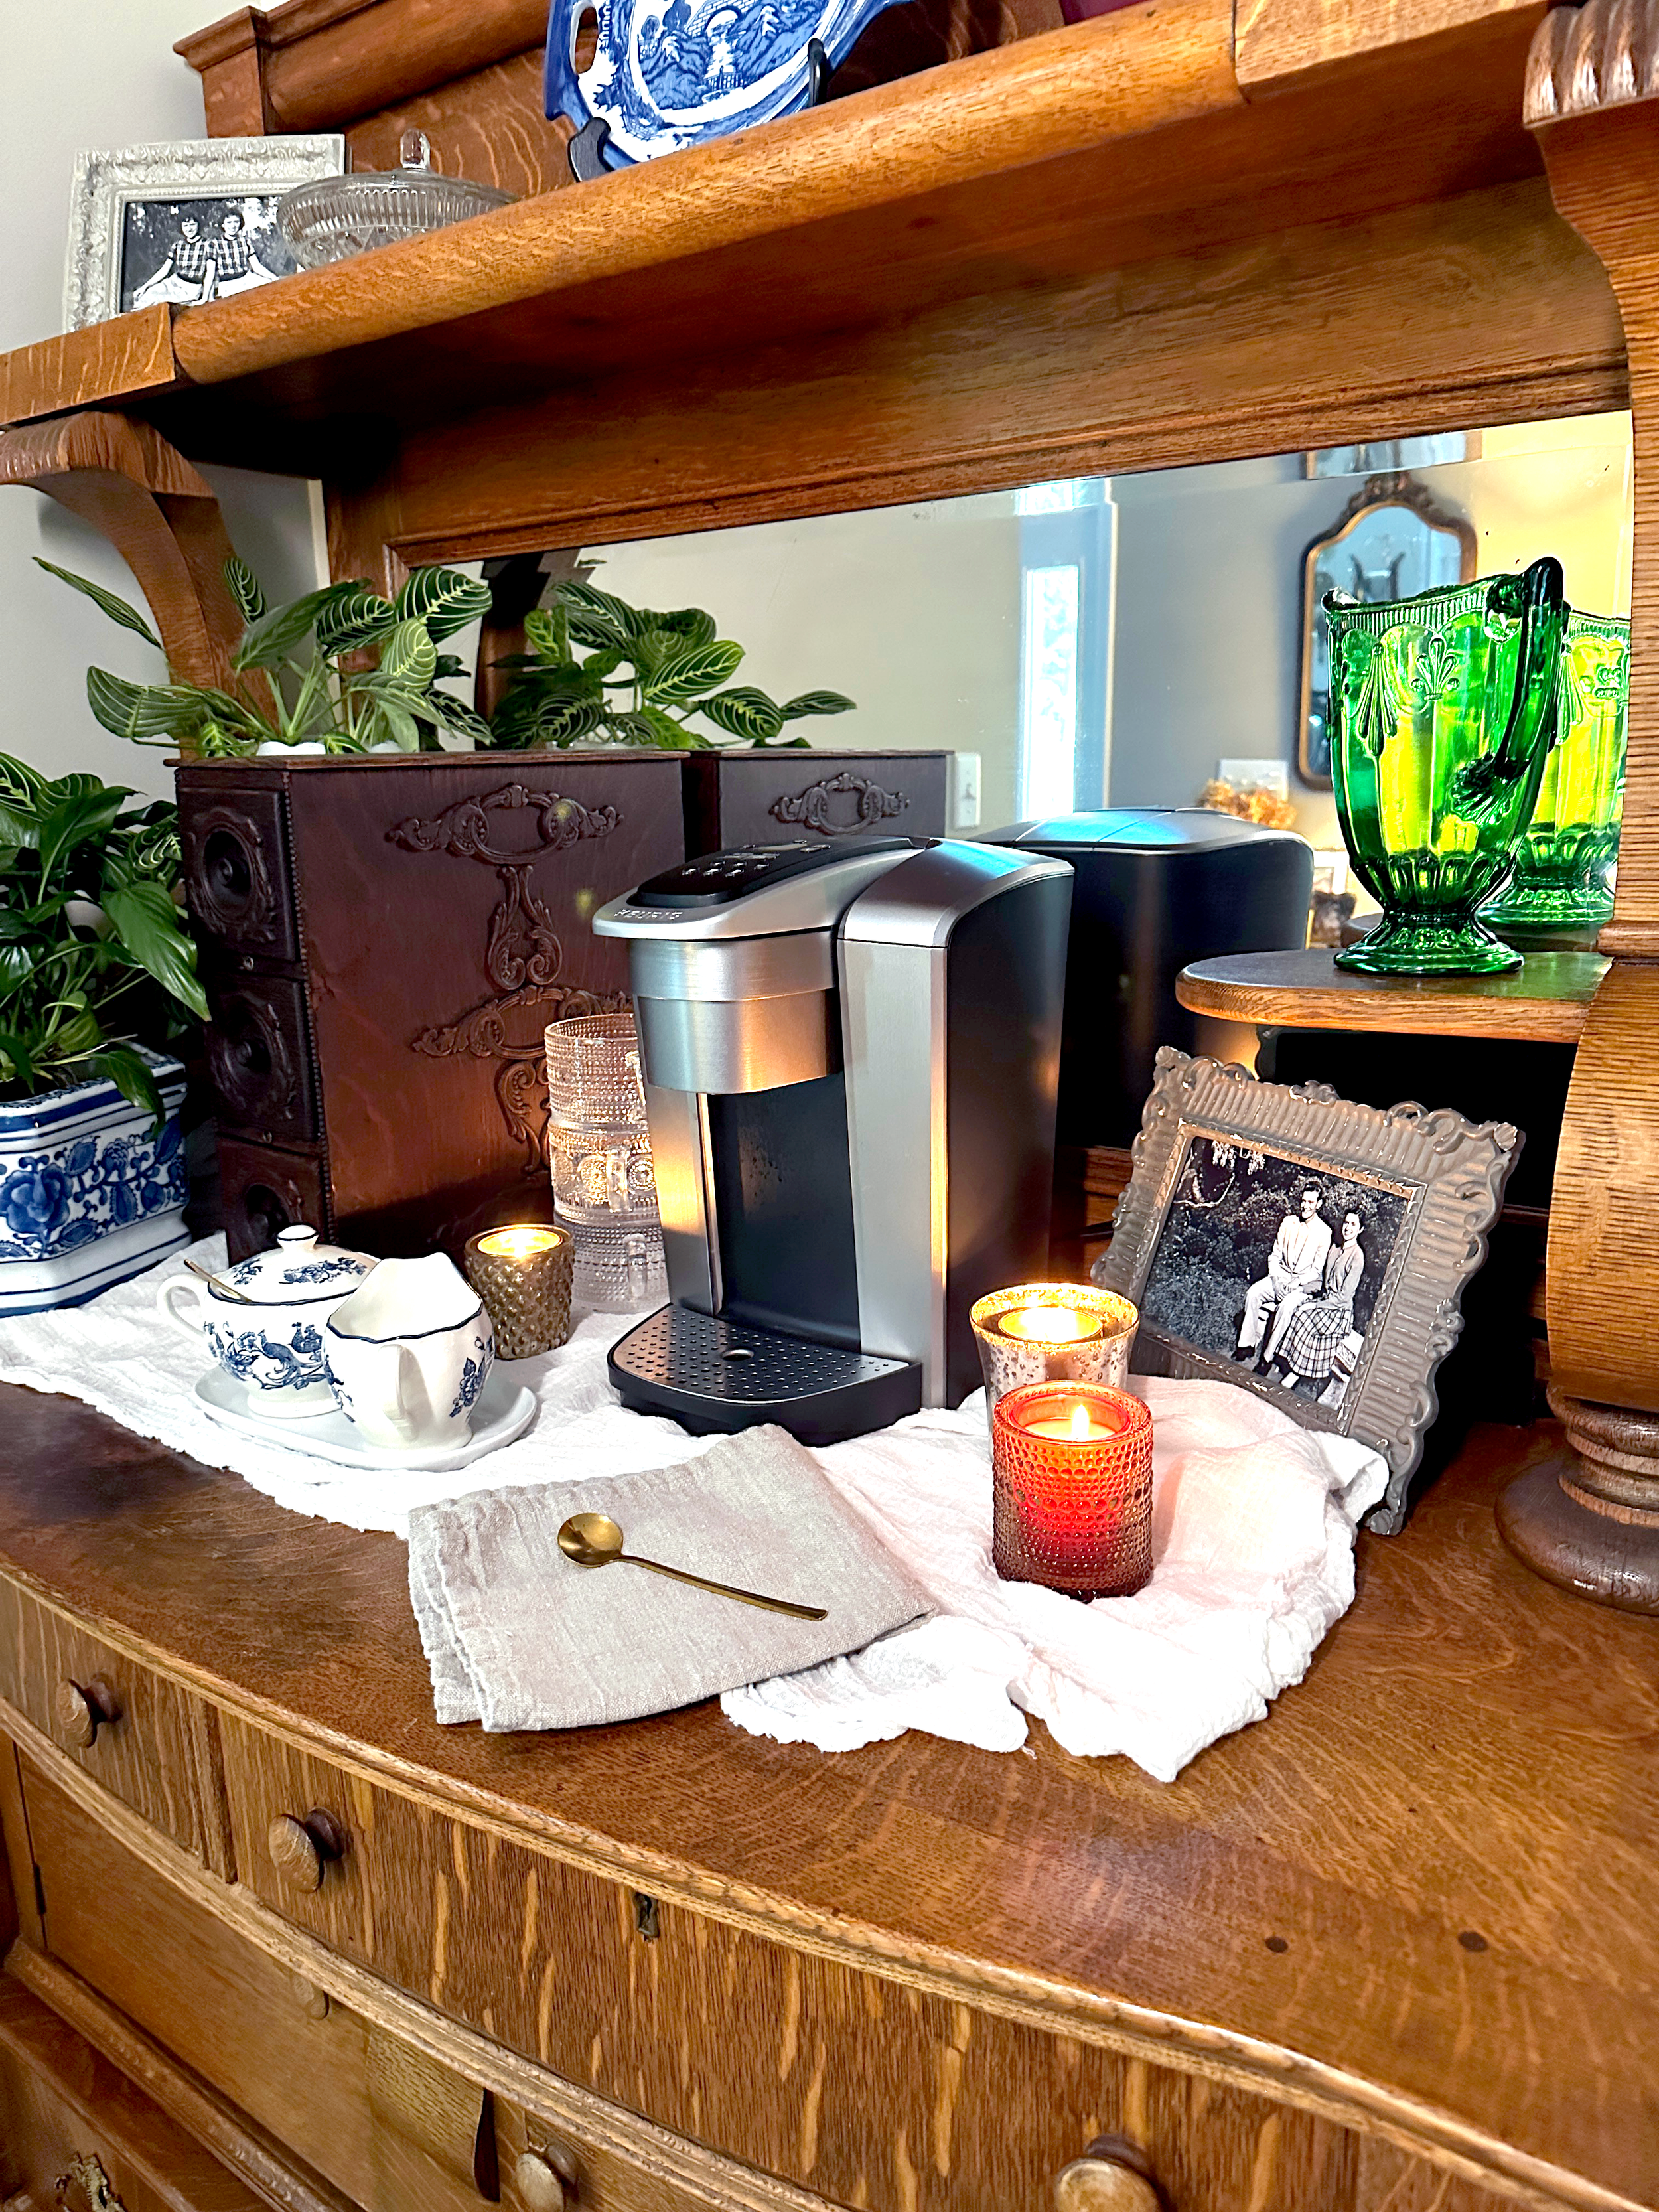
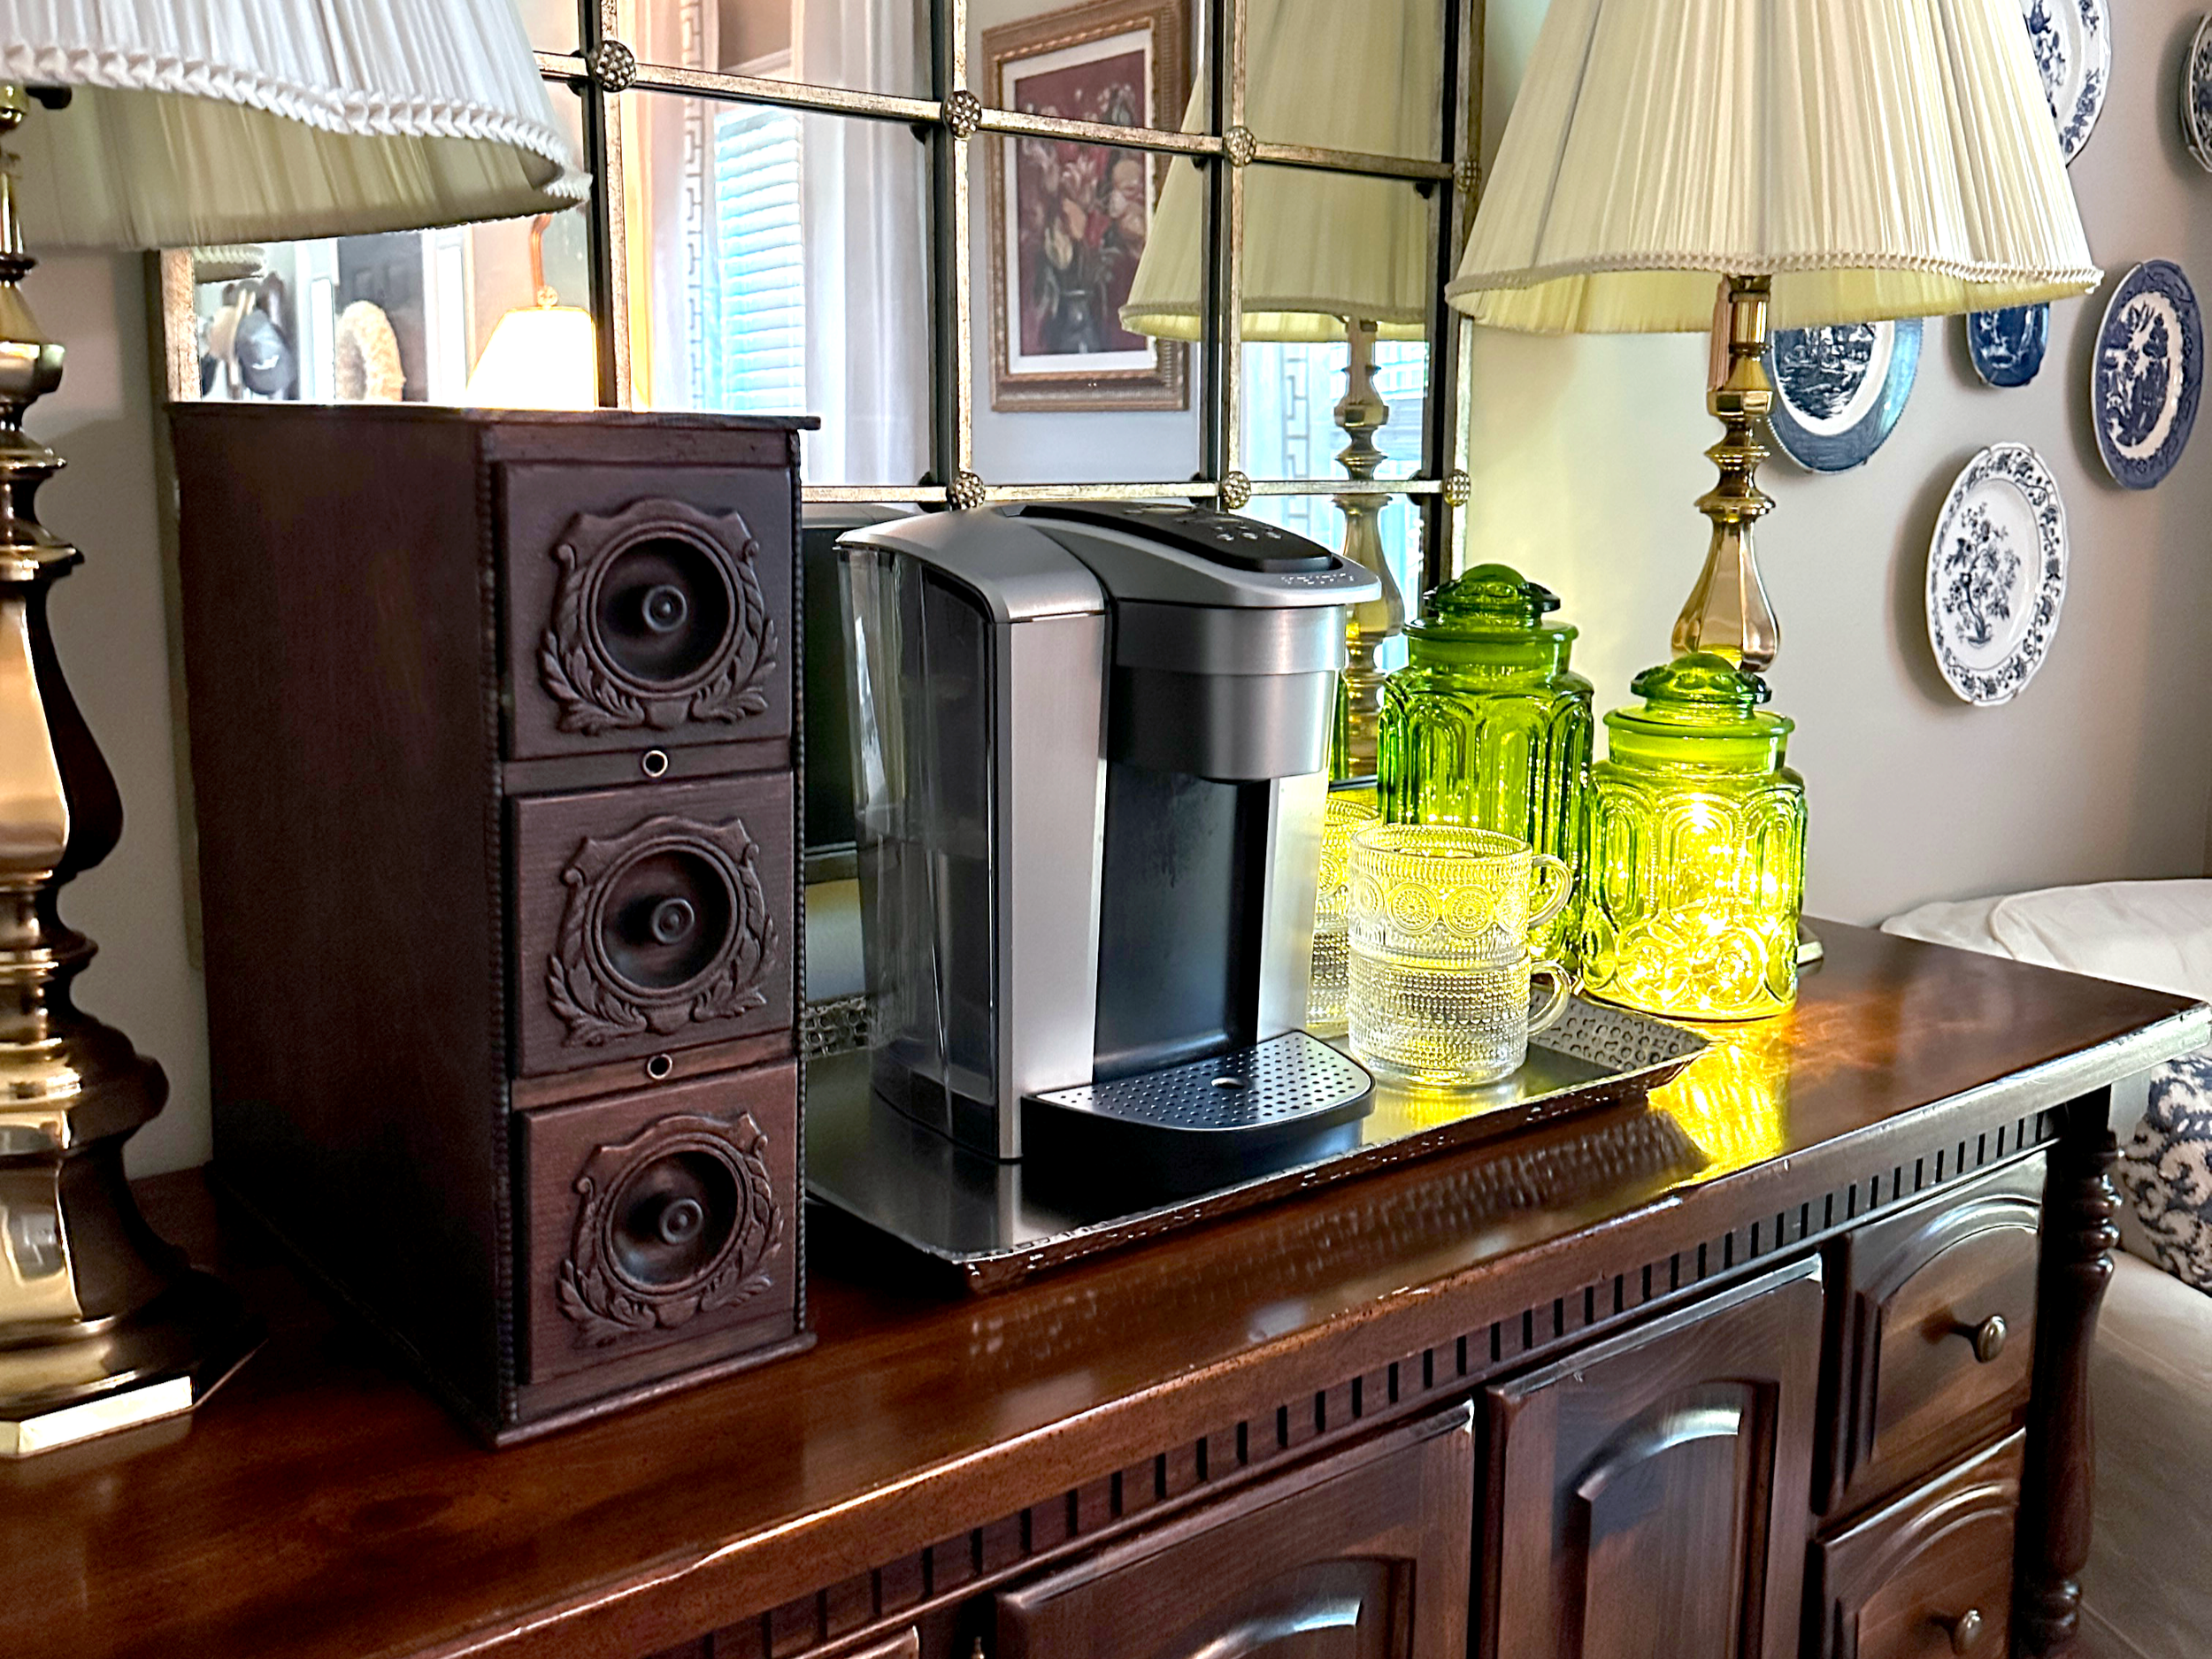
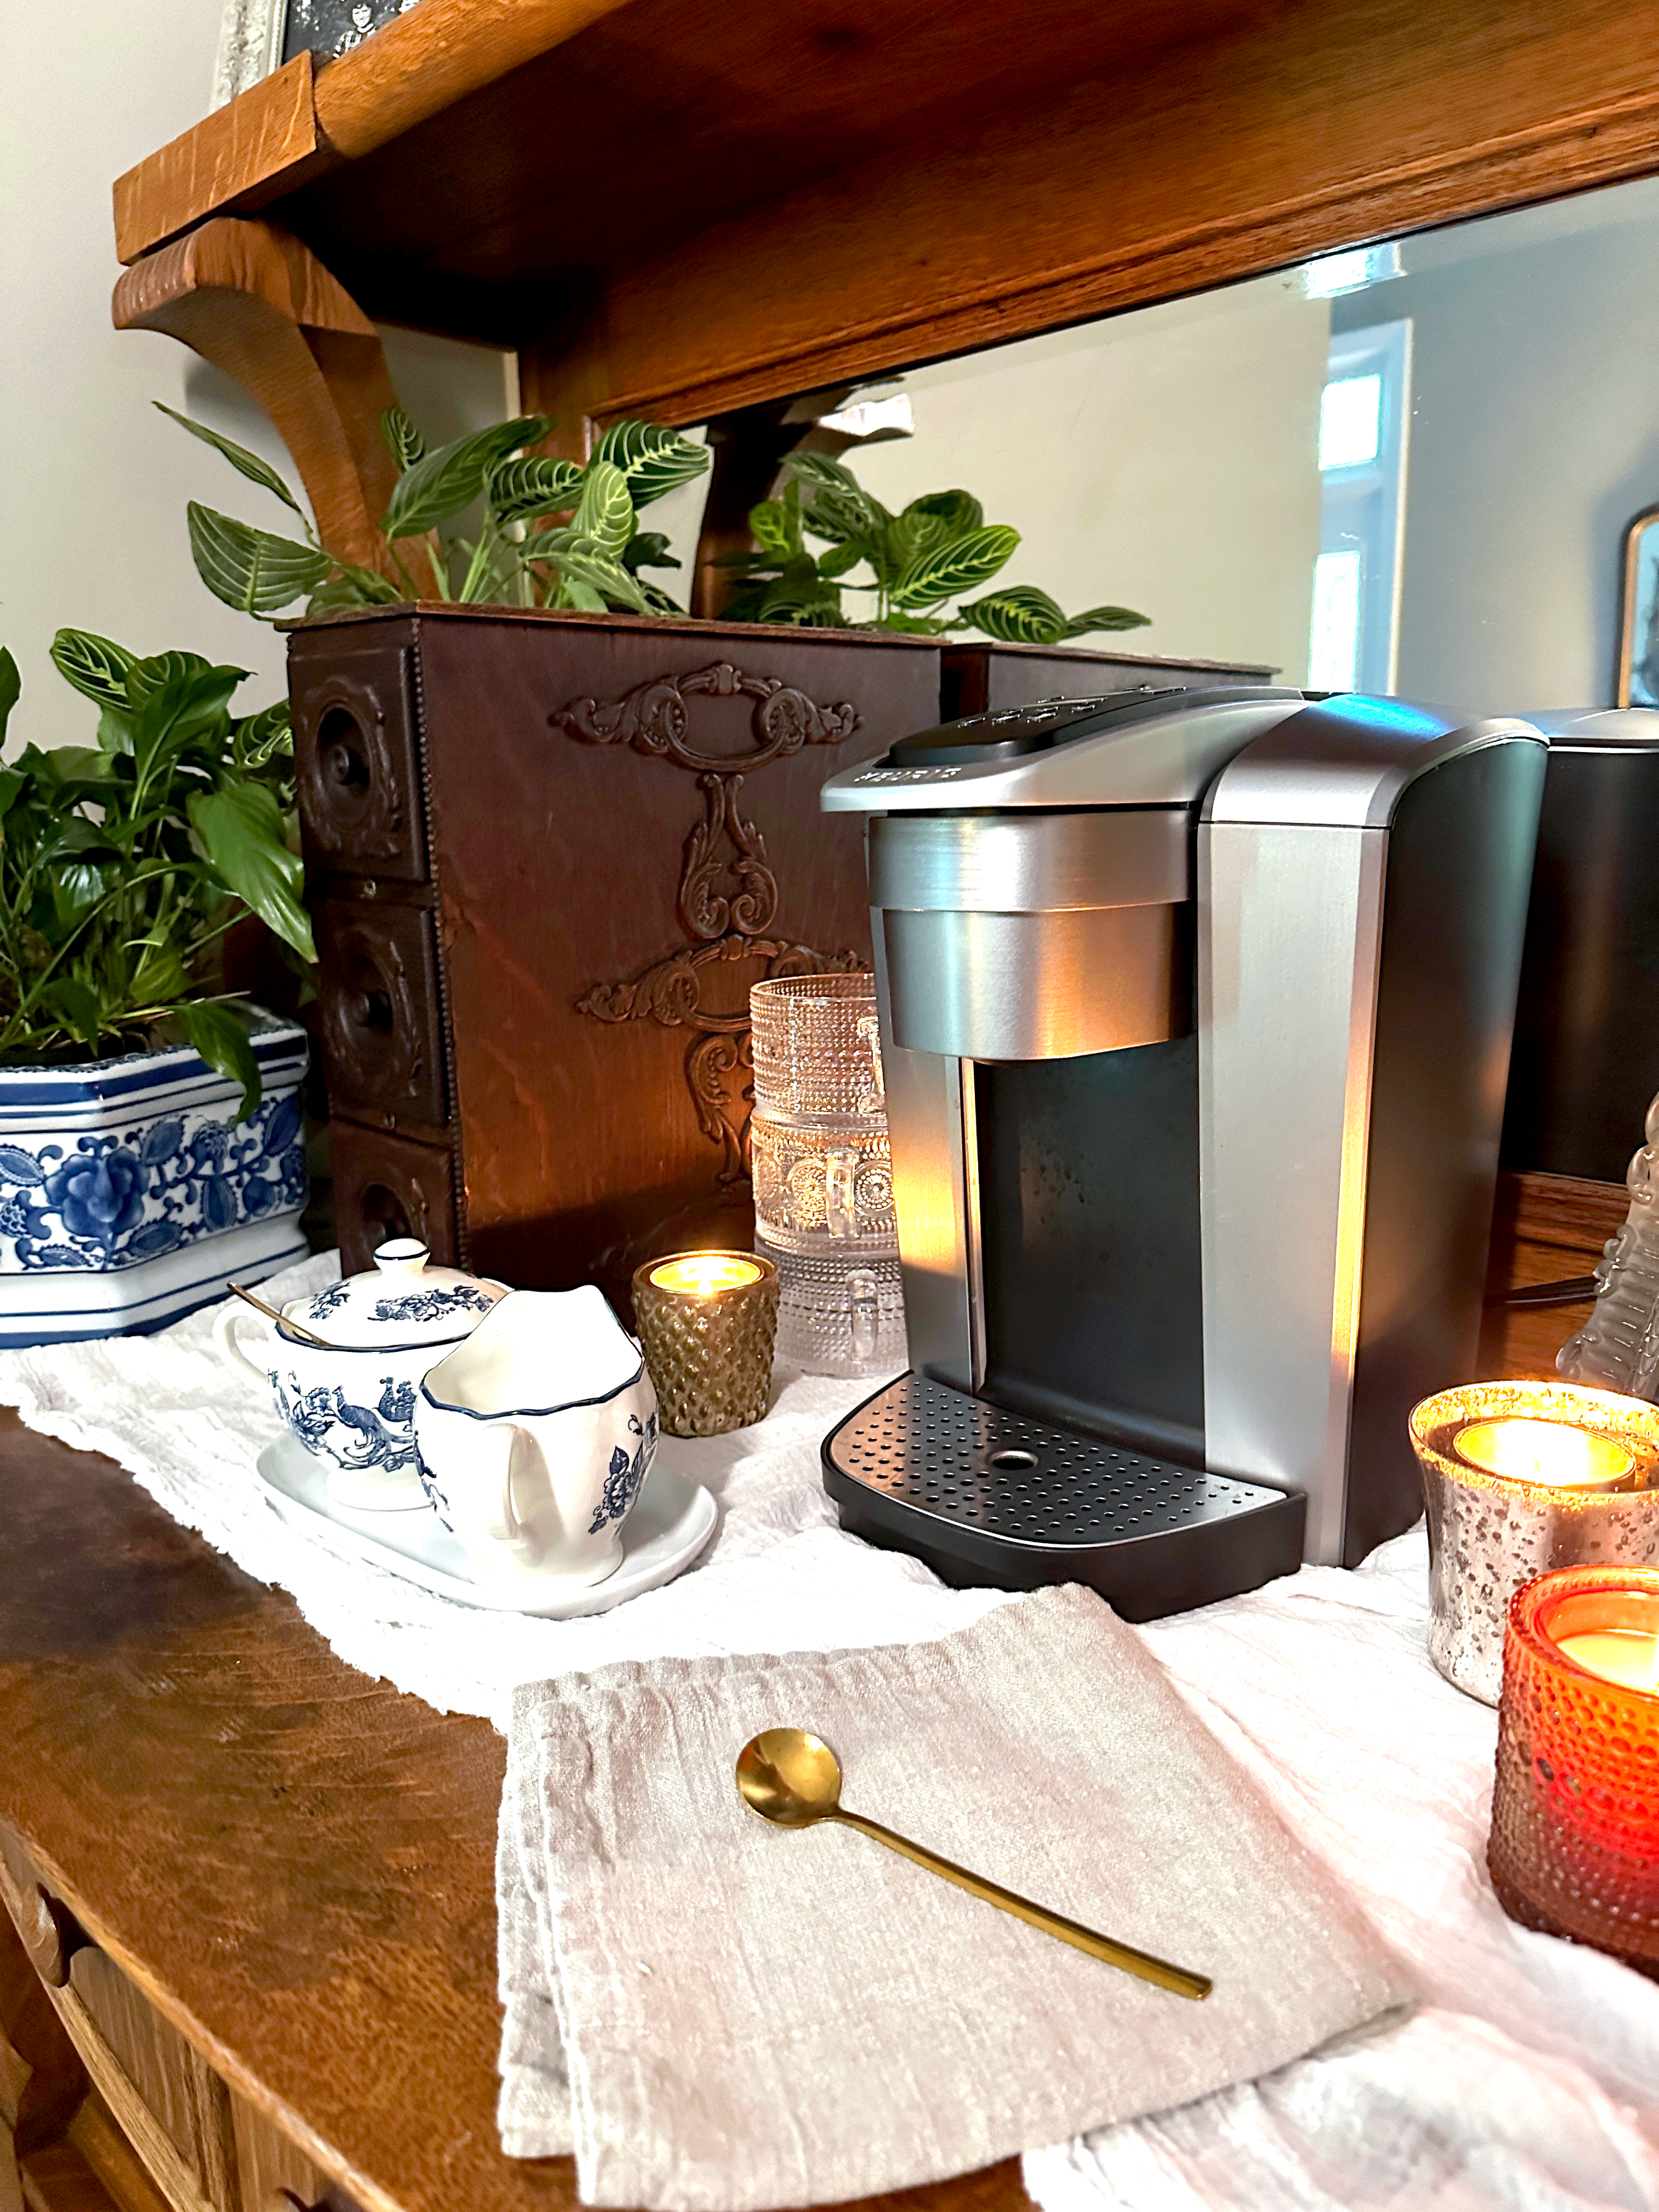
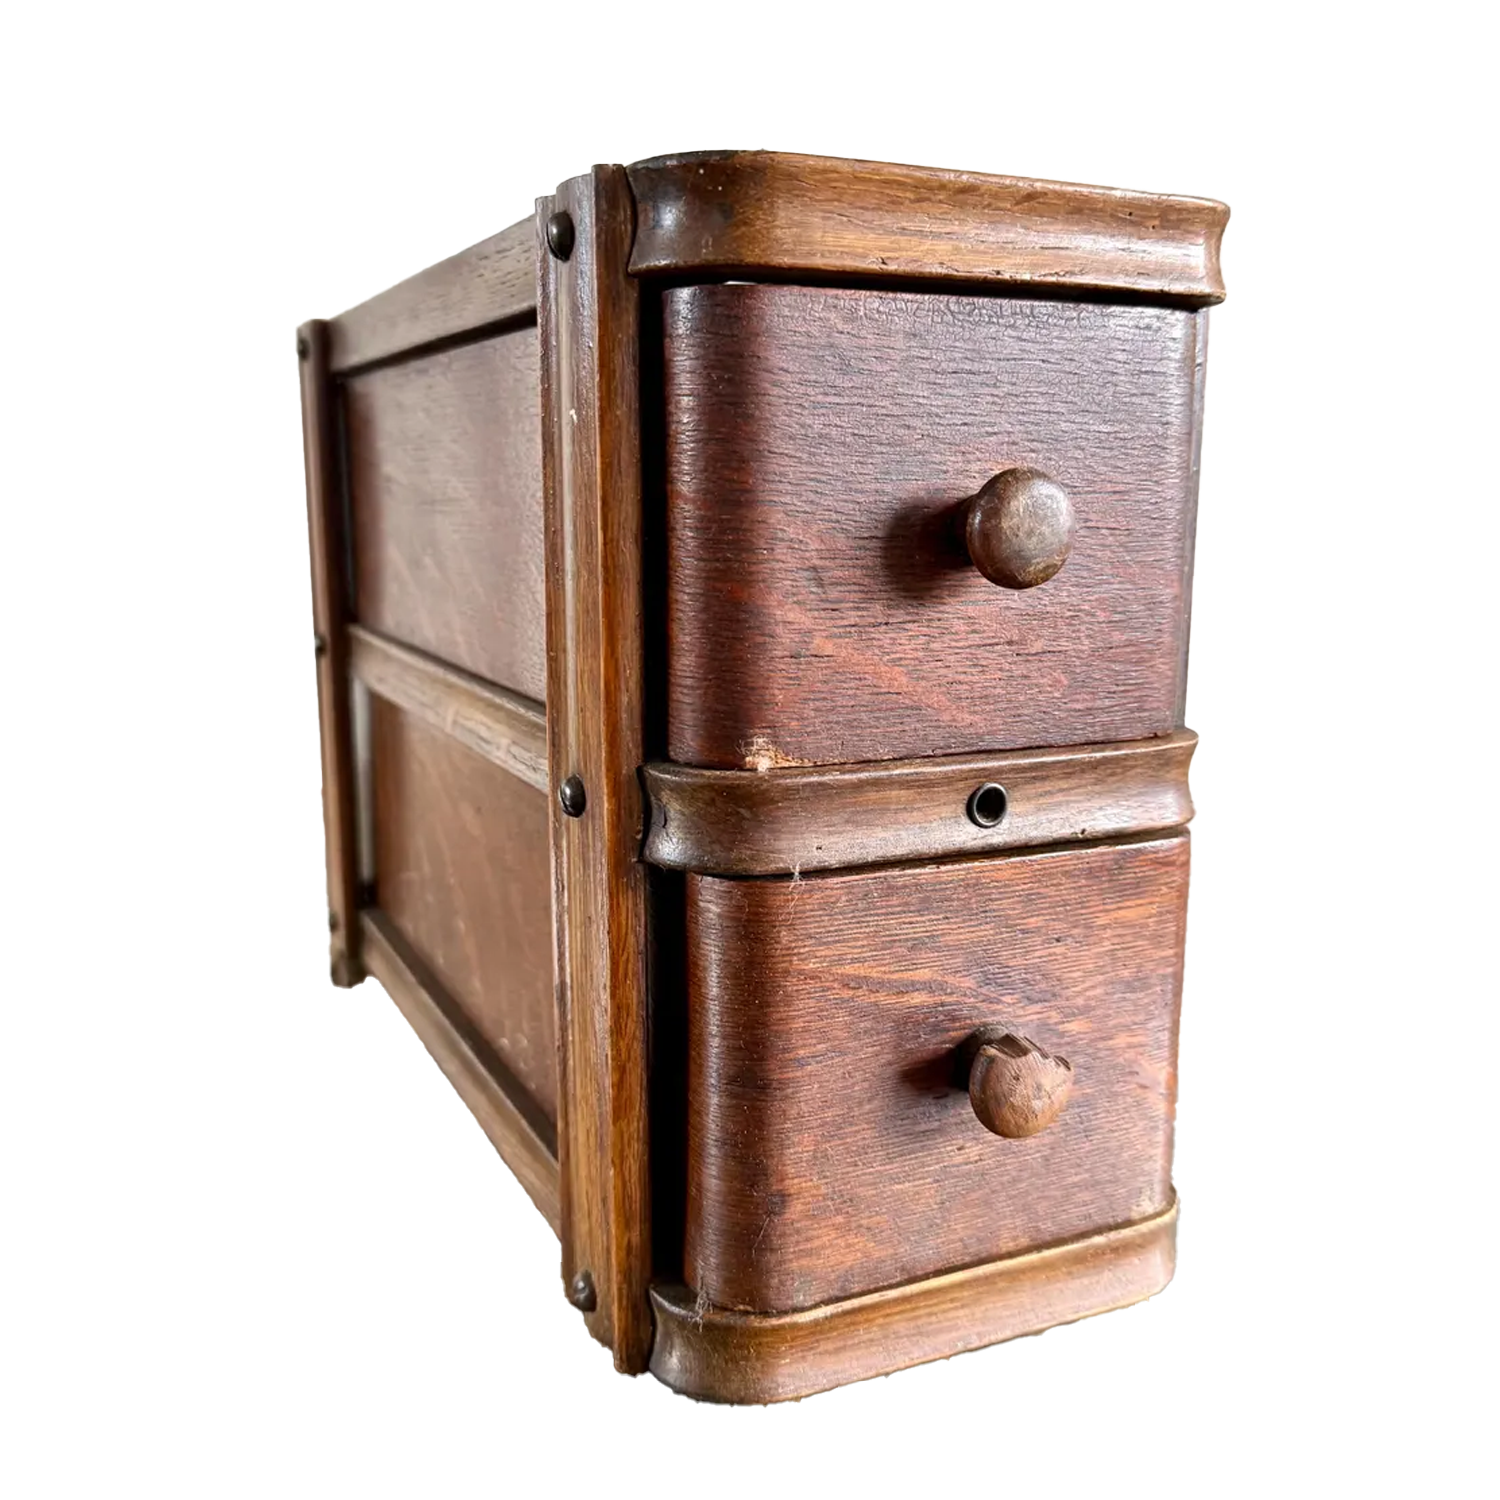
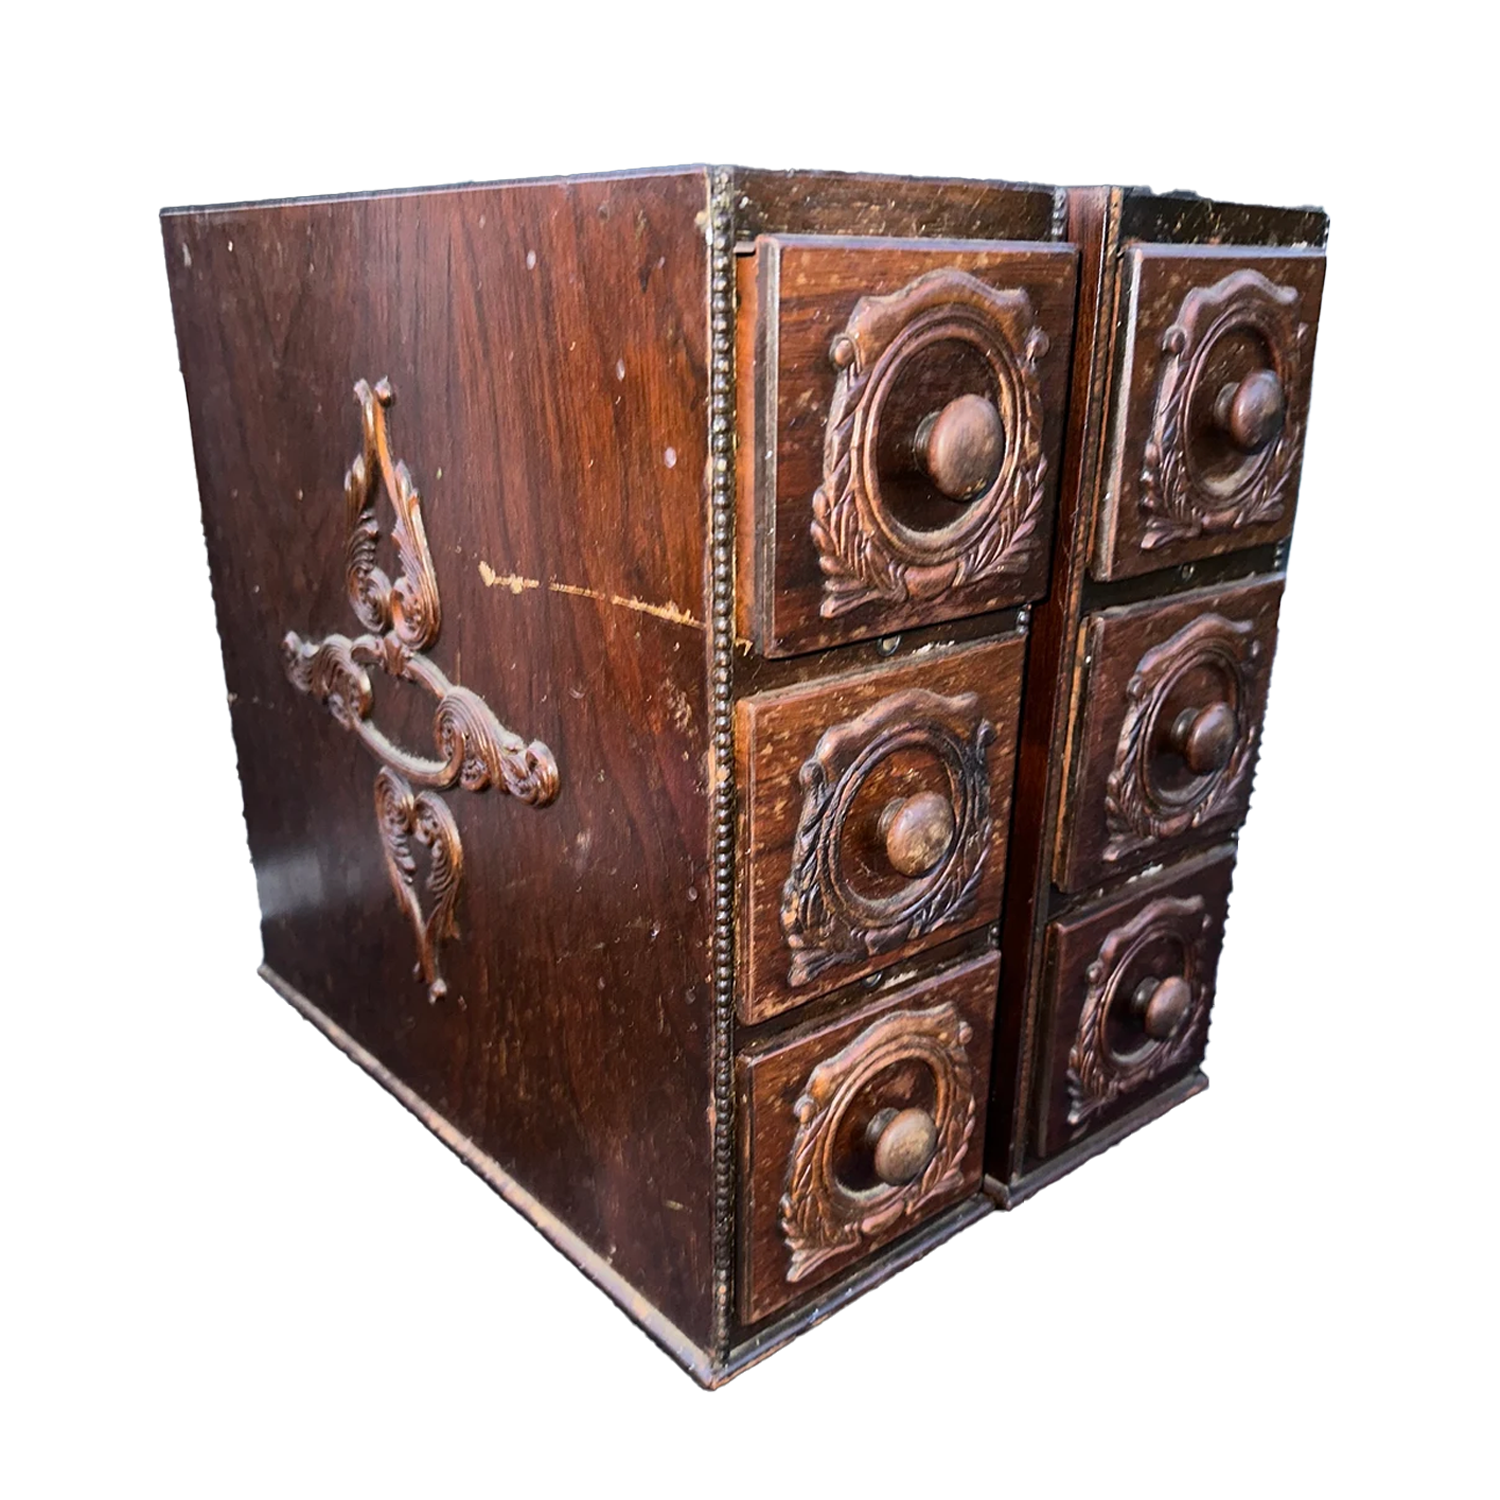
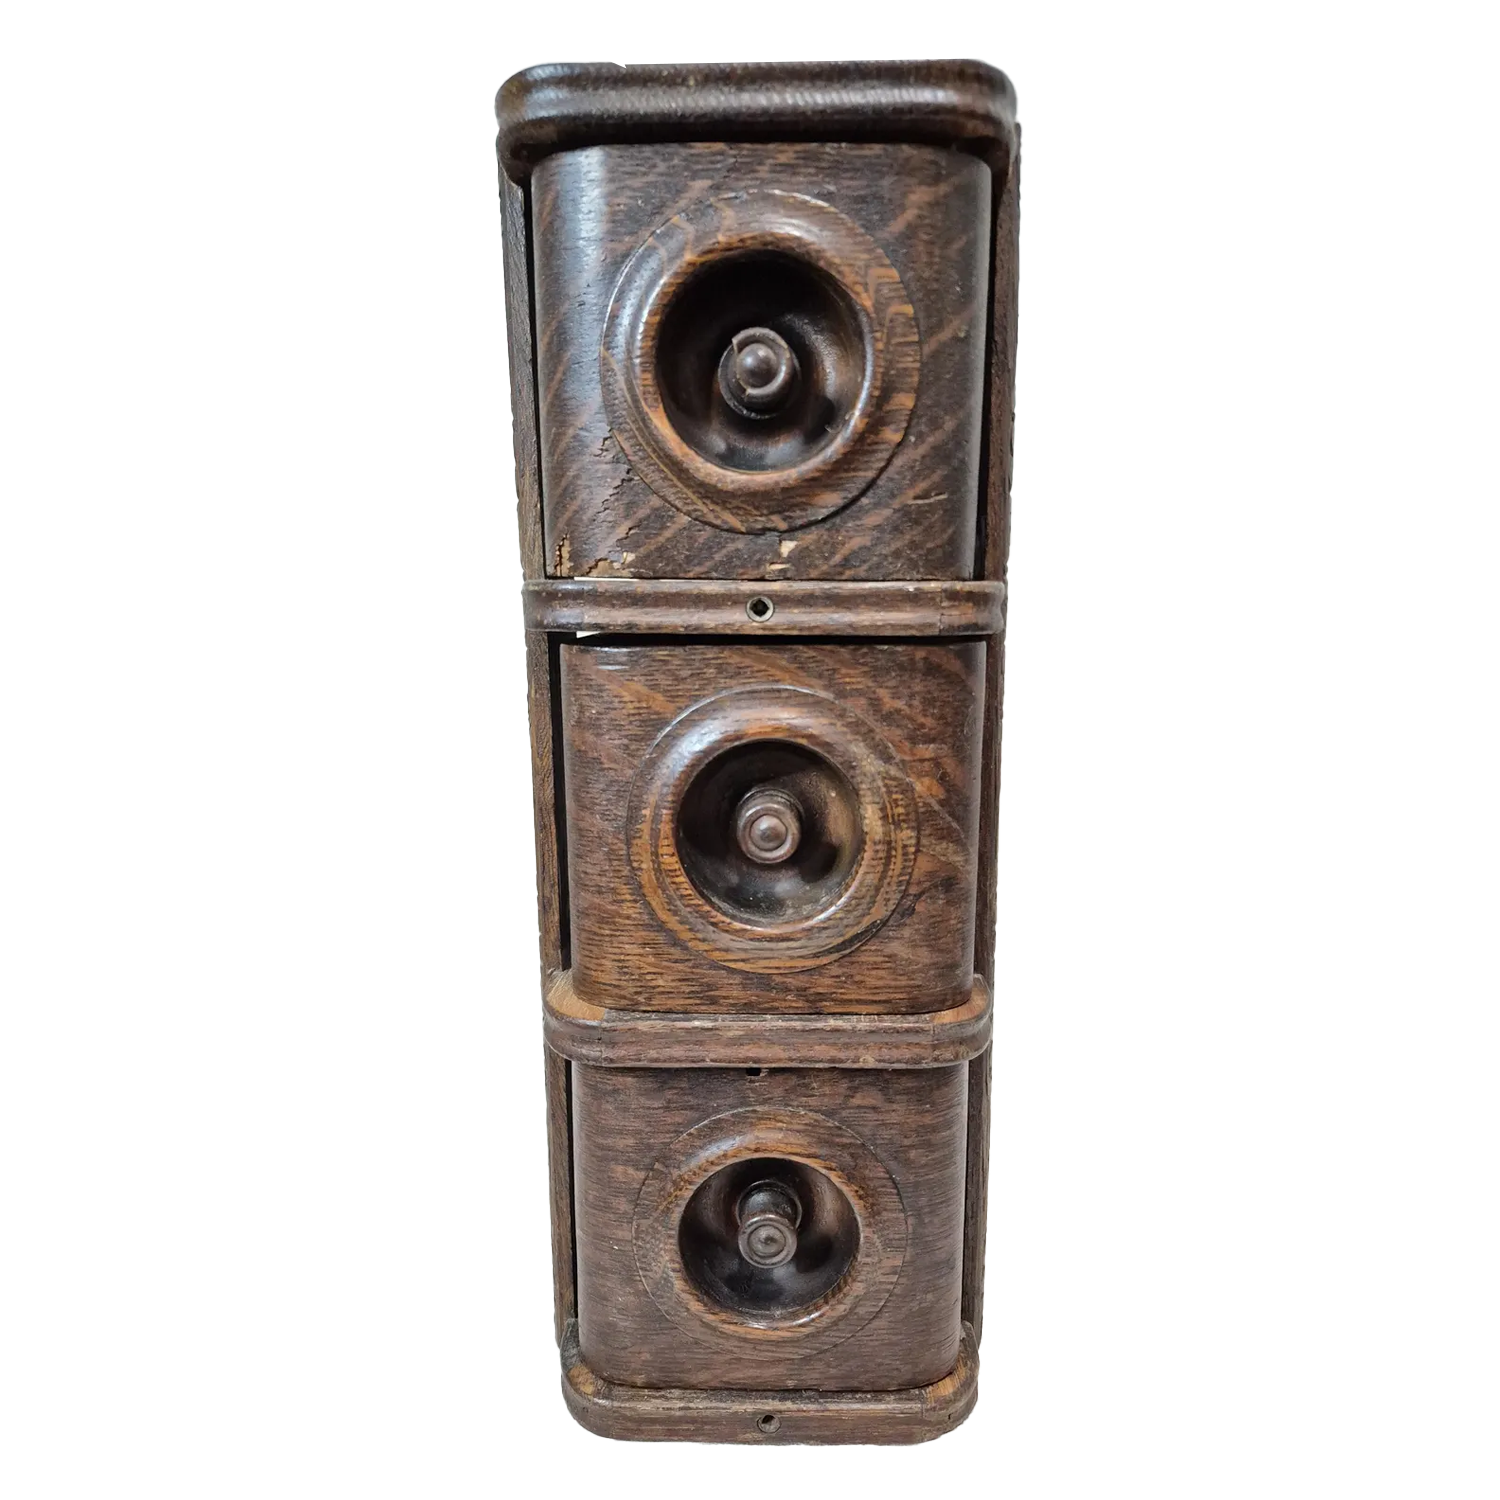
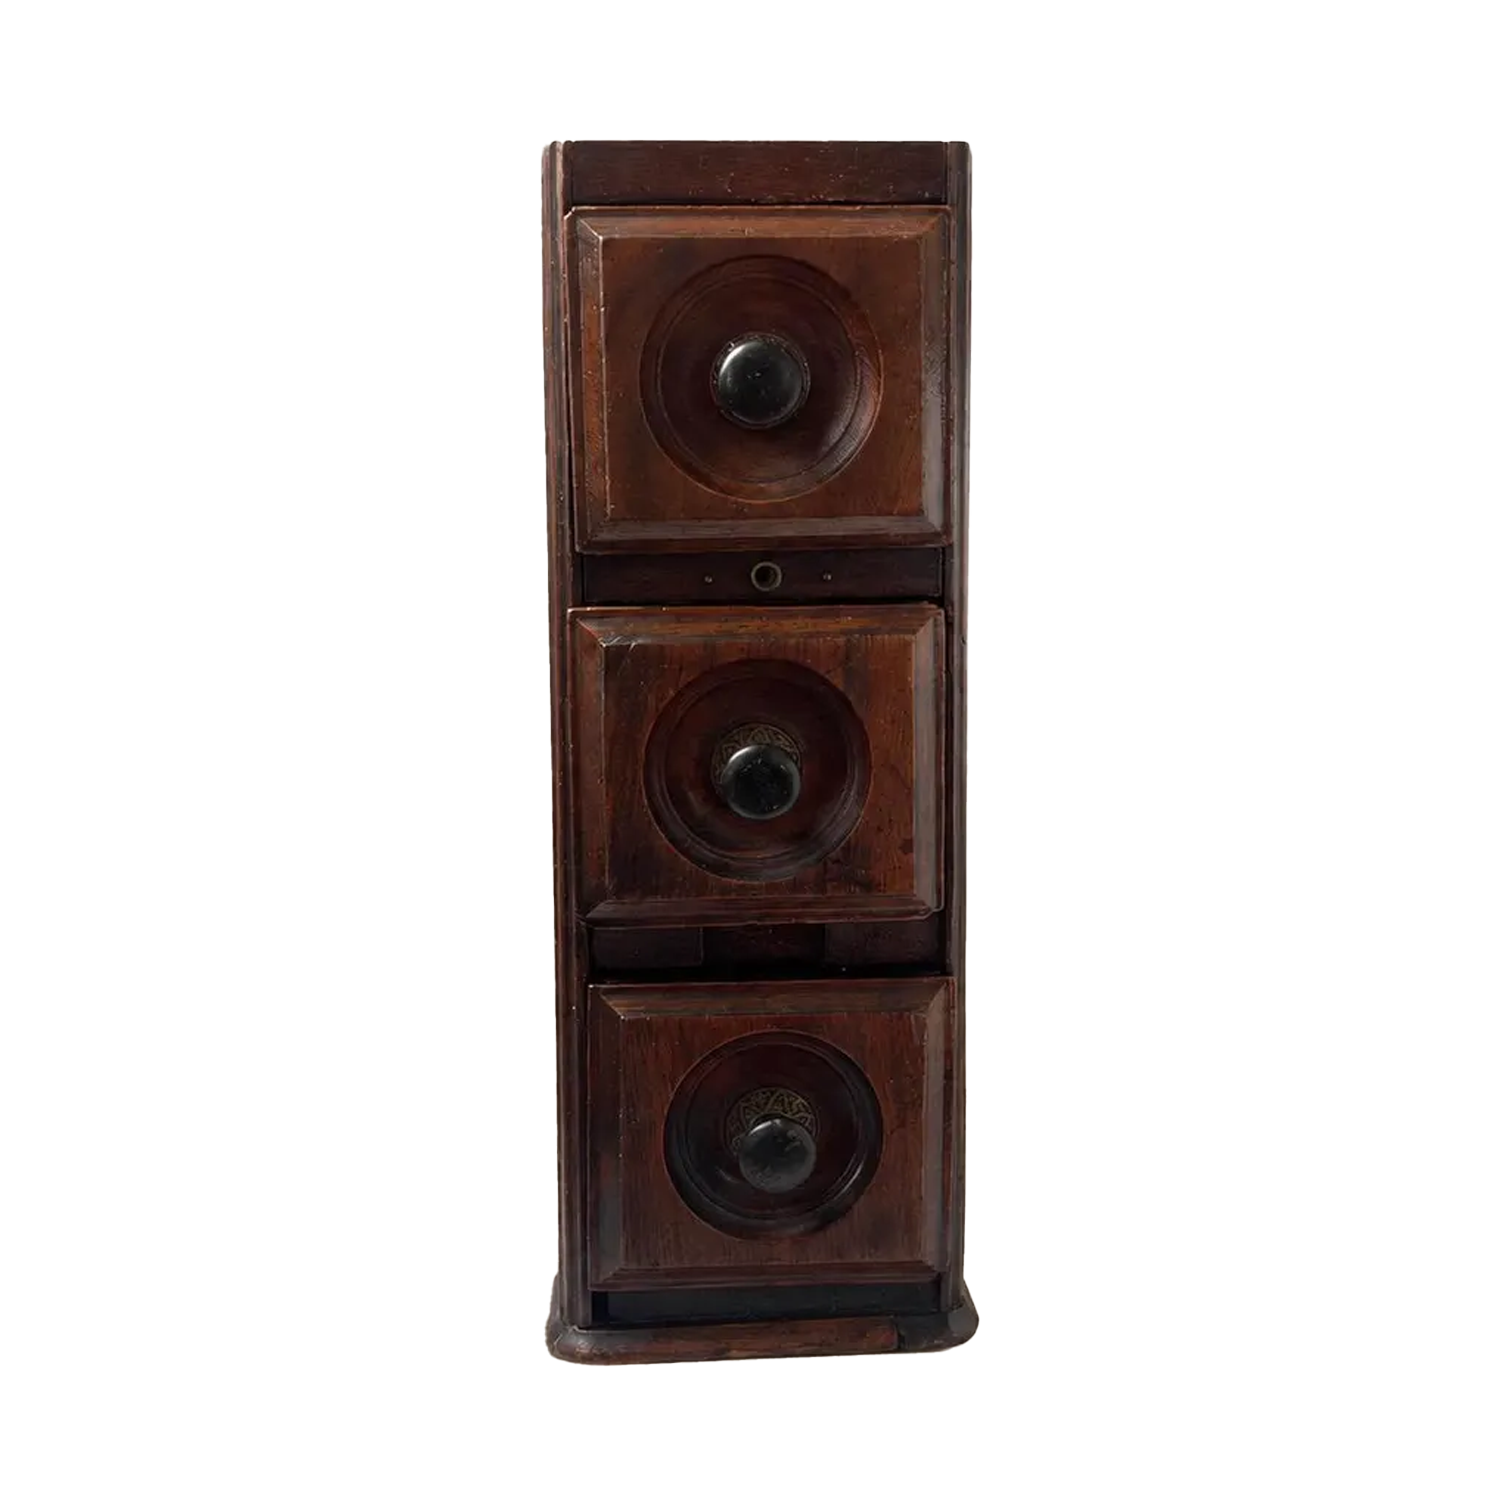
I spotted this cute little vintage sewing machine cabinet and immediately had my a-ha moment......this would be absolutely perfect in our kitchen to hold our k-cups next to our coffee pot! It was slender and tall and it conveniently had three fairly deep drawers designed to hold spools of thread. Spools of thread are roughly the same size as a k-cup so this would be a genius way to store our k-cups and be able to keep my decaf and Doug’s regular coffee separated. I was storing my k-cups in a vintage Lance cracker jar and while this served its purpose, it was too big for the space, added visual clutter, and I had to fish around for the type of coffee I wanted for the day. Sometimes, I had to pick up 6 or more k-cups to find the one I wanted and who wants to waste time on that when all you want is to get that coffee brewing?! 😉
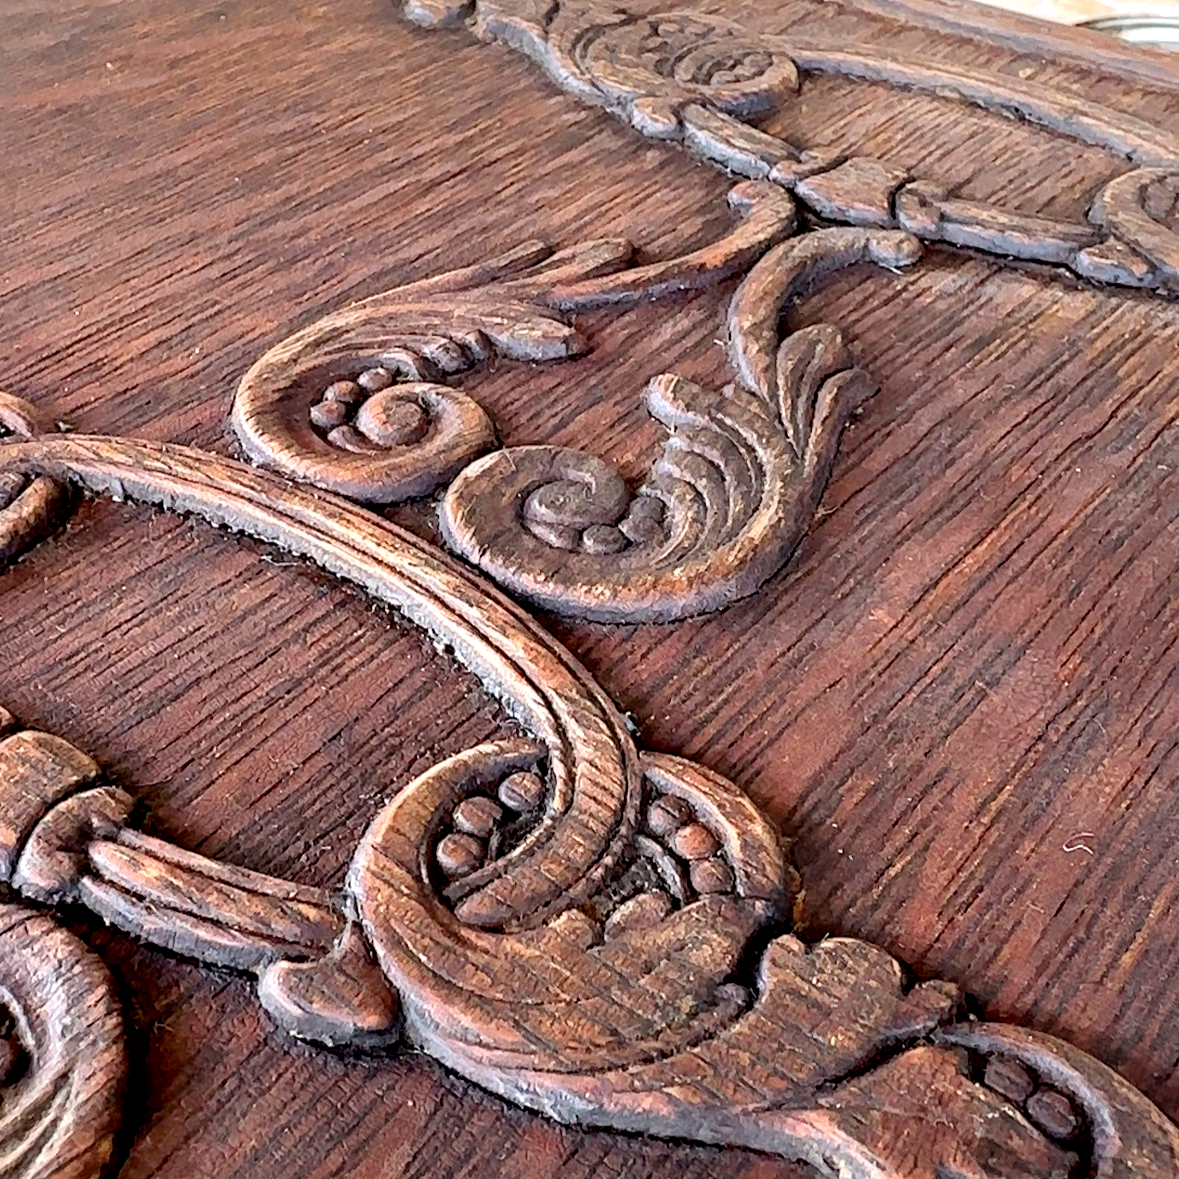
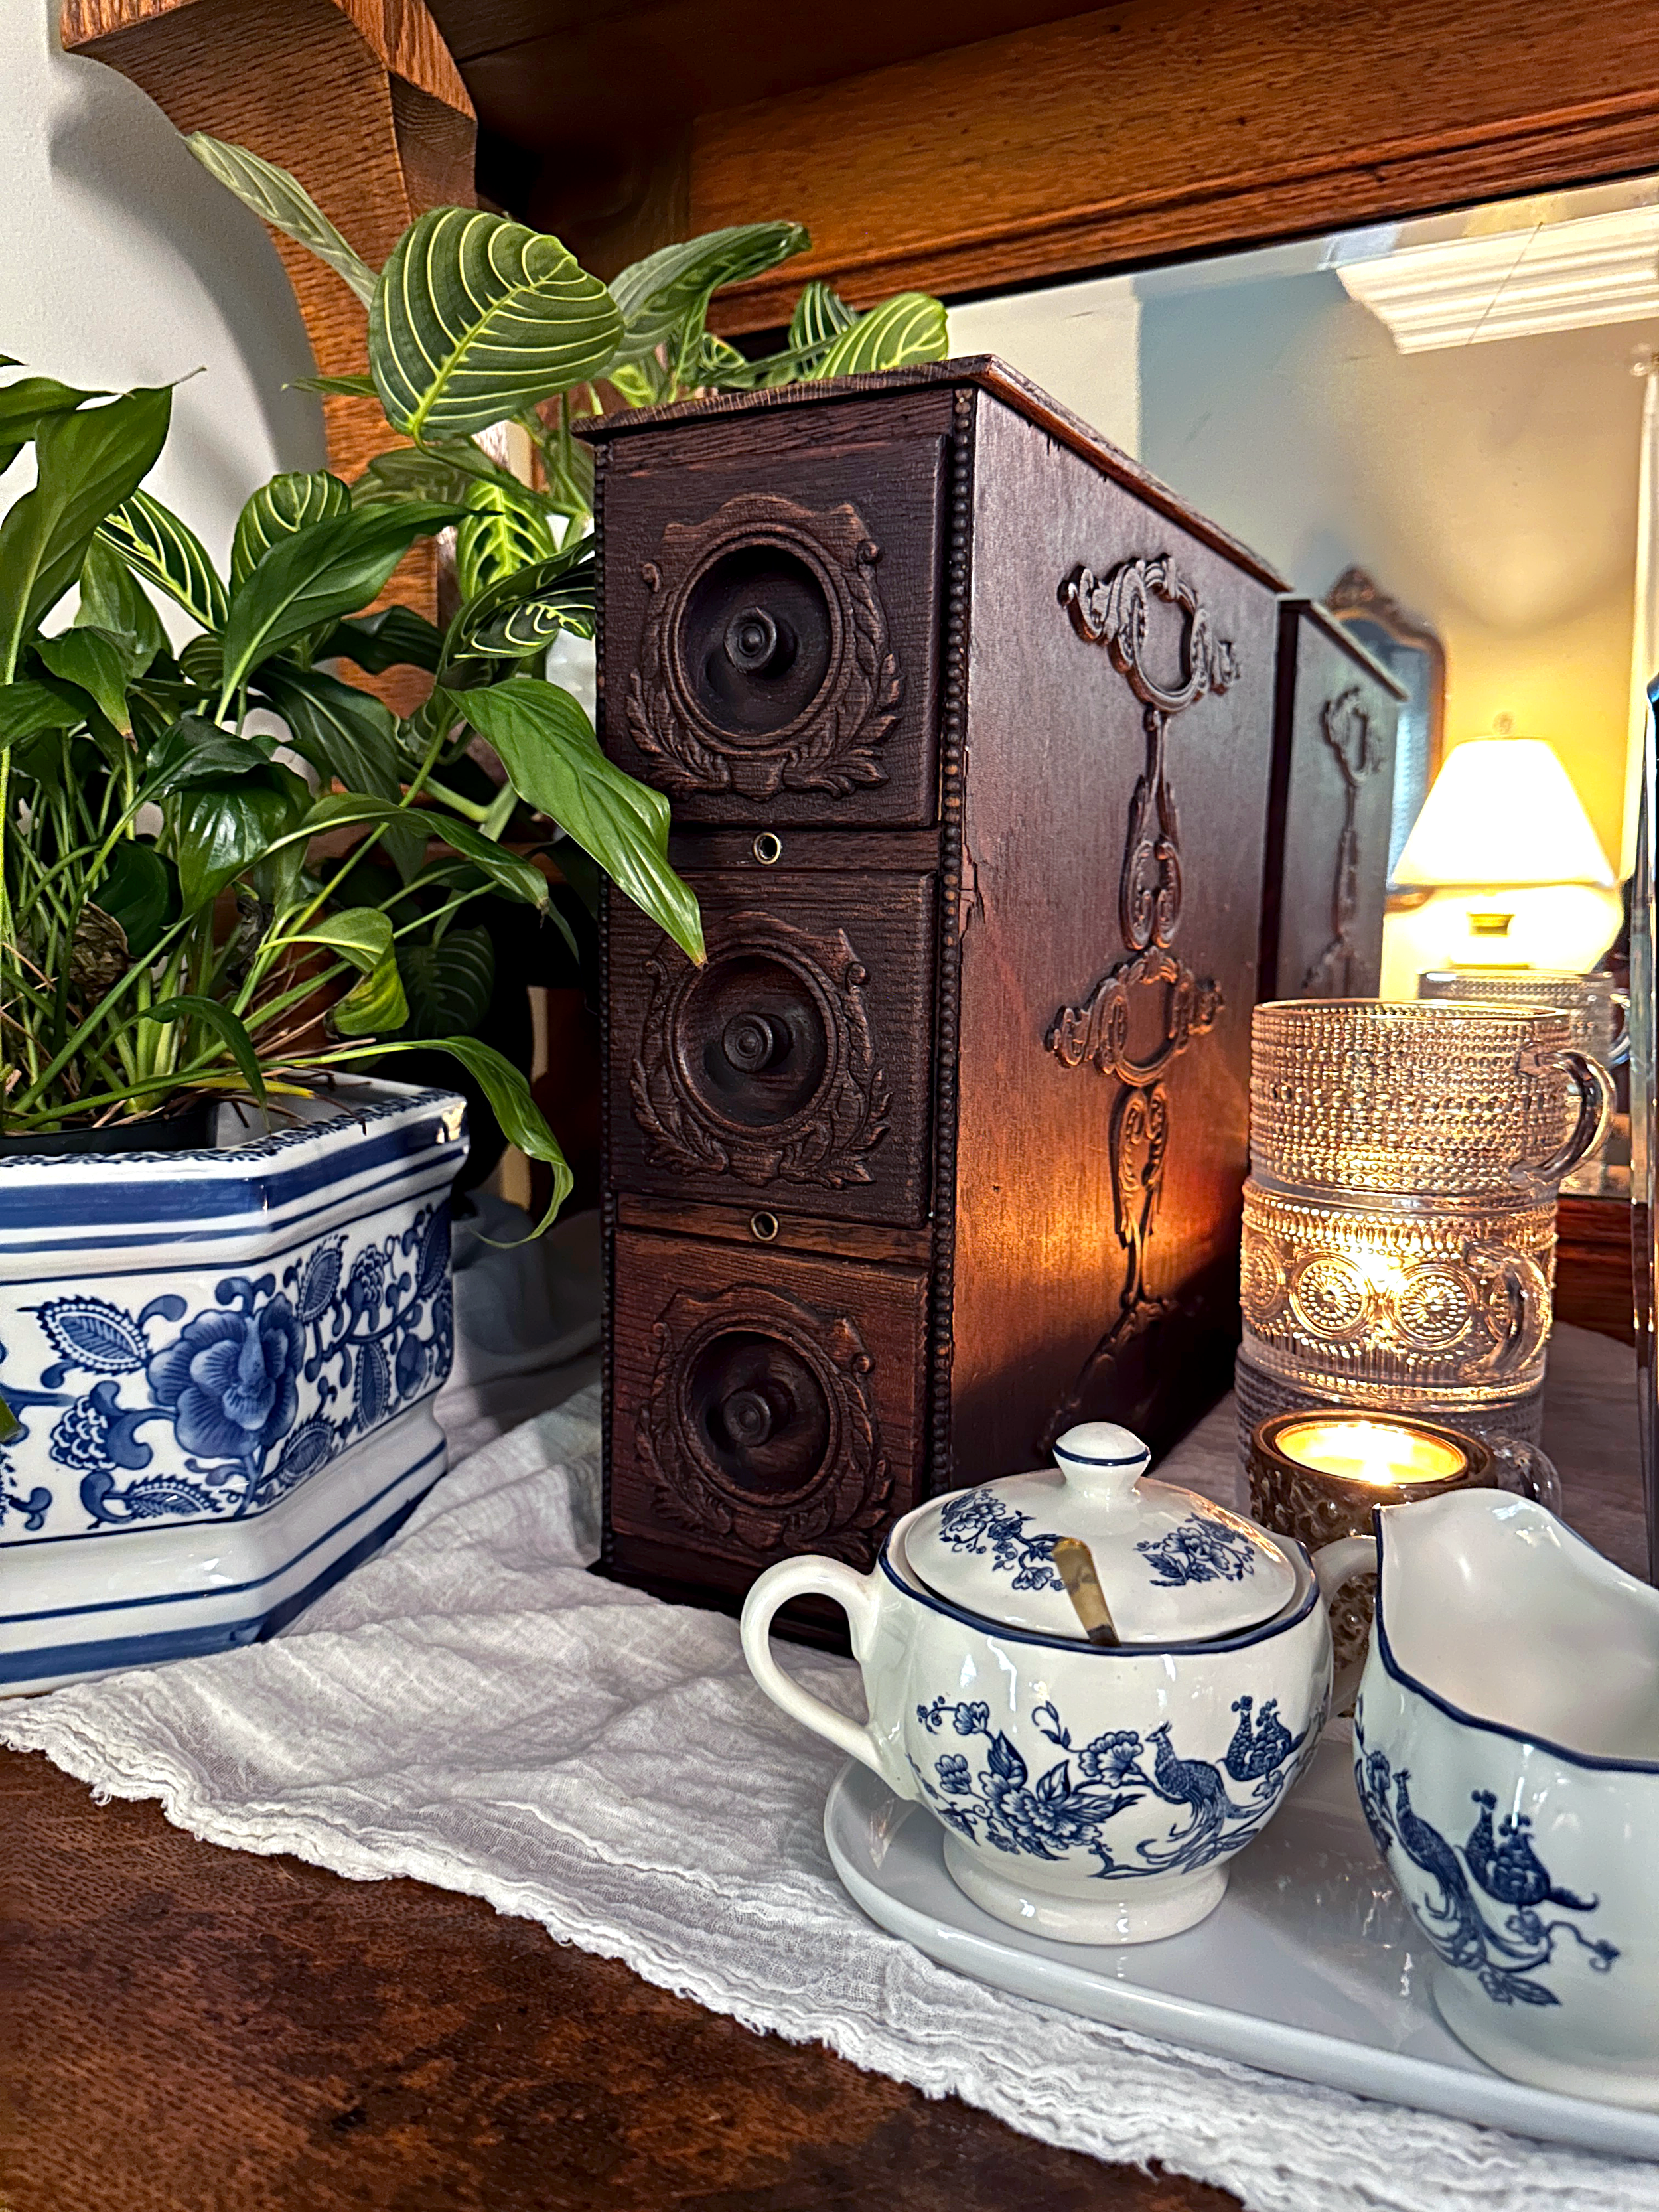
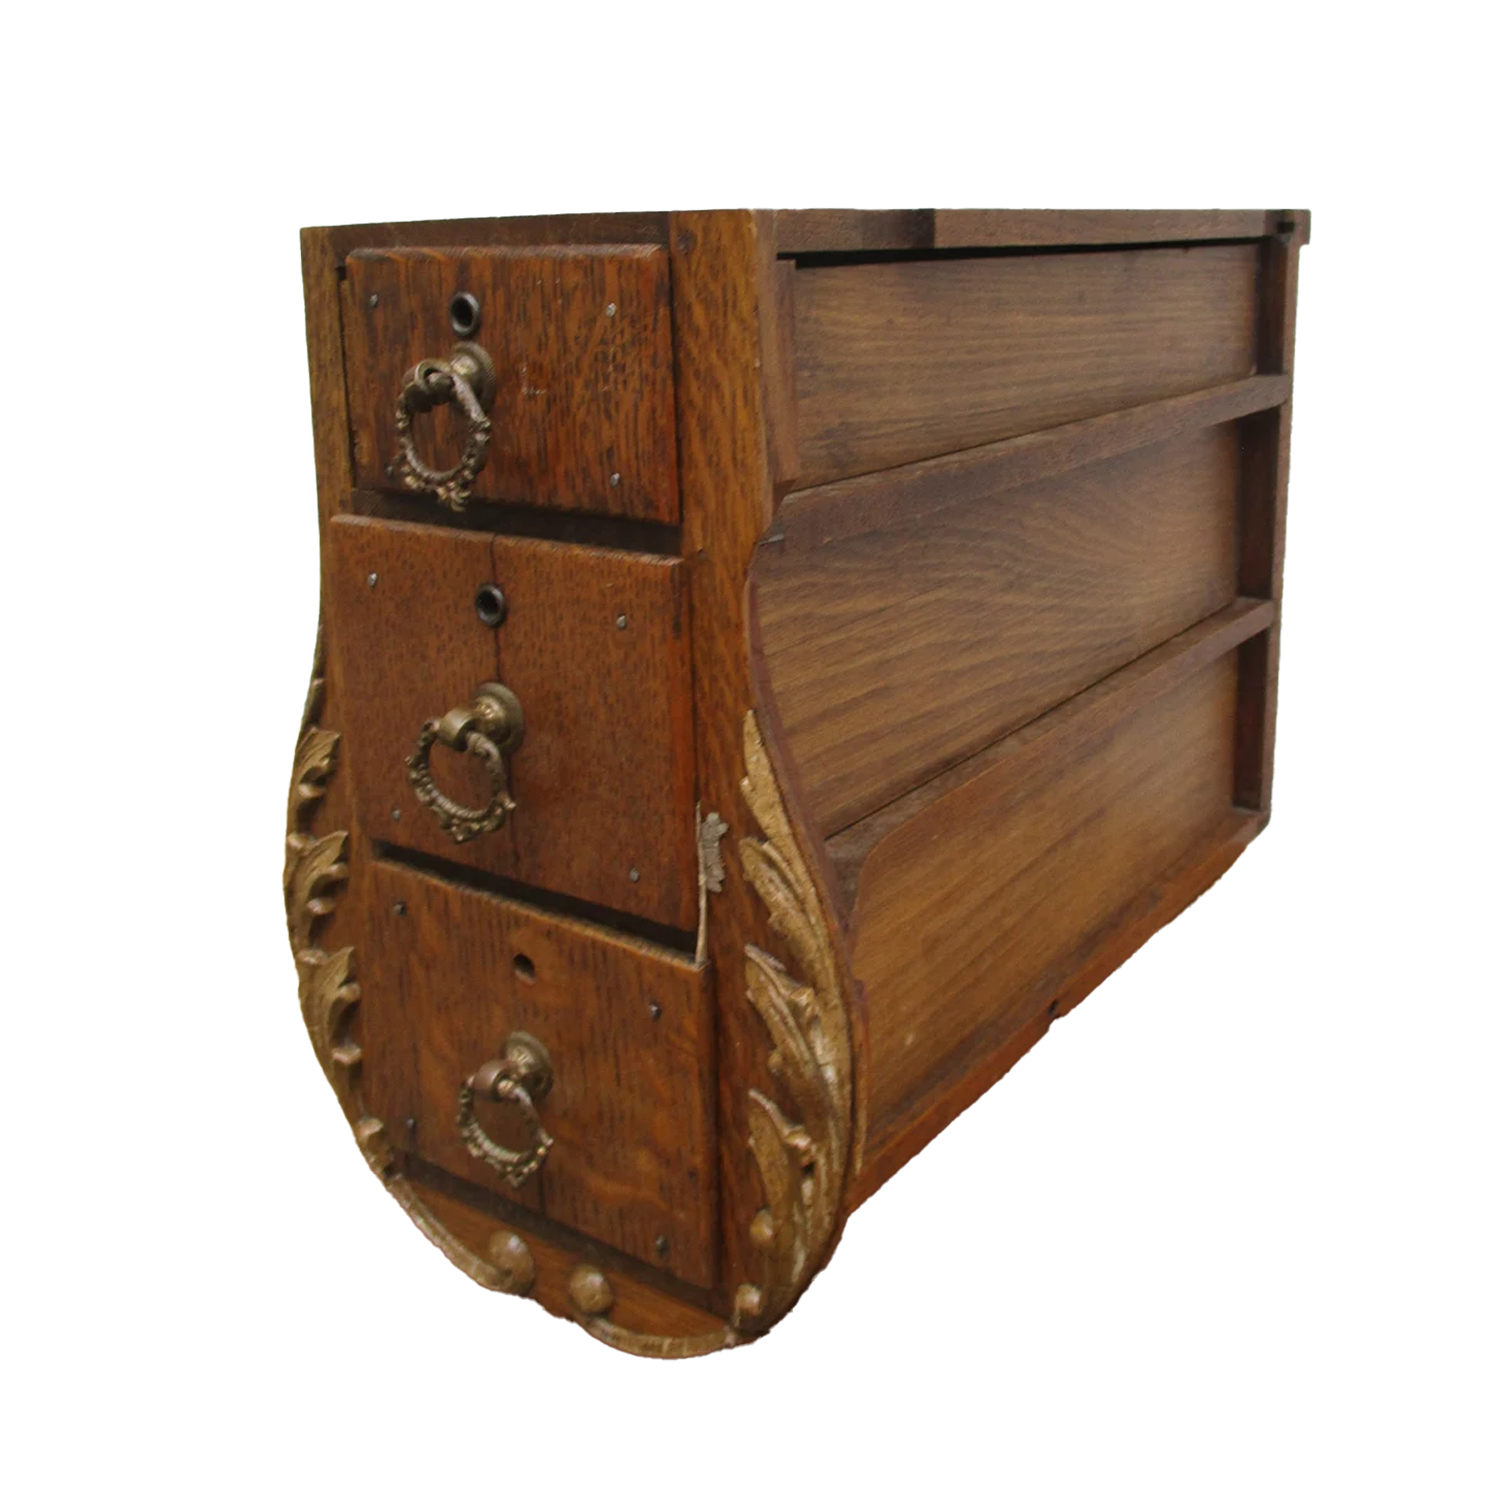
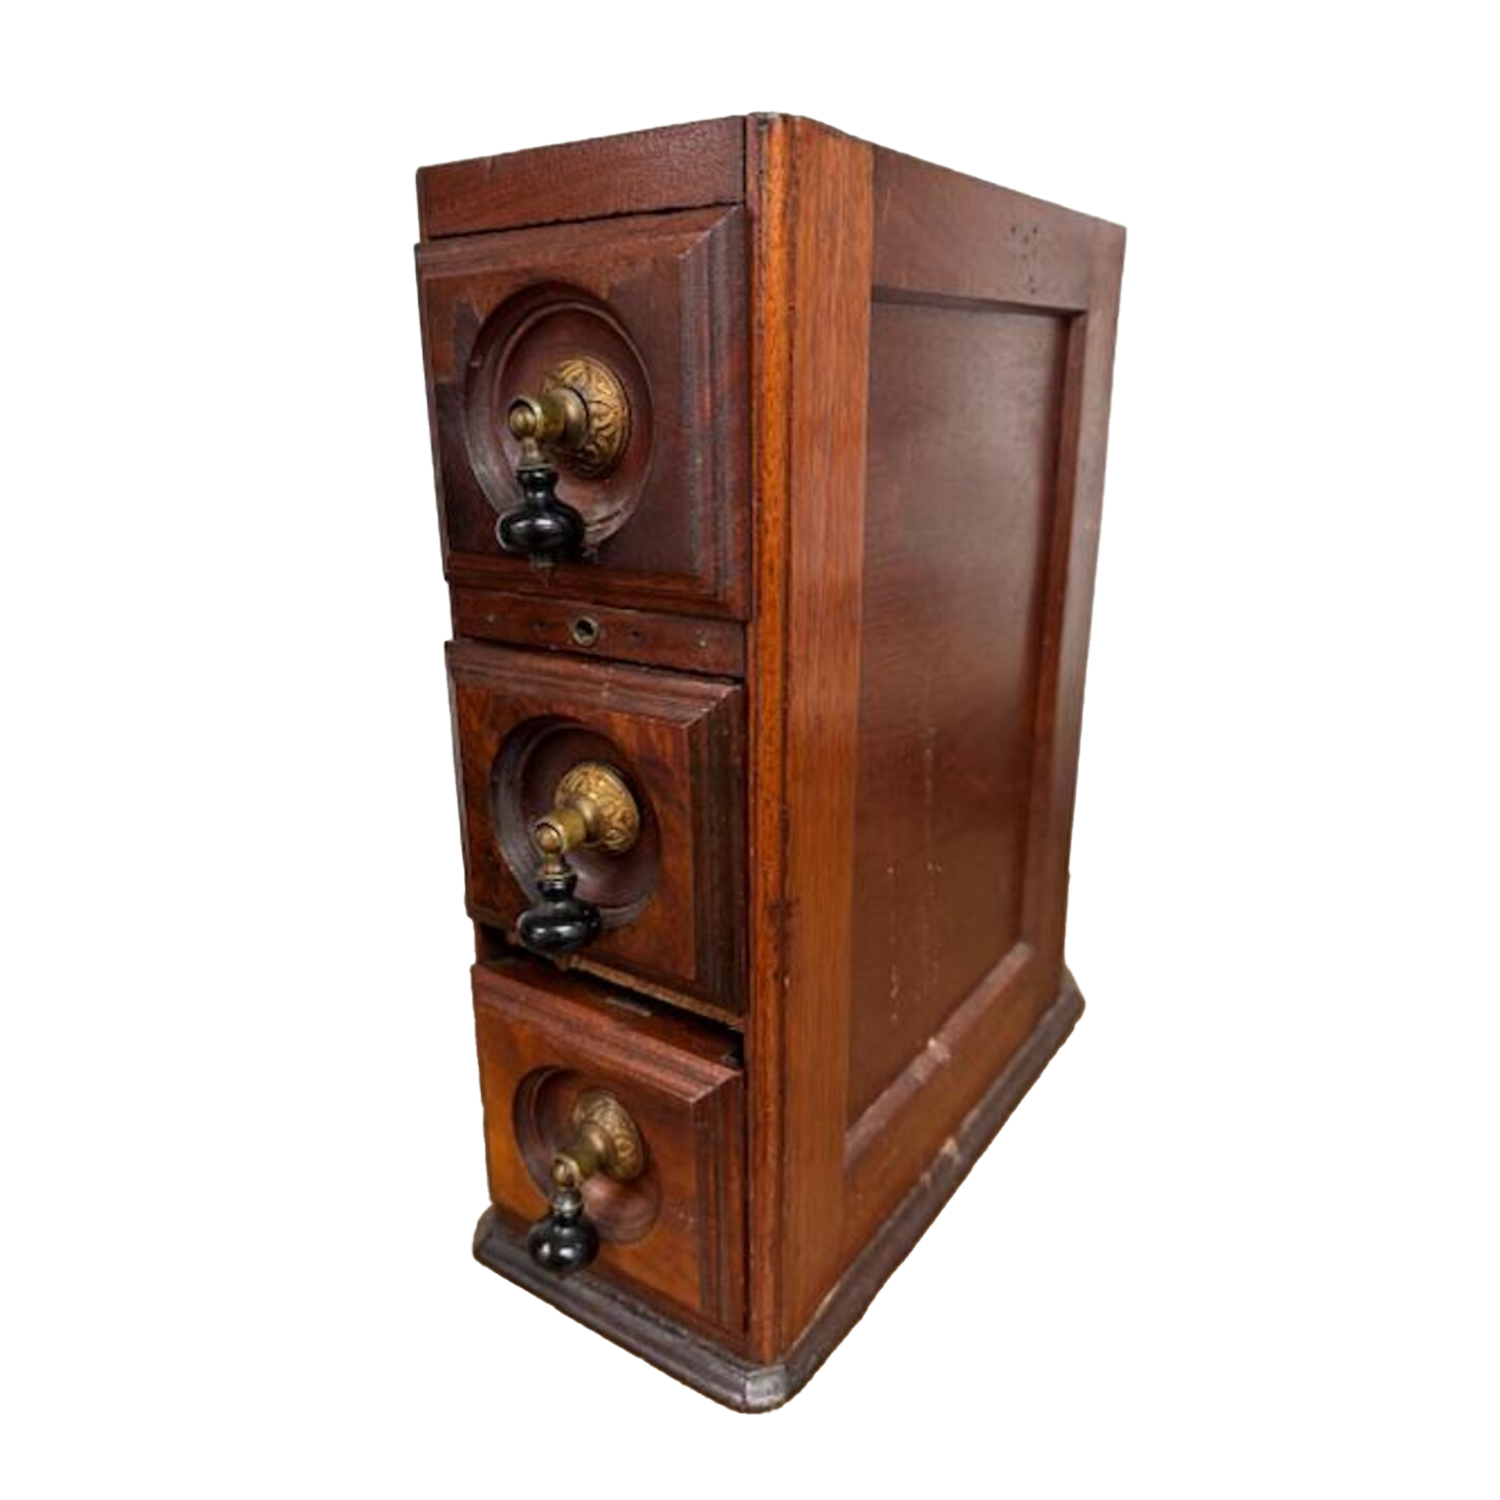
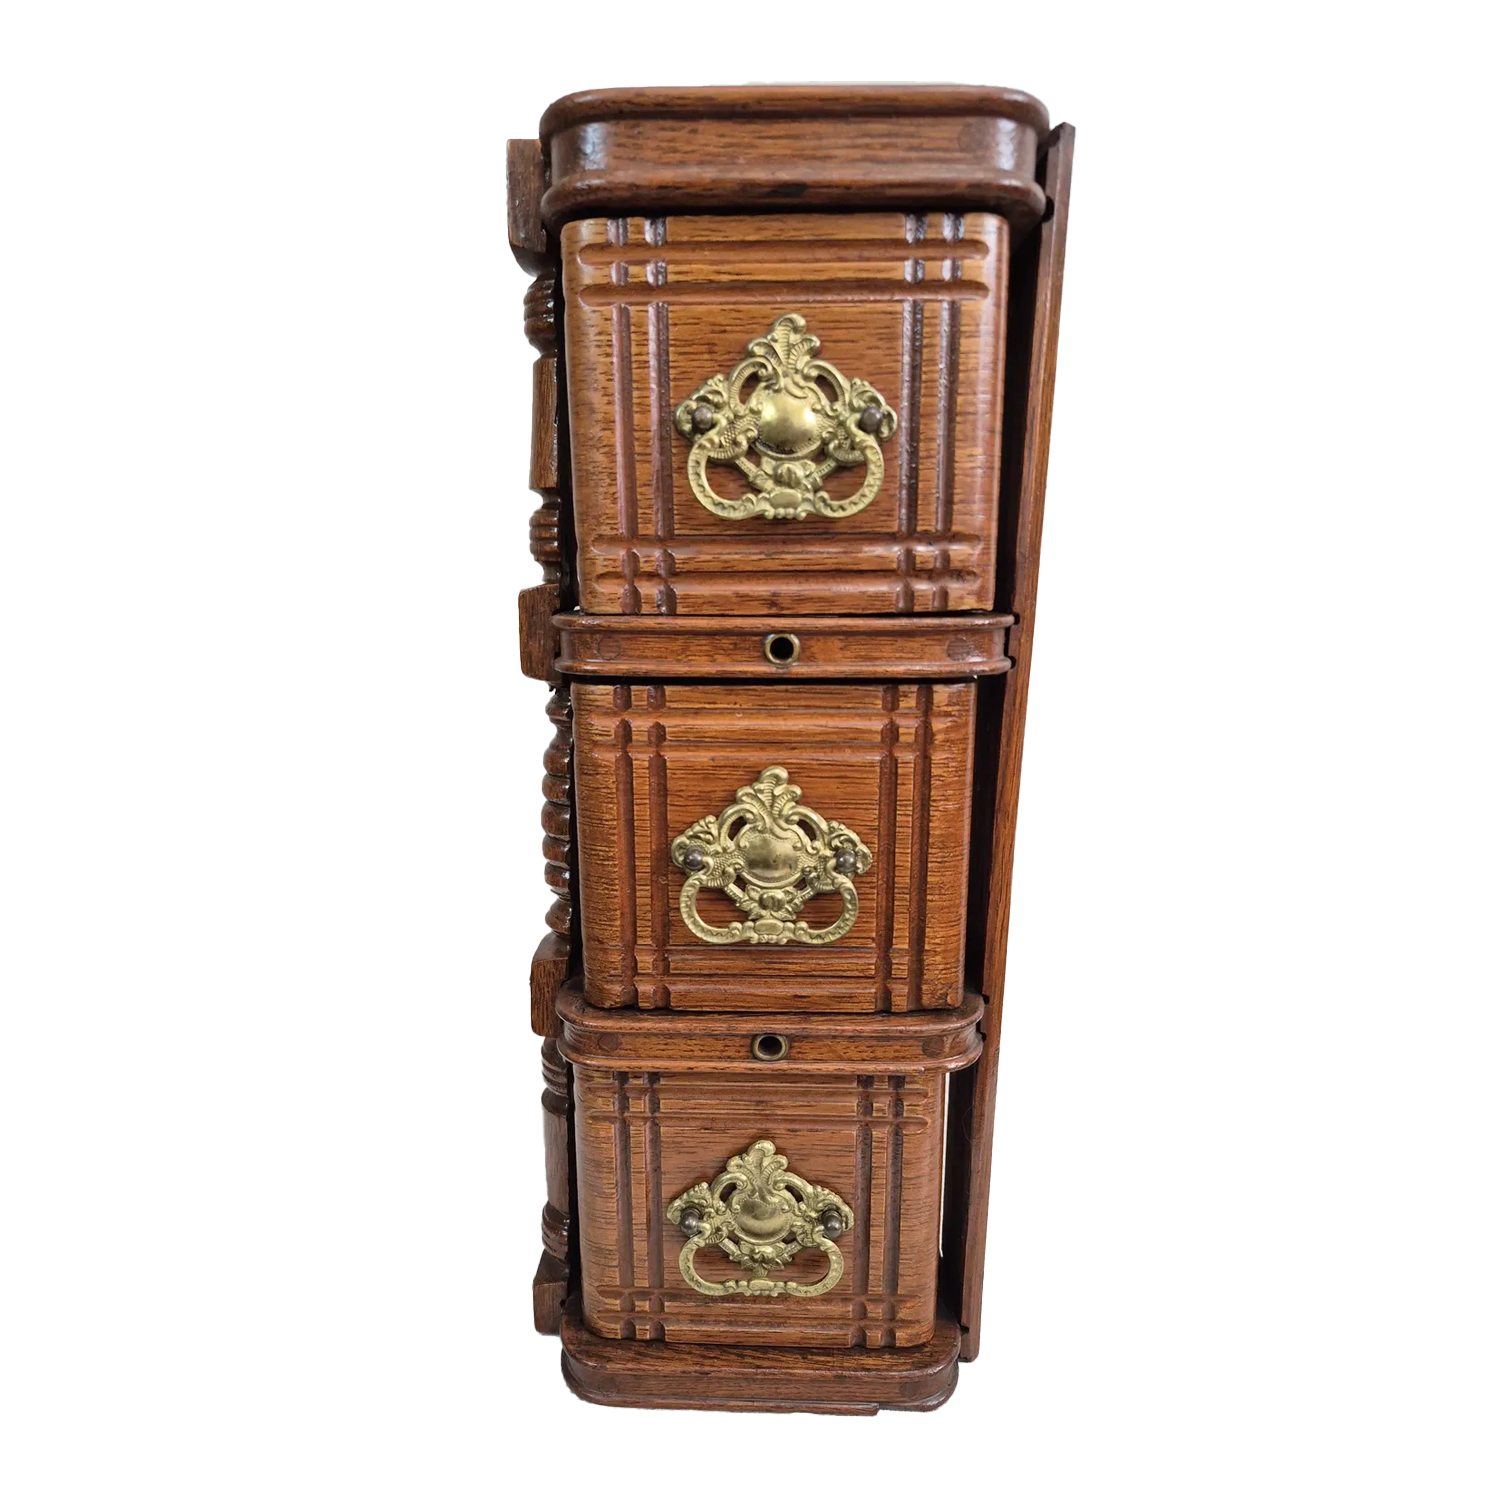
The sewing machine cabinet has really great details. It has very special decorative trim on one side and the drawers have great details as well. The little drawer knobs are made out of wood and it’s just so darling!
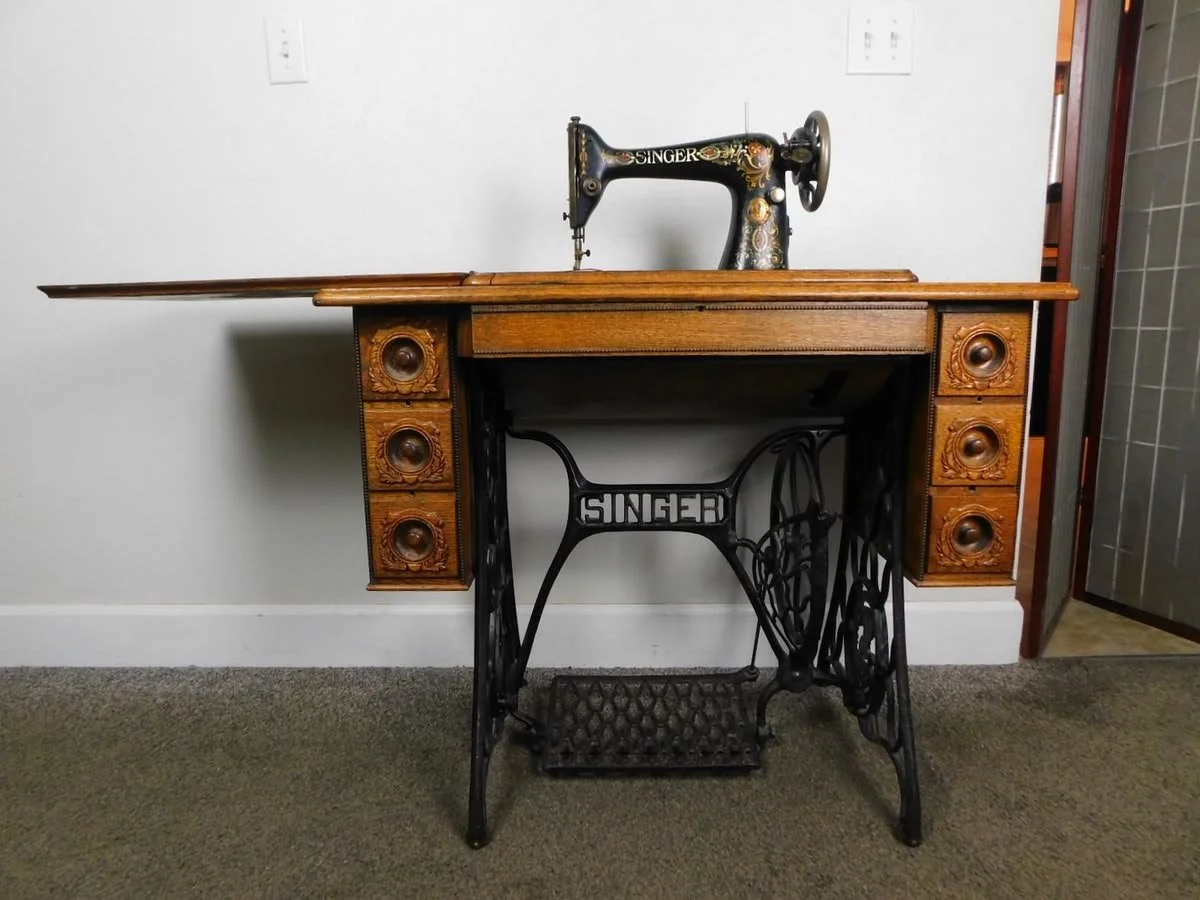
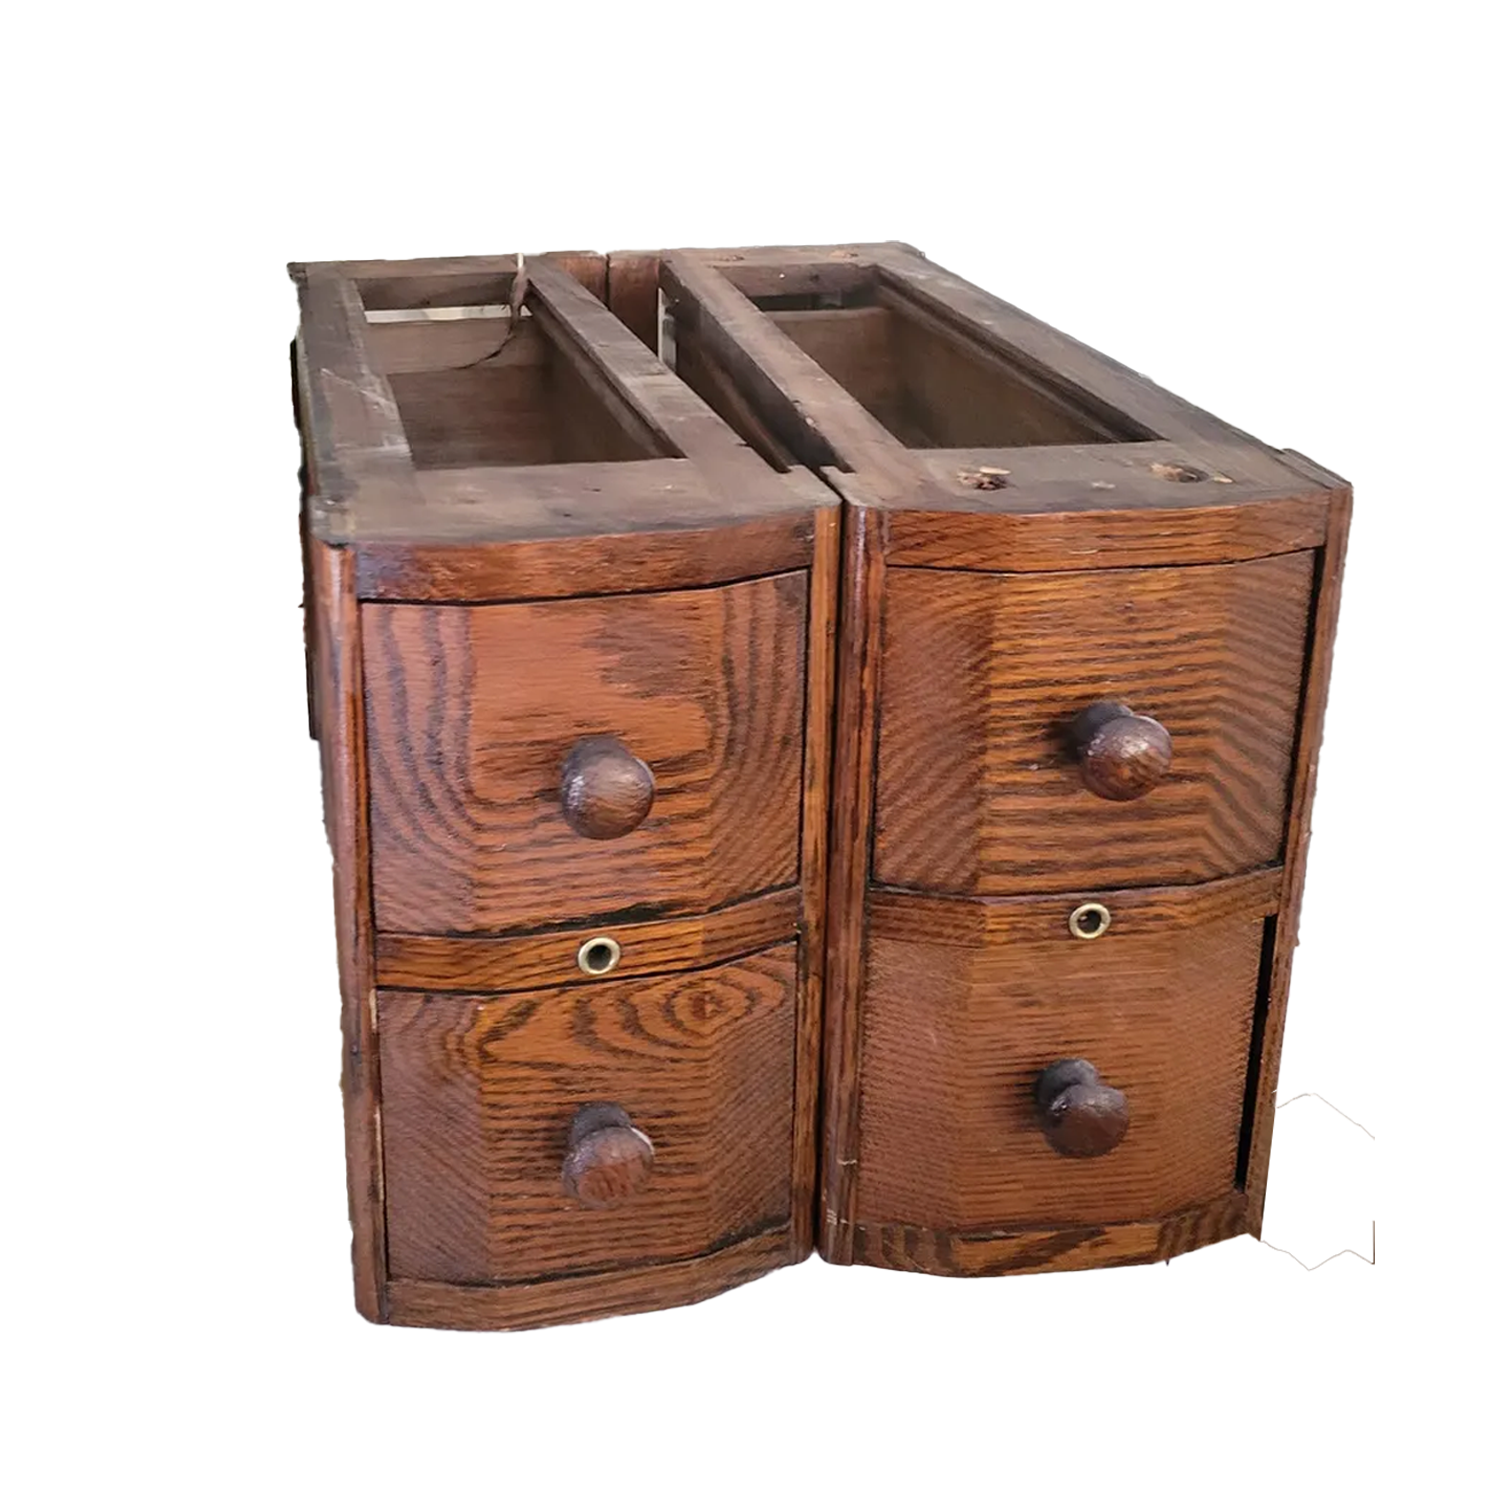
The only problems with it were that it was dirty, the veneer was lifting in places, the wood seemed dry, the decorative trim was coming loose and there was no top to make it look finished. That open top is where it was originally attached to the tabletop base of the antique sewing machine. While doing research on this piece, I found that it dates back to the 1910’s. Here’s how it looked when it was attached to the sewing machine.
Funny story: When we got the cabinet to the car, we decided to take the drawers out for the trip home. When we opened the drawers, there was a crazy number of stink bugs inside. I guess stink bugs really love dark, dry places! So, we carefully dumped them out because you never want to touch or smash a stink bug or you WILL regret it! I wish I had taken a picture of this, but I was too horrified and didn’t want to get the stink bugs riled up enough for them to start releasing their stink. 😂 I’ll just say, there were more than 20 and less than 30 stink bugs in the drawers! Don’t worry, we thoroughly cleaned the drawers!😅
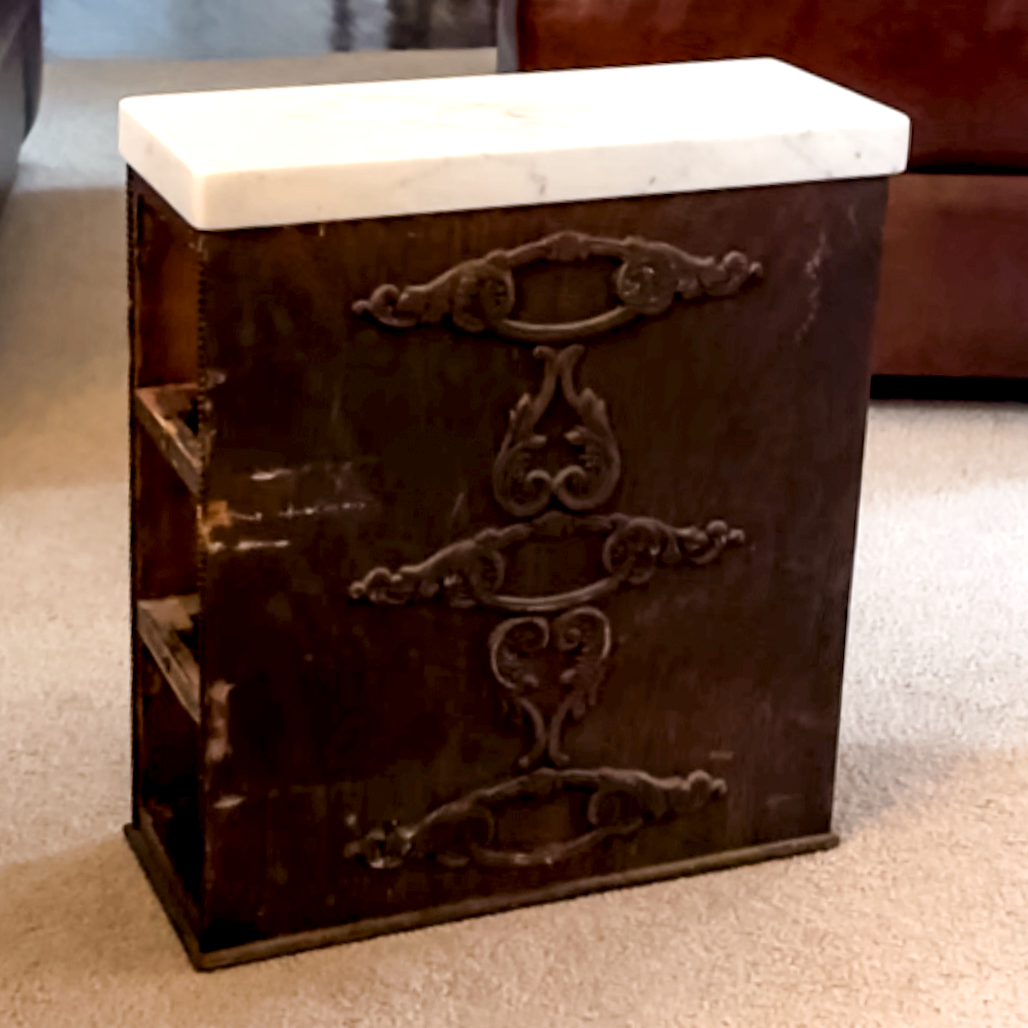
My first idea to finish the top was to have a piece of marble cut for it, and wouldn’t that be lovely? Well, I did exactly that and I absolutely hated it. 😂 The marble was too thick and when I placed it on my kitchen counter, my undercounter lights reflected in the marble and it just looked weird. (Fortunately, the granite guy didn’t charge me since it was such a small piece, so no money out there.)😅 So, I had to sit with that for a while until I figured out exactly what would work and how I wanted it to look.
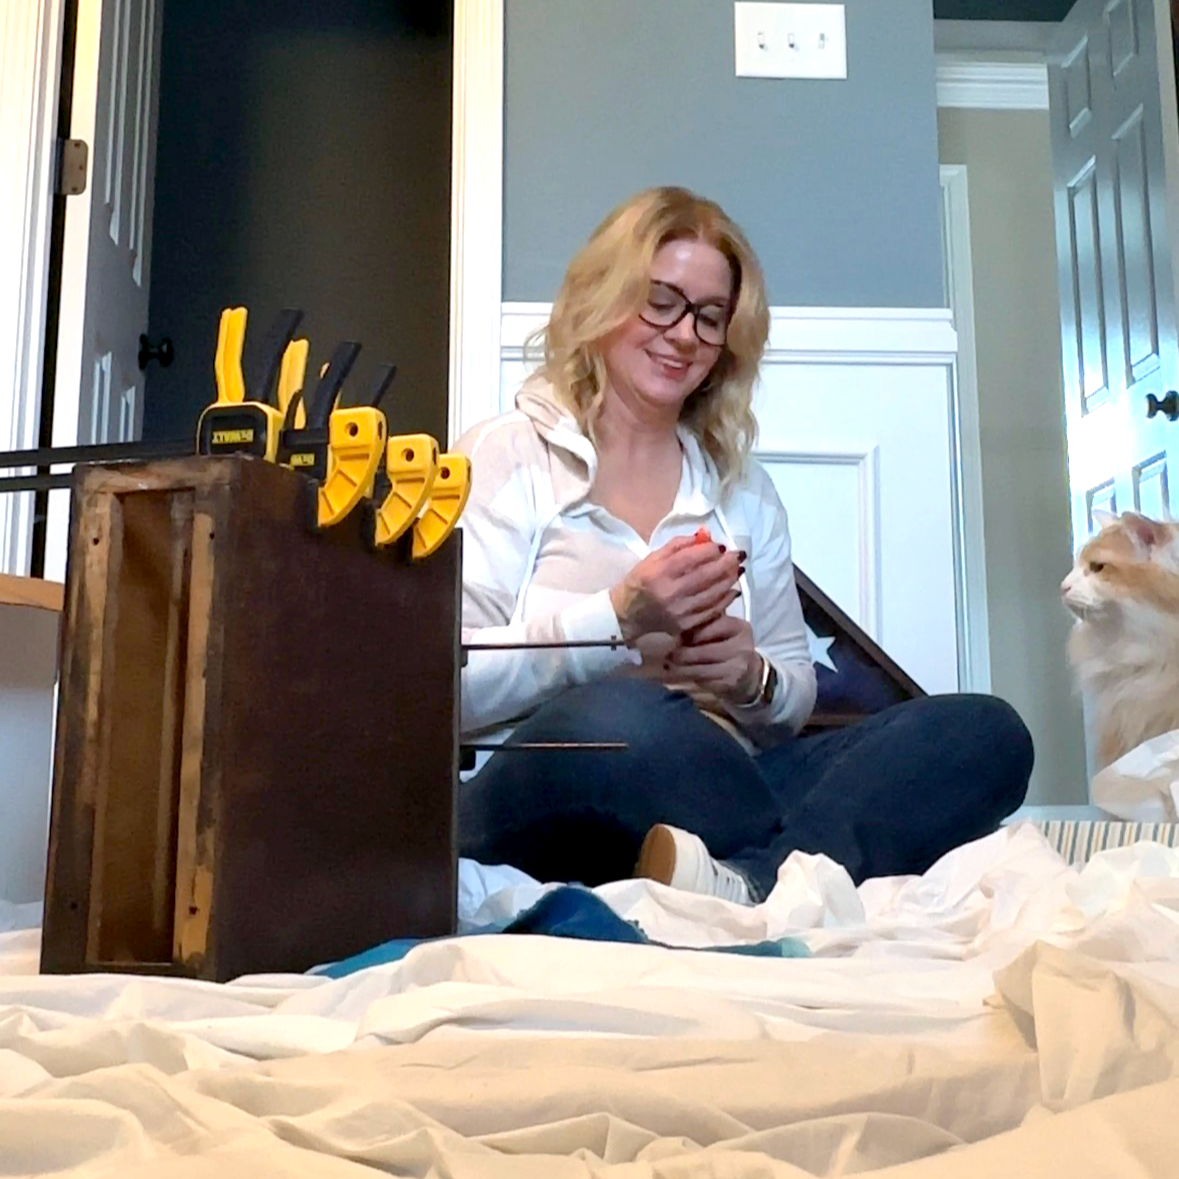
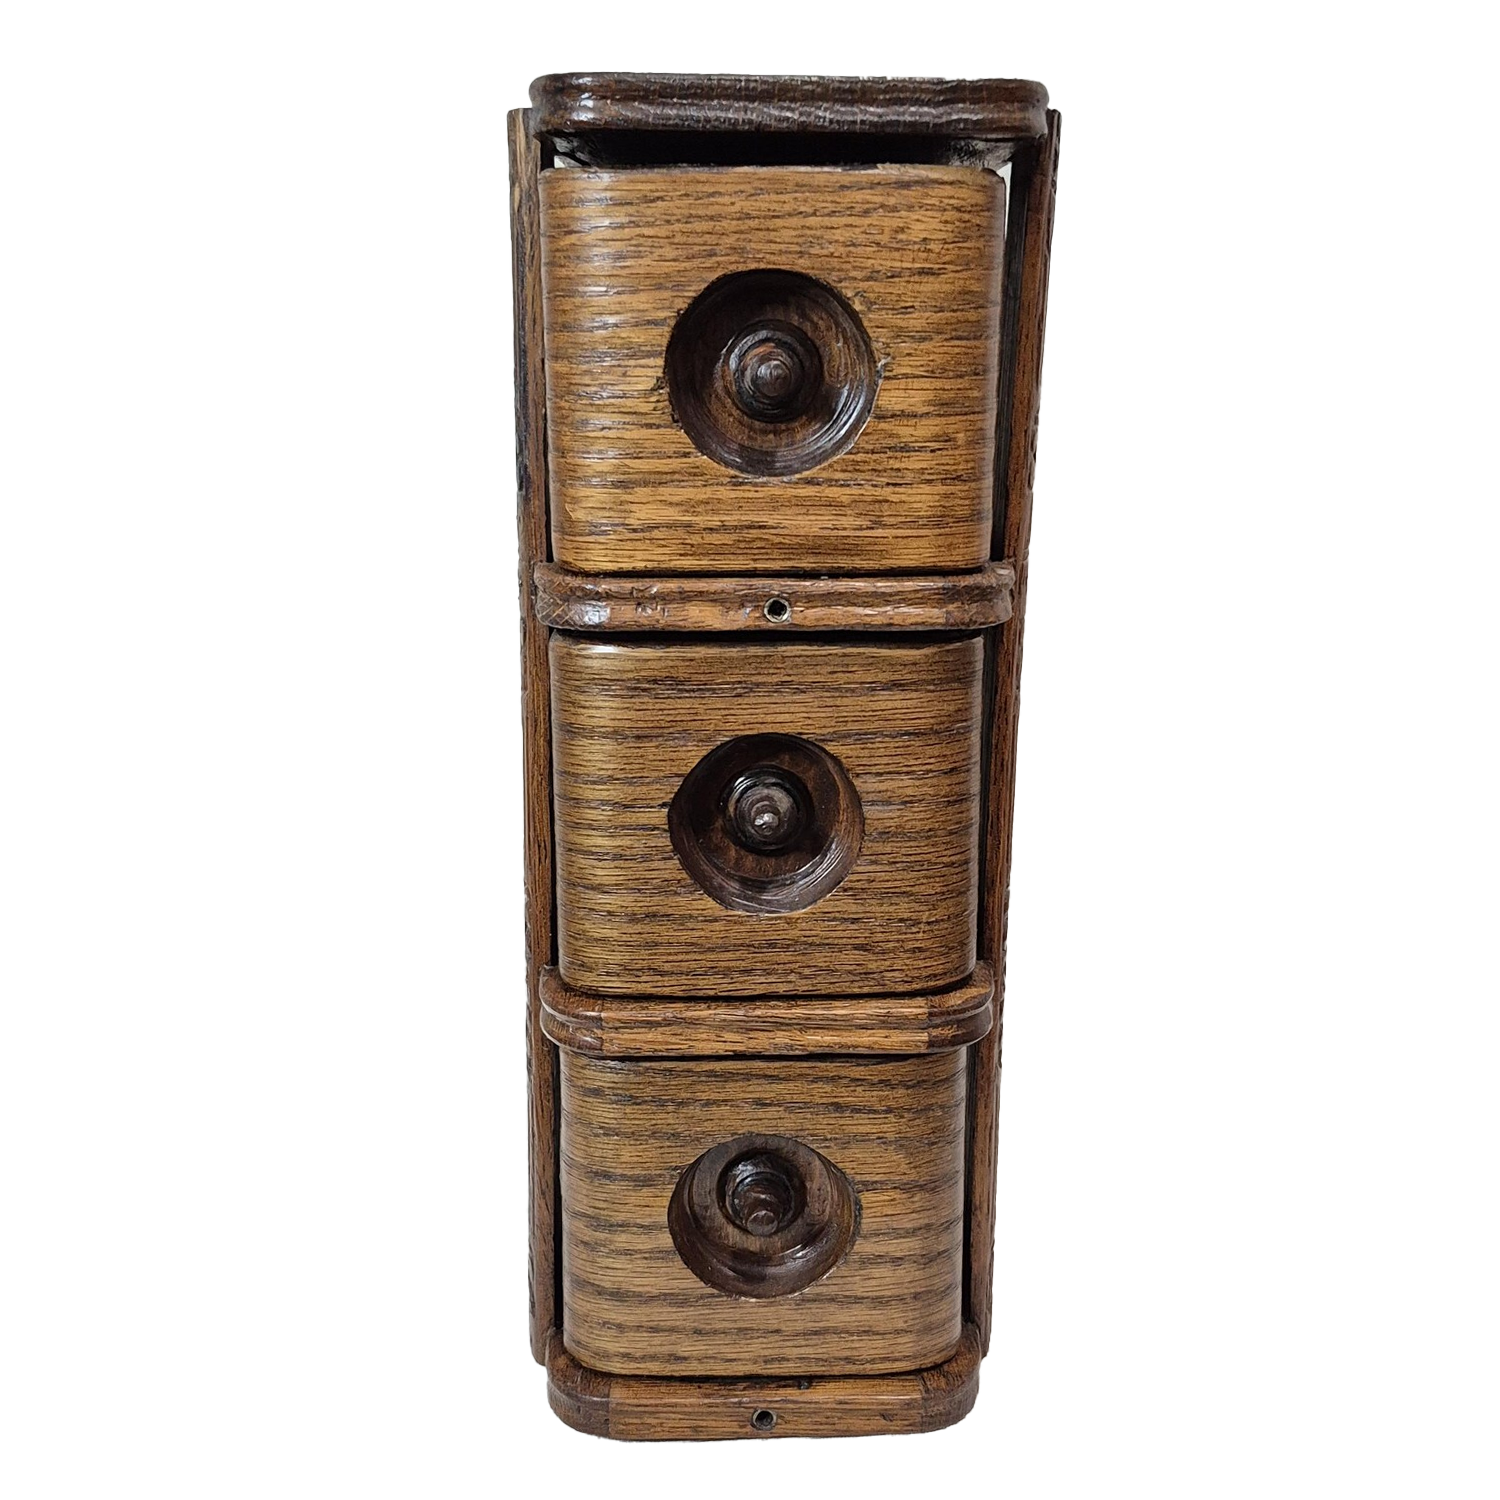
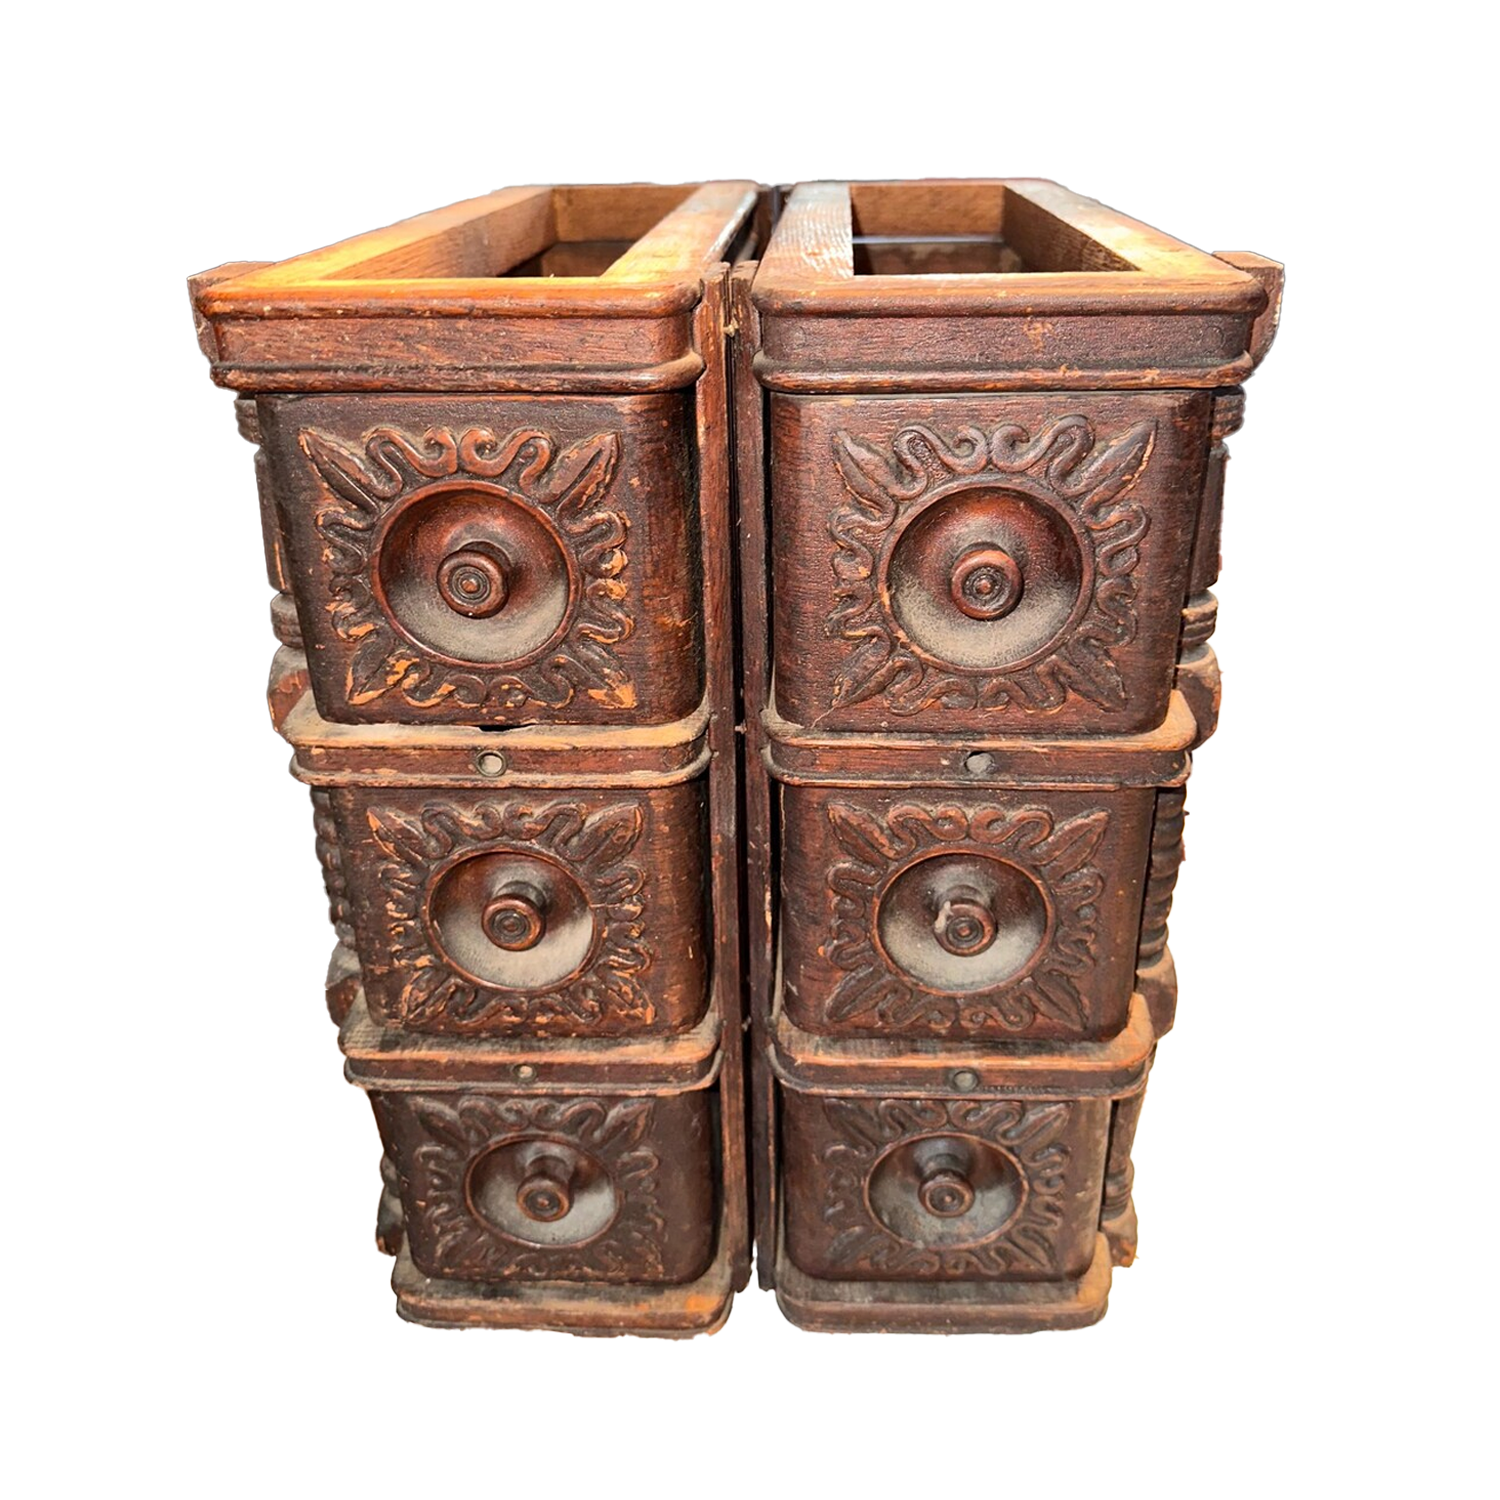
In the meantime, we worked on gluing all of the areas that were loose. This included all the way around the outside of the cabinet and the decorative trim. Fortunately, the drawers were in fantastic shape and did not need any repairs. At one point we had the cabinet completely covered in clamps. We would have to glue an area, let it dry, and then glue another area the next day.
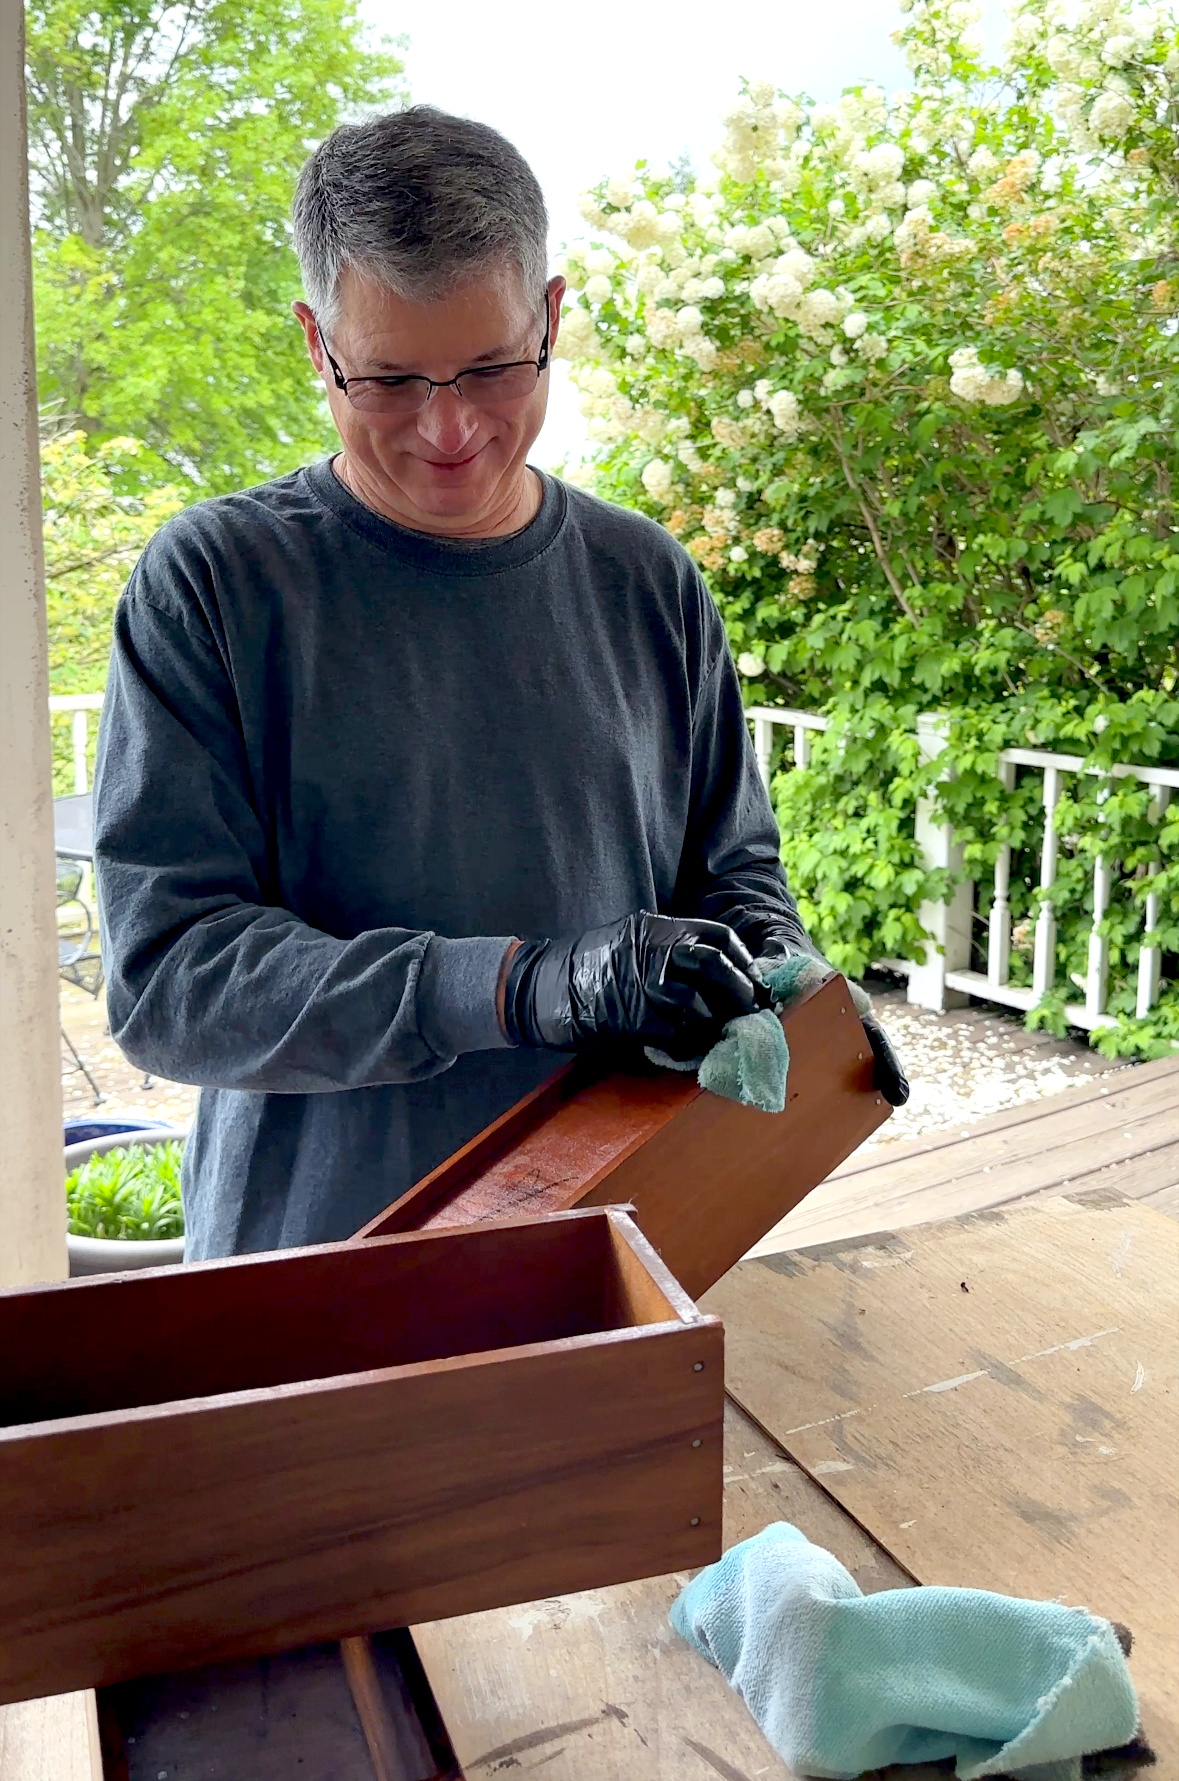
Once we had everything shored up and stable, Doug and I were able to find a ¼" thick piece of solid oak at Home Depot. We knew that would be perfect for the cabinet top. We put the cabinet on the piece of oak and traced it to make a template. It was the perfect width and now we have a piece that perfectly matches the bottom. Doug cut it out with his miter saw and used a sander to soften the edges and give it a bit of a rounded edge. He then used stain to closely match the color of the cabinet. Once it was stained, we attached the top to the base with a nail gun. We had to be careful to only go into the sides so the nails wouldn’t interfere with the drawers opening.
Doug then used restore-a-finish on the entire cabinet and that really brought out the beauty of the wood. He then polished it with bees wax and we were ready to put it in the kitchen.
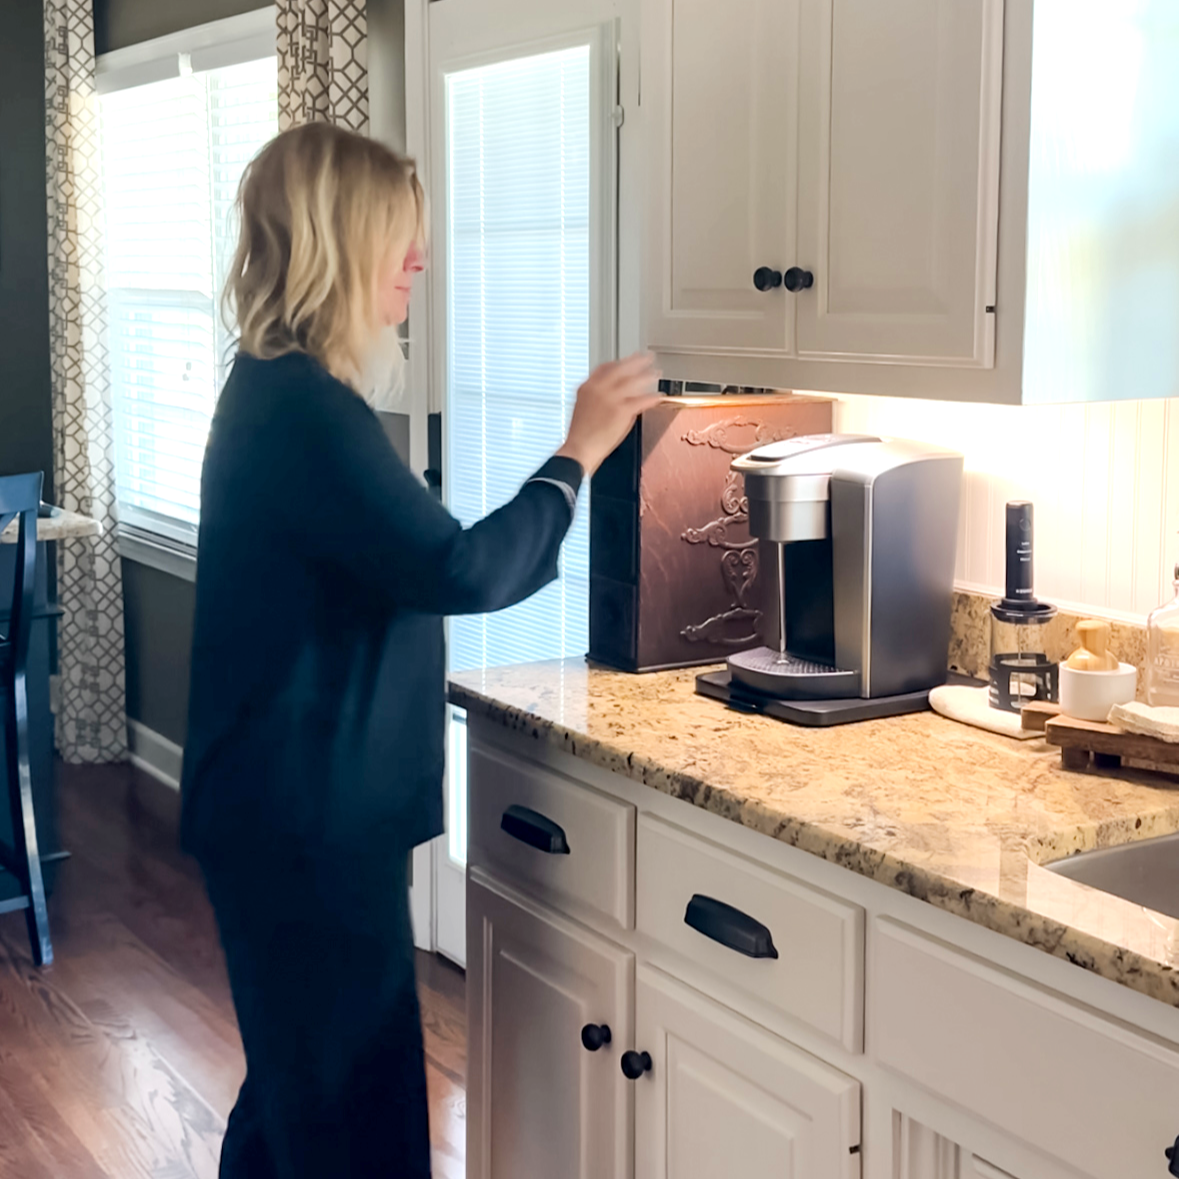
You won’t believe this, but I put it in place and it just looked off to me. So, I decided to rearrange things a bit on the kitchen counter and I settled on placing the coffee pot and k-cup holder on the opposite side of the counter. This meant relocating coffee cups, glass storage containers and organizing water bottles. But now we have a well-organized kitchen that has a much better flow. When the coffee pot was on the other side of the counter, traffic would bottleneck in that area in the mornings. And, I’m a little sensitive in the mornings and don’t want to be crowded or rushed. Who knew one little vintage sewing cabinet could benefit our marriage?! 😂

Let’s do a cost breakdown of this project:
Vintage sewing machine cabinet: $34
Solid oak: $11.75
The wood glue, restore-a-finish, bees wax, and ½" brad nails: already had on hand.
Total cost: $45.75
I hope this little makeover has you looking at thrift store finds with fresh eyes. If we can turn an old sewing cabinet into this, imagine what treasures are waiting for you.✨

Want to try this DIY for yourself?
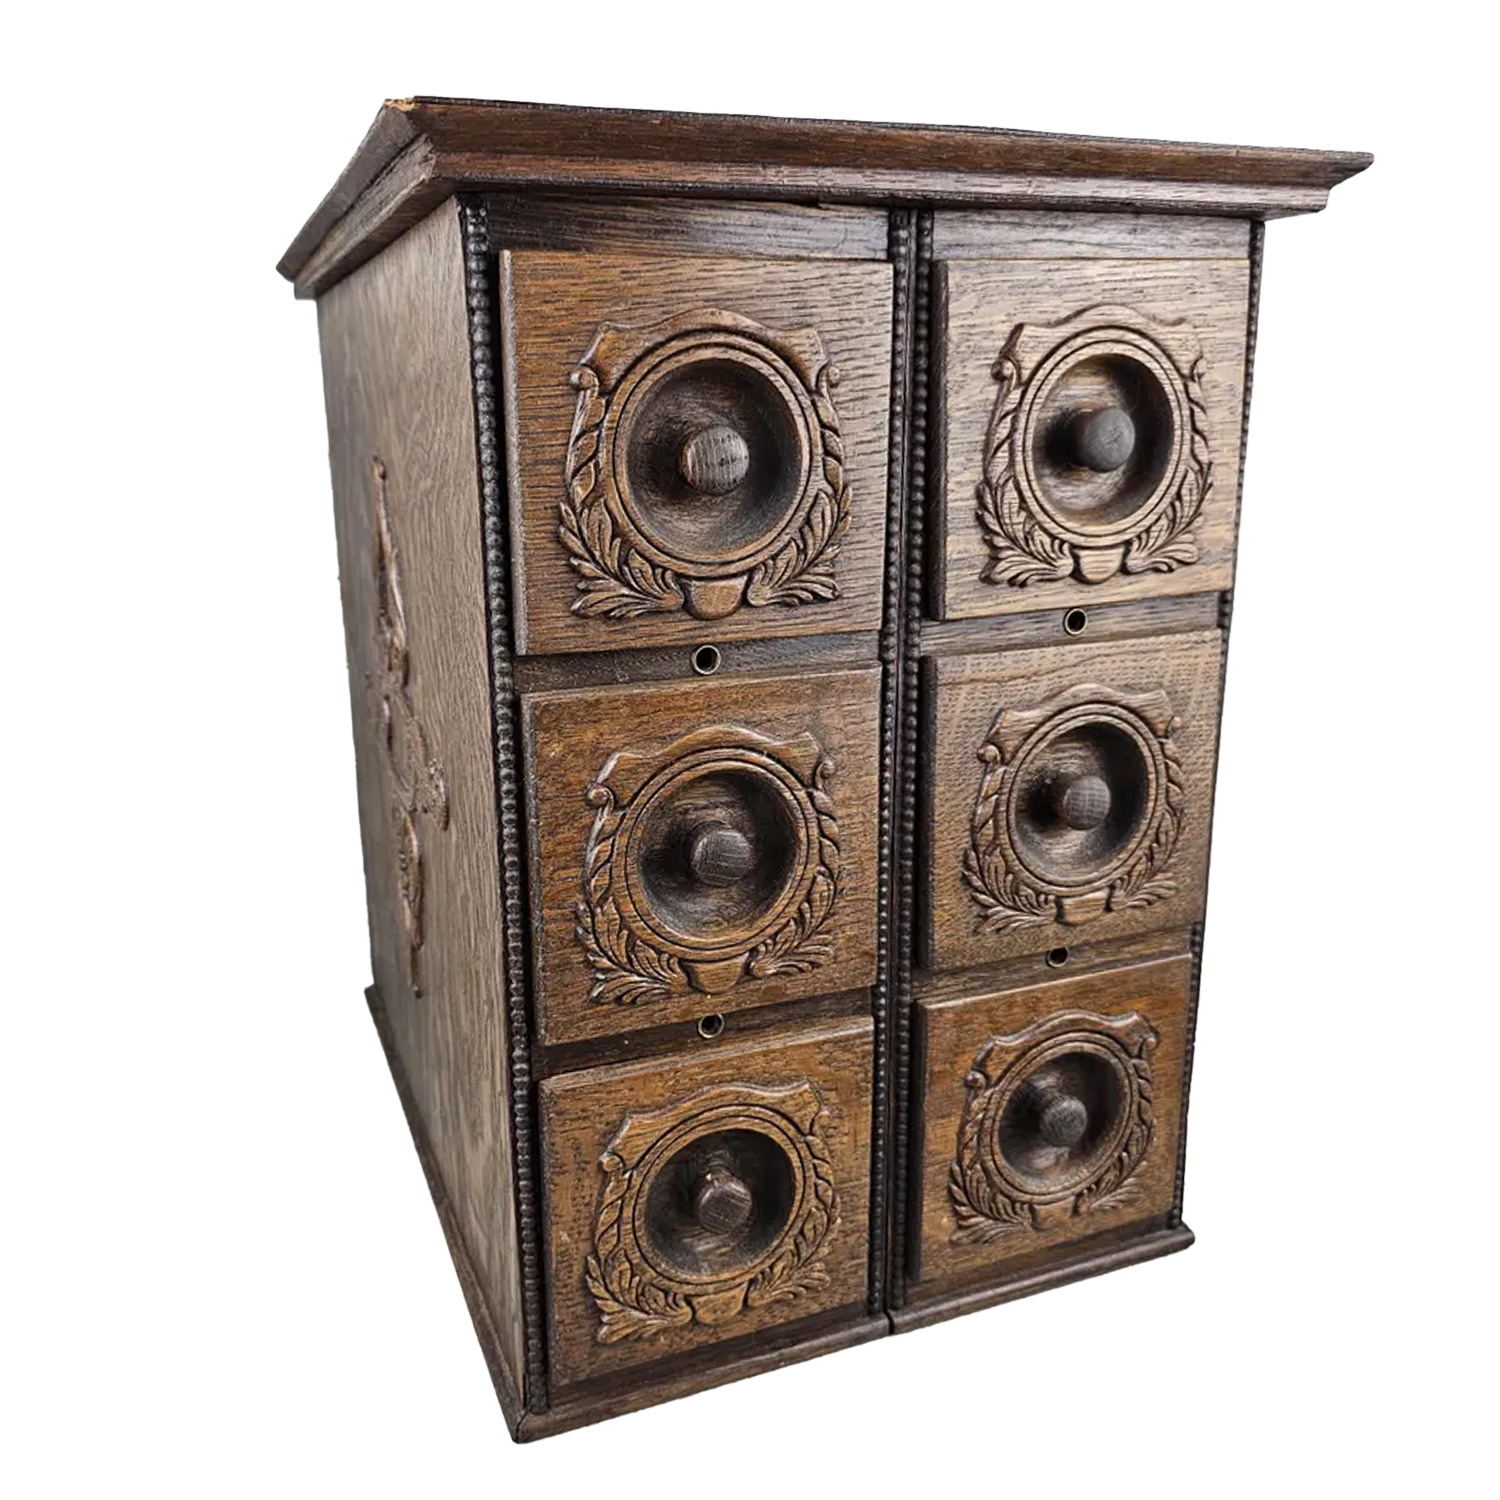
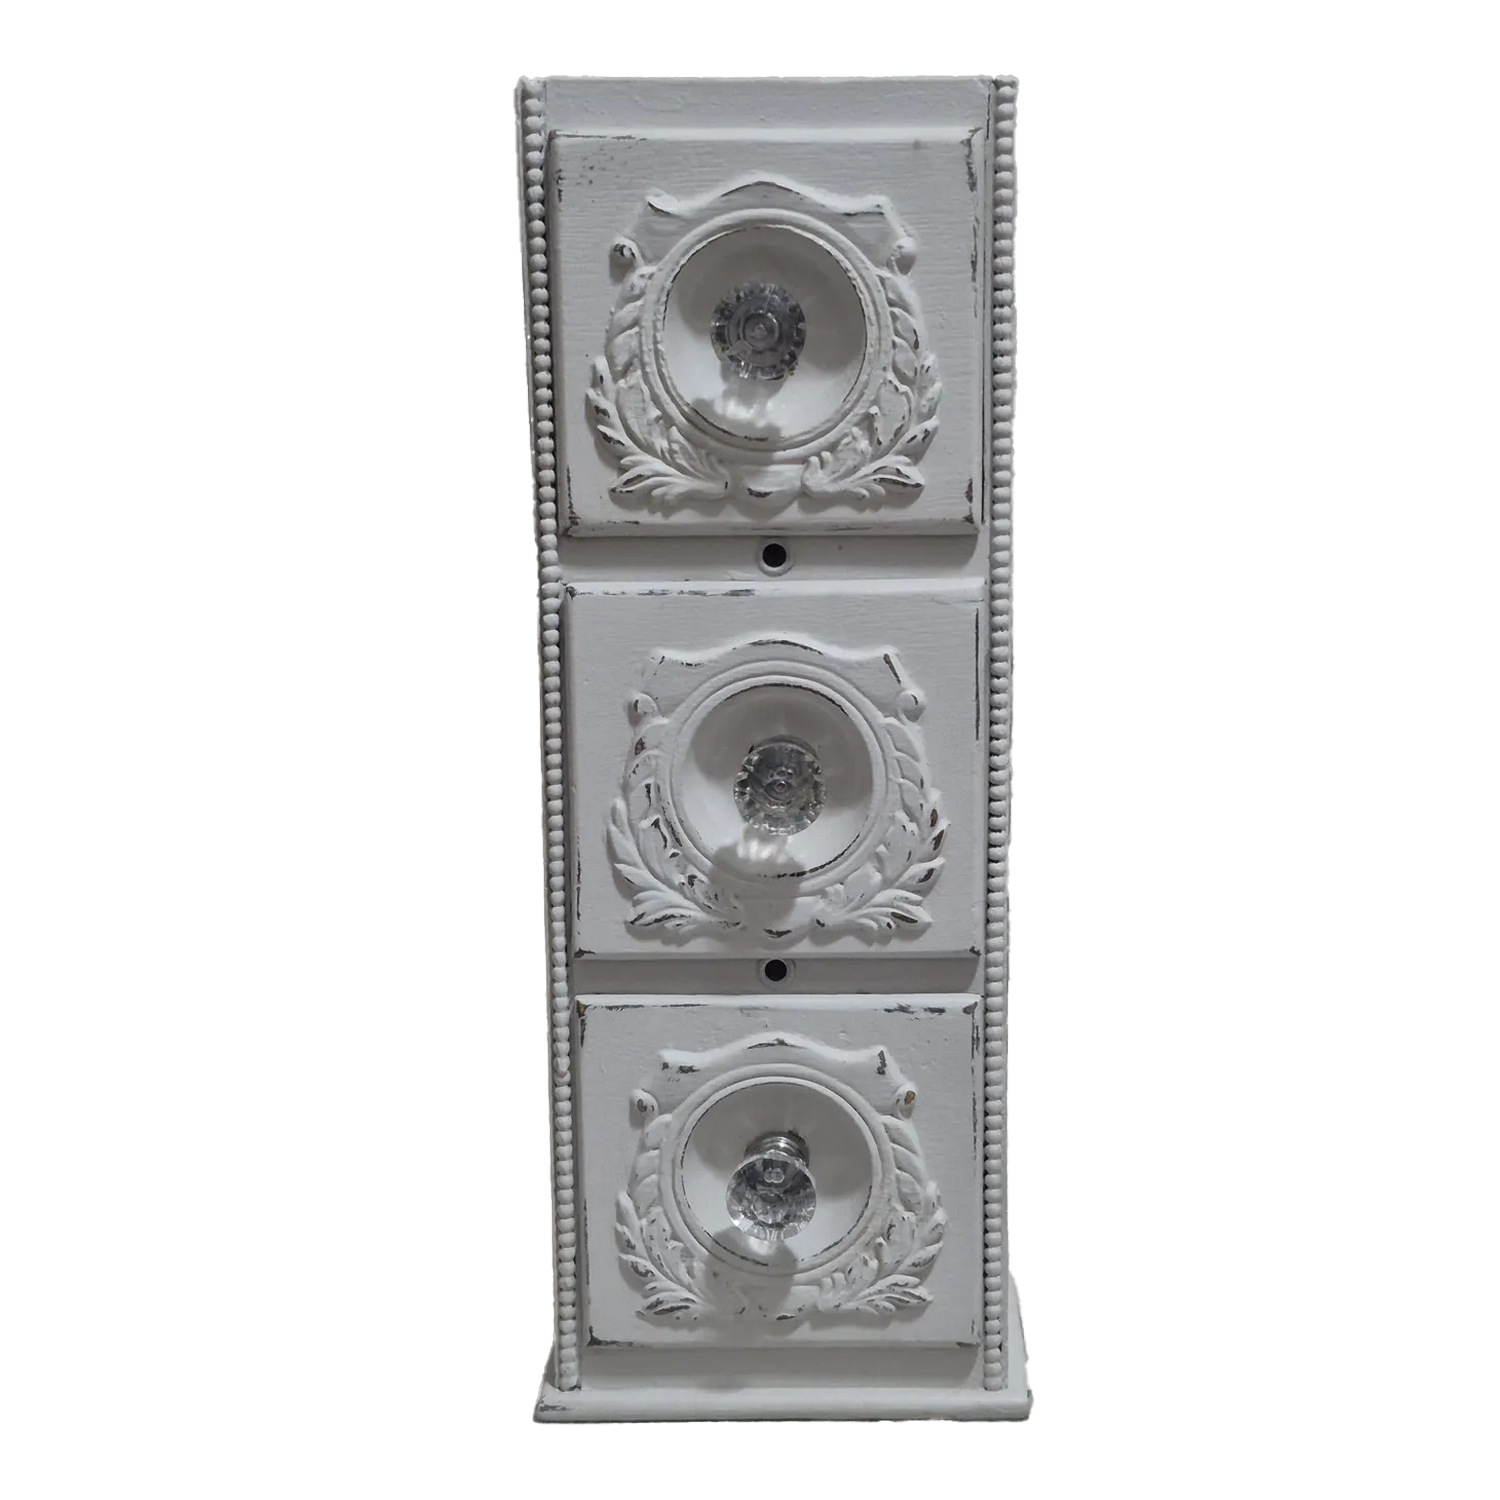
Vintage Sewing Drawers
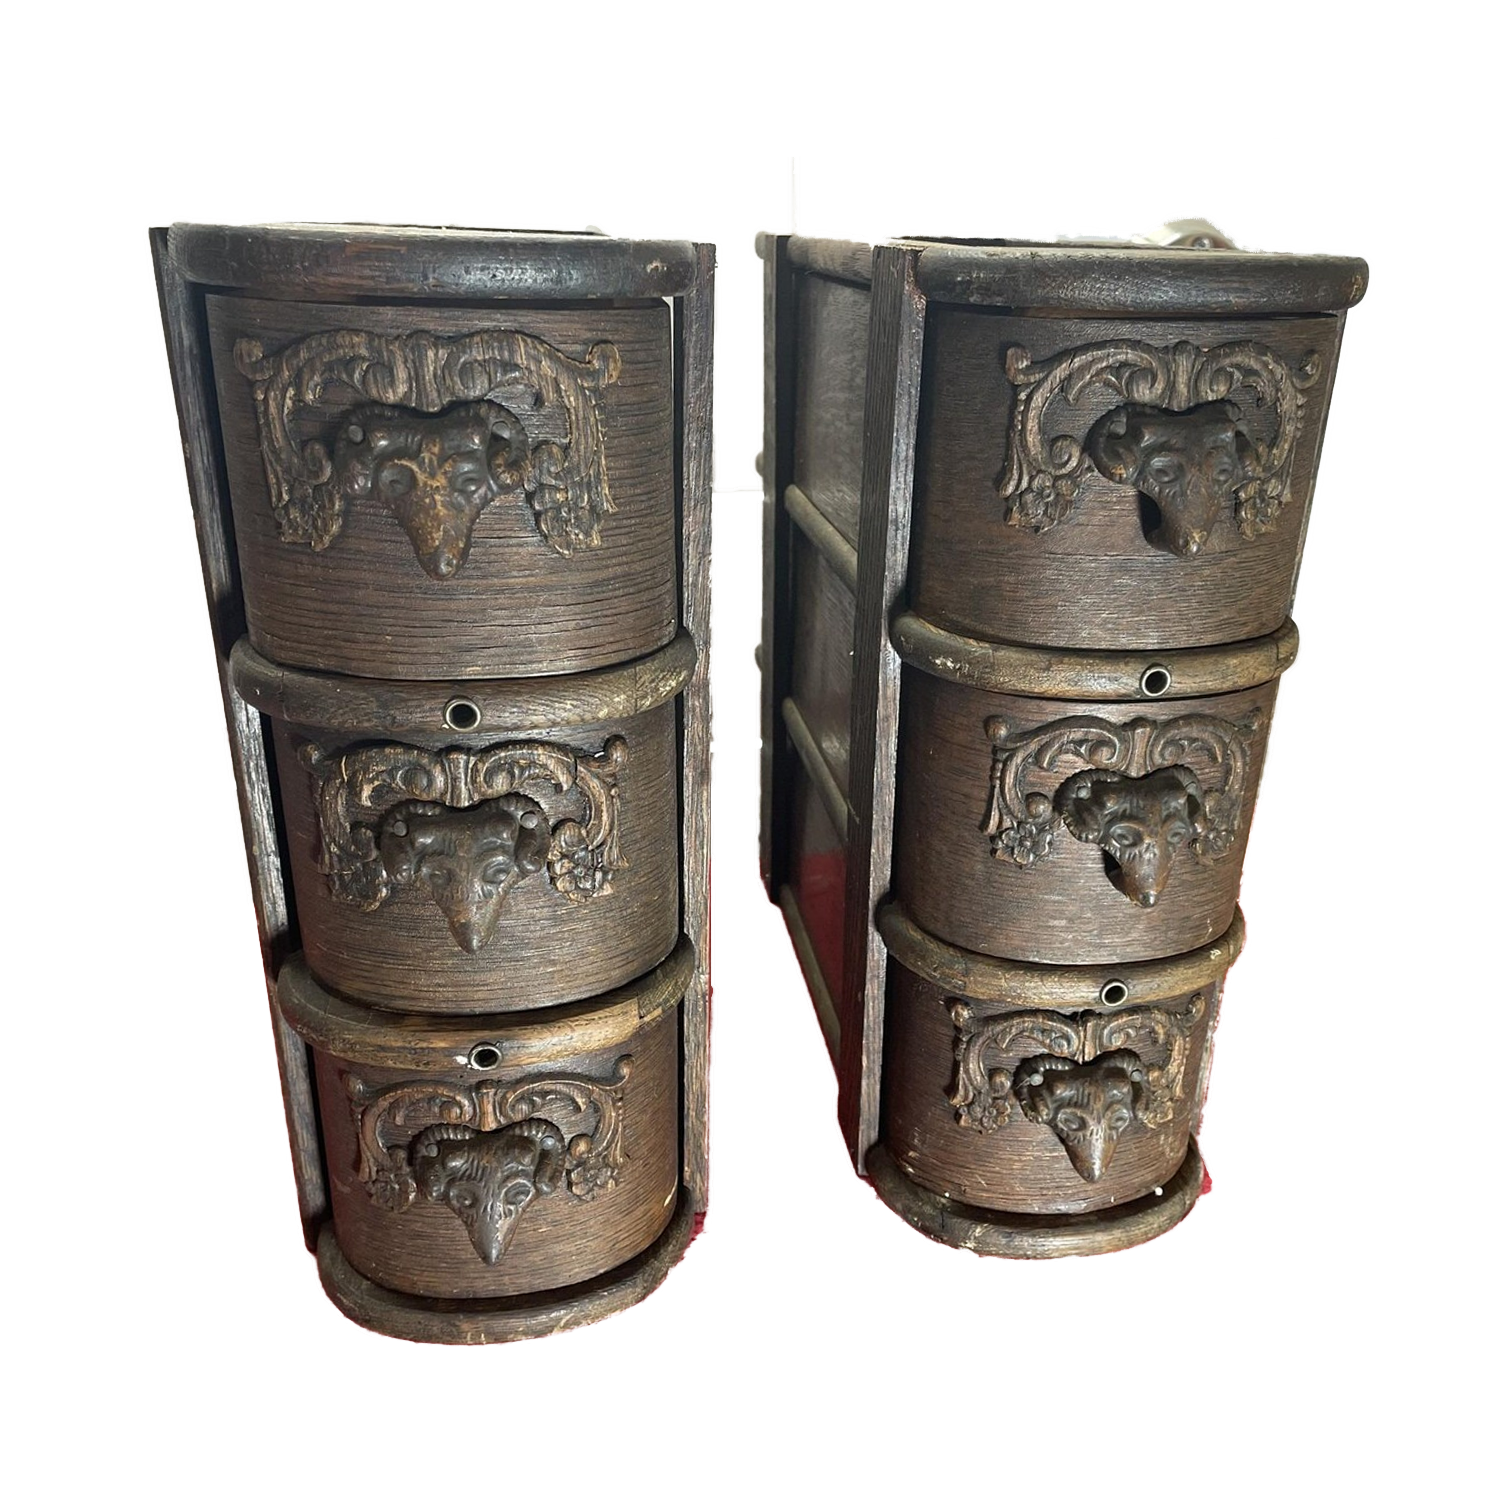
Rams Head Vintage Sewing Drawers
Mid-century Sewing Drawers
2 Treadle Sewing Machine Cabinets
Saddle Shaped Sewing Cabinets
Treadle Sewing Machine Drawers
6 Drawer Sewing Cabinet Unit
Vintage Wheeler & Wilson Treadle Sewing Machine Drawers
6 Drawer Sewing Cabinet Unit
Vintage Singer Treadle Drawer
Vintage Singer Treadle Drawer
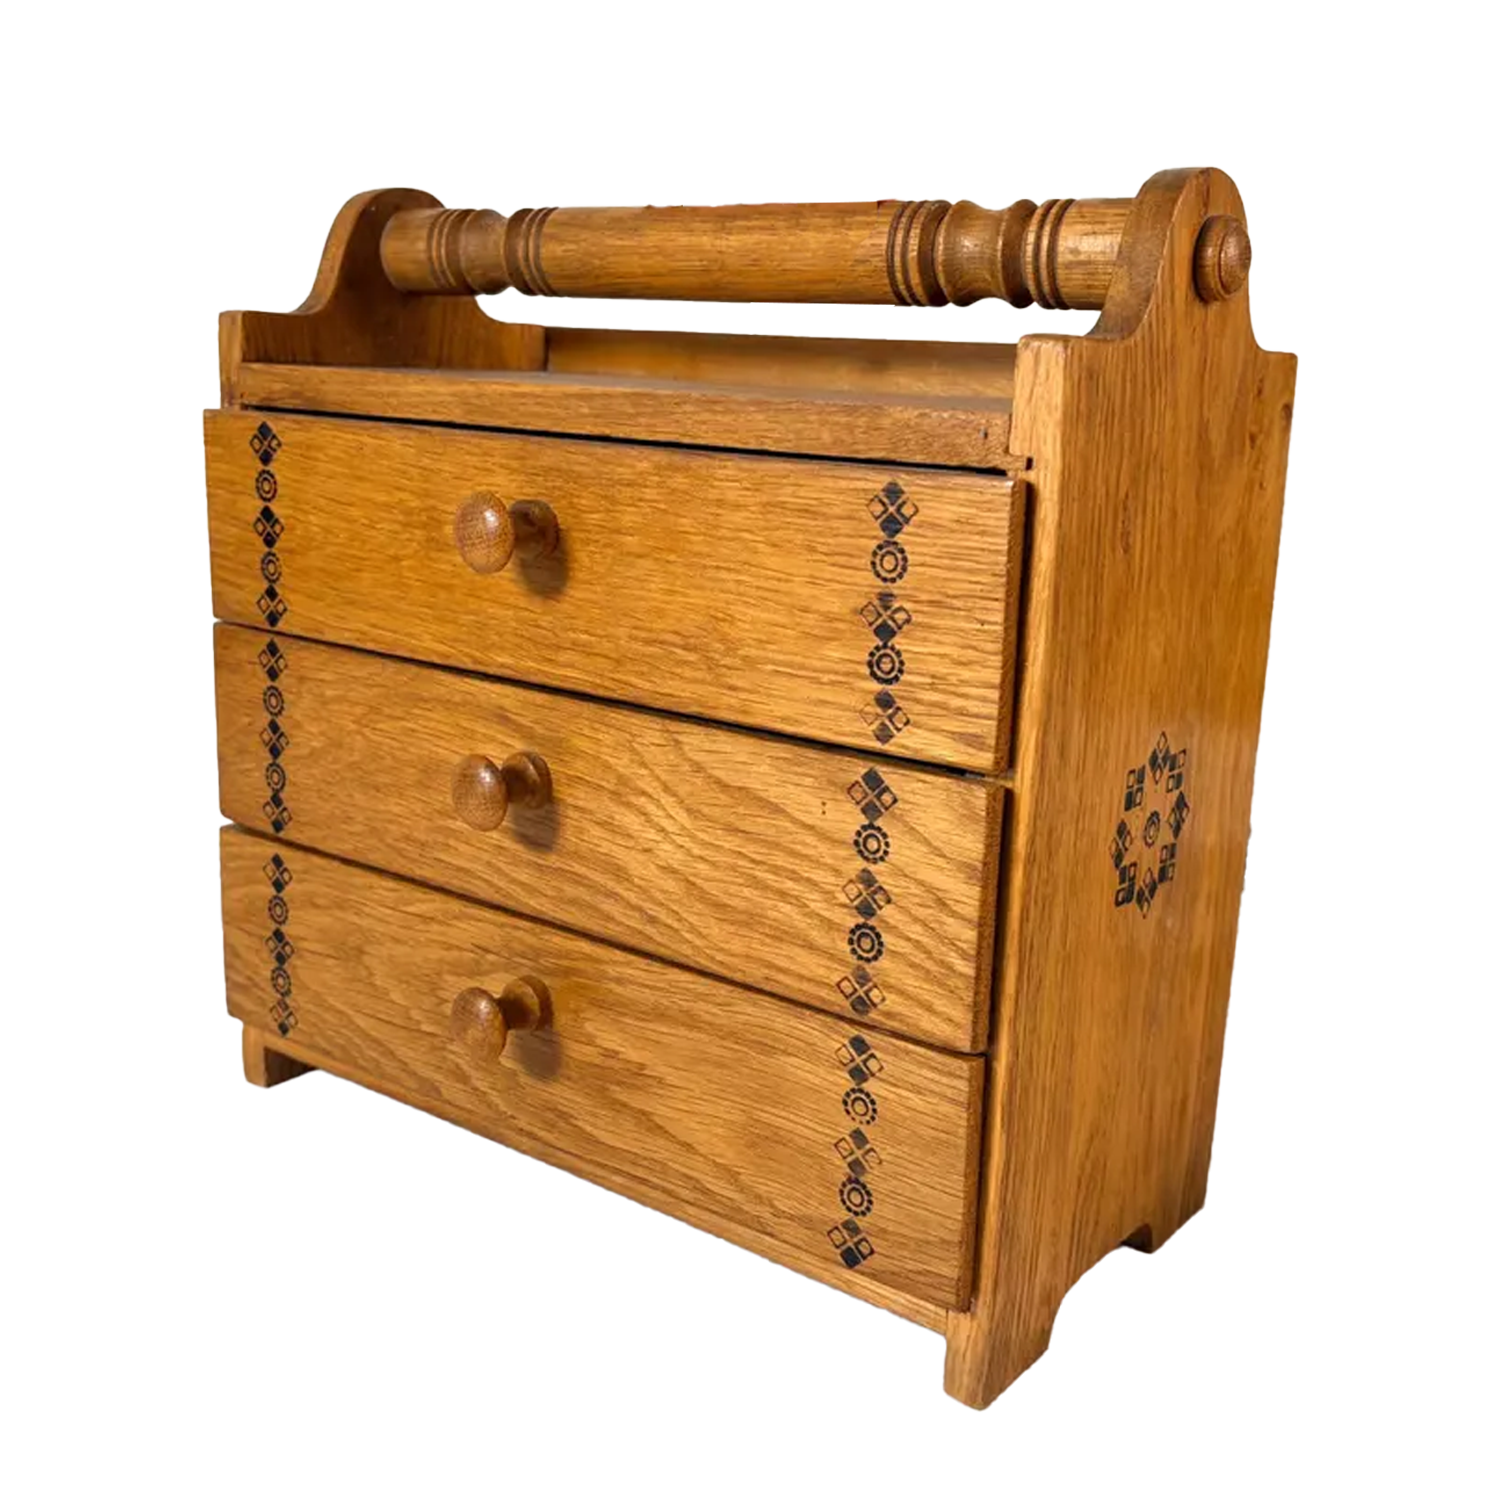
Vintage Carved Wooden Mini Chest
Vintage 1880 Wheeler & Wilson Treadle Sewing Machine Drawers

Vintage Two-Drawer Hard Wood Treadle Sewing Storage Cabinet
2 Sets of 2 Antique Vintage Wood Singer Treadle Sewing Machine Cabinet

Vintage Singer Treadle Drawer
Vintage Rustic Dark Wood Farmhouse Storage Box
Vintage Singer Treadle Drawer Cabinet
Build Your Own Home Coffee Station

Keurig K-Elite Single-Serve K-Cup Pod Coffee Maker with Iced Coffee Setting
Keurig SimpleCafe Frother, Rechargeable Handheld Milk Frother Black

Keurig® K-Elite® Single Serve Coffee Maker

Keurig K-Mini Plus Single Serve K-Cup Pod Coffee Maker


Celestial Seasonings Sleepytime Herbal Tea

Limited-Edition Keurig® Tote
Set of 4 Glass Coffee Mugs with Bamboo Lids and Spoons
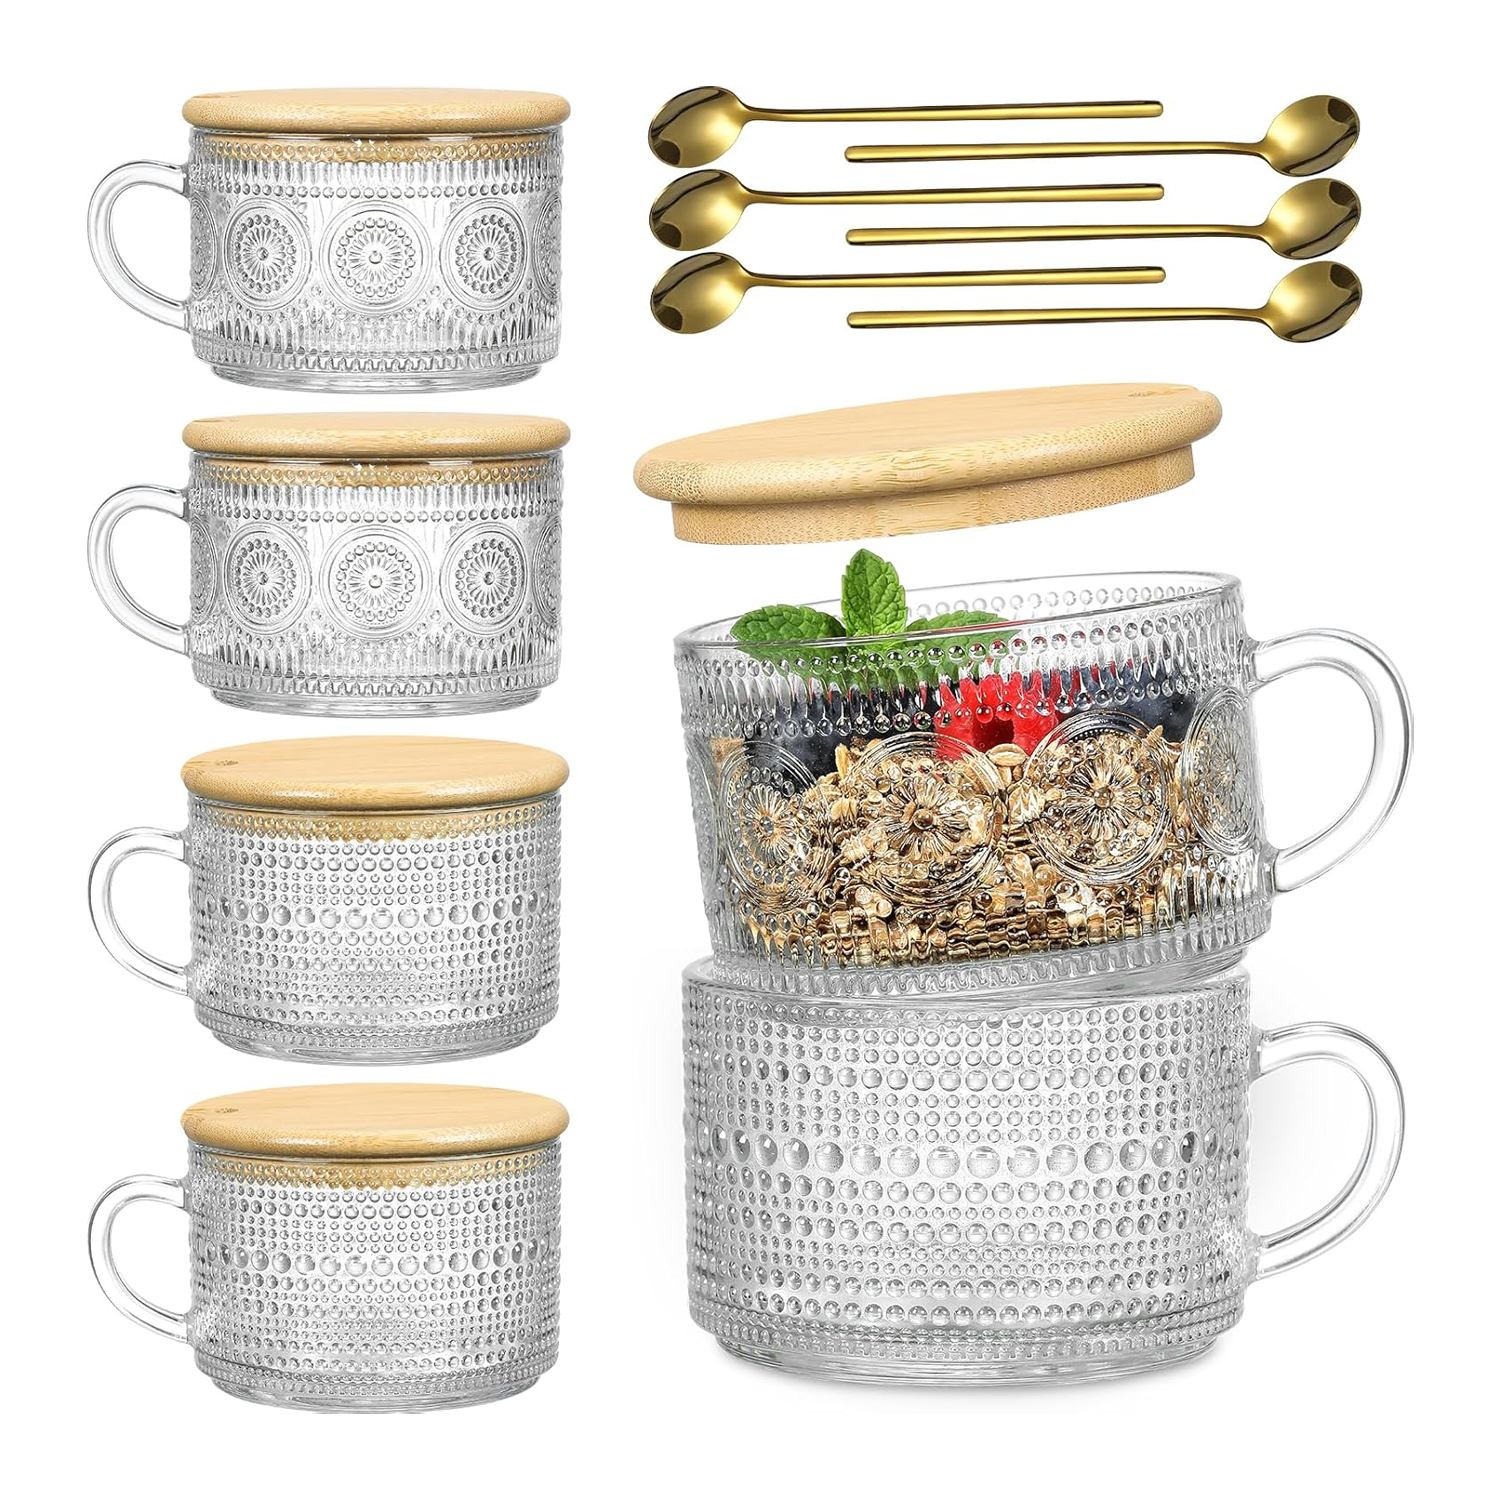
Set of 6 Glass Coffee Mugs with Bamboo Lids and Spoons

16 Oz Glass Coffee Cups

12 OZ Insulated Cups with Handle
Fortessa Jupiter Coffee Cups, Set of 6
Set of 4 10oz Coffee Cups

Blue Bay 12 oz. Blue and White Blue Porcelain Mug (Set of 4)

Blue Rose Polish Pottery Blue Fleur Small Coffee Mug

Vista Alegre Porcelain Coffee Mug (Set of 4)

Blue Rose Polish Pottery Blue Violet Large Coffee Mug